
SHOP LILACS ONLINE NOW
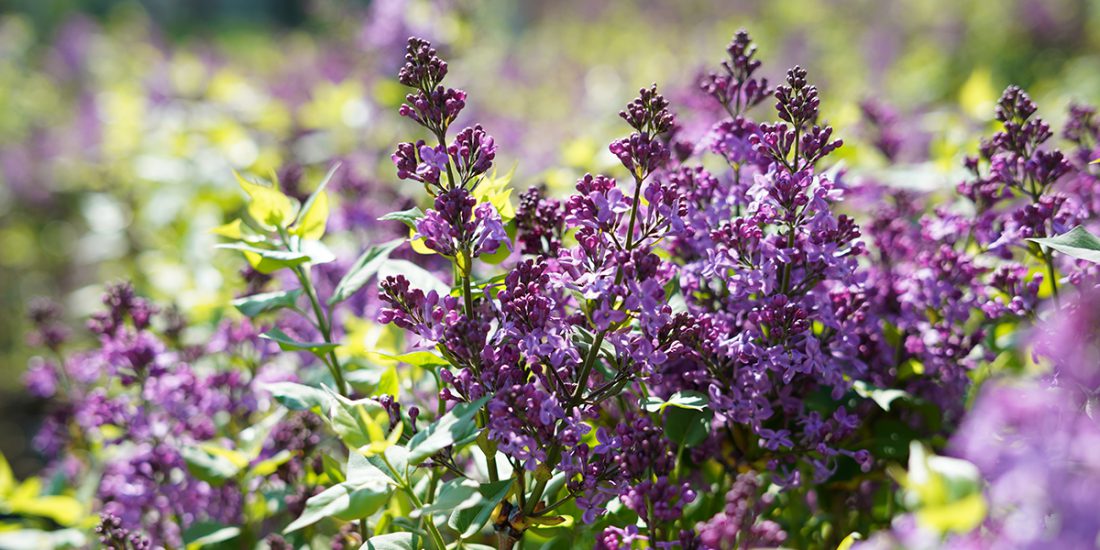
The fragrance of lilac is often associated with feelings of “home” or other pleasant memories. We seem able to remember the fragrance even decades later. The clusters of fragrant flowers that adorn the lilac bush in mid to late spring mean that summer is just around the corner.
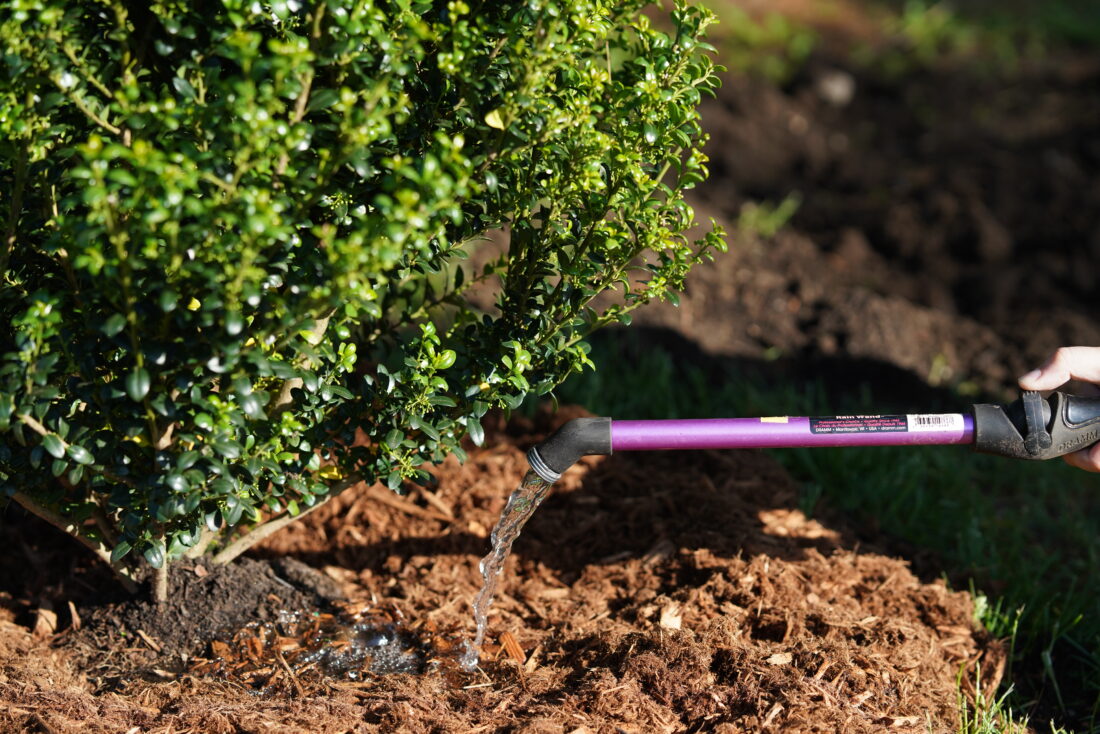
Lilac is easily grown in well-drained soil. It will bloom its best in full sun conditions. Choose a location that allows for good air circulation to minimize the potential for mildew on the leaves. Prompt removal of faded flower panicles will help increase the bloom count for the following year. This is also the best time to prune to control the size of the plant, if that is necessary. Pruning is best done by the first week in July. After this time, the plant will be setting next year’s flower buds and pruning will sacrifice next year’s flower show.
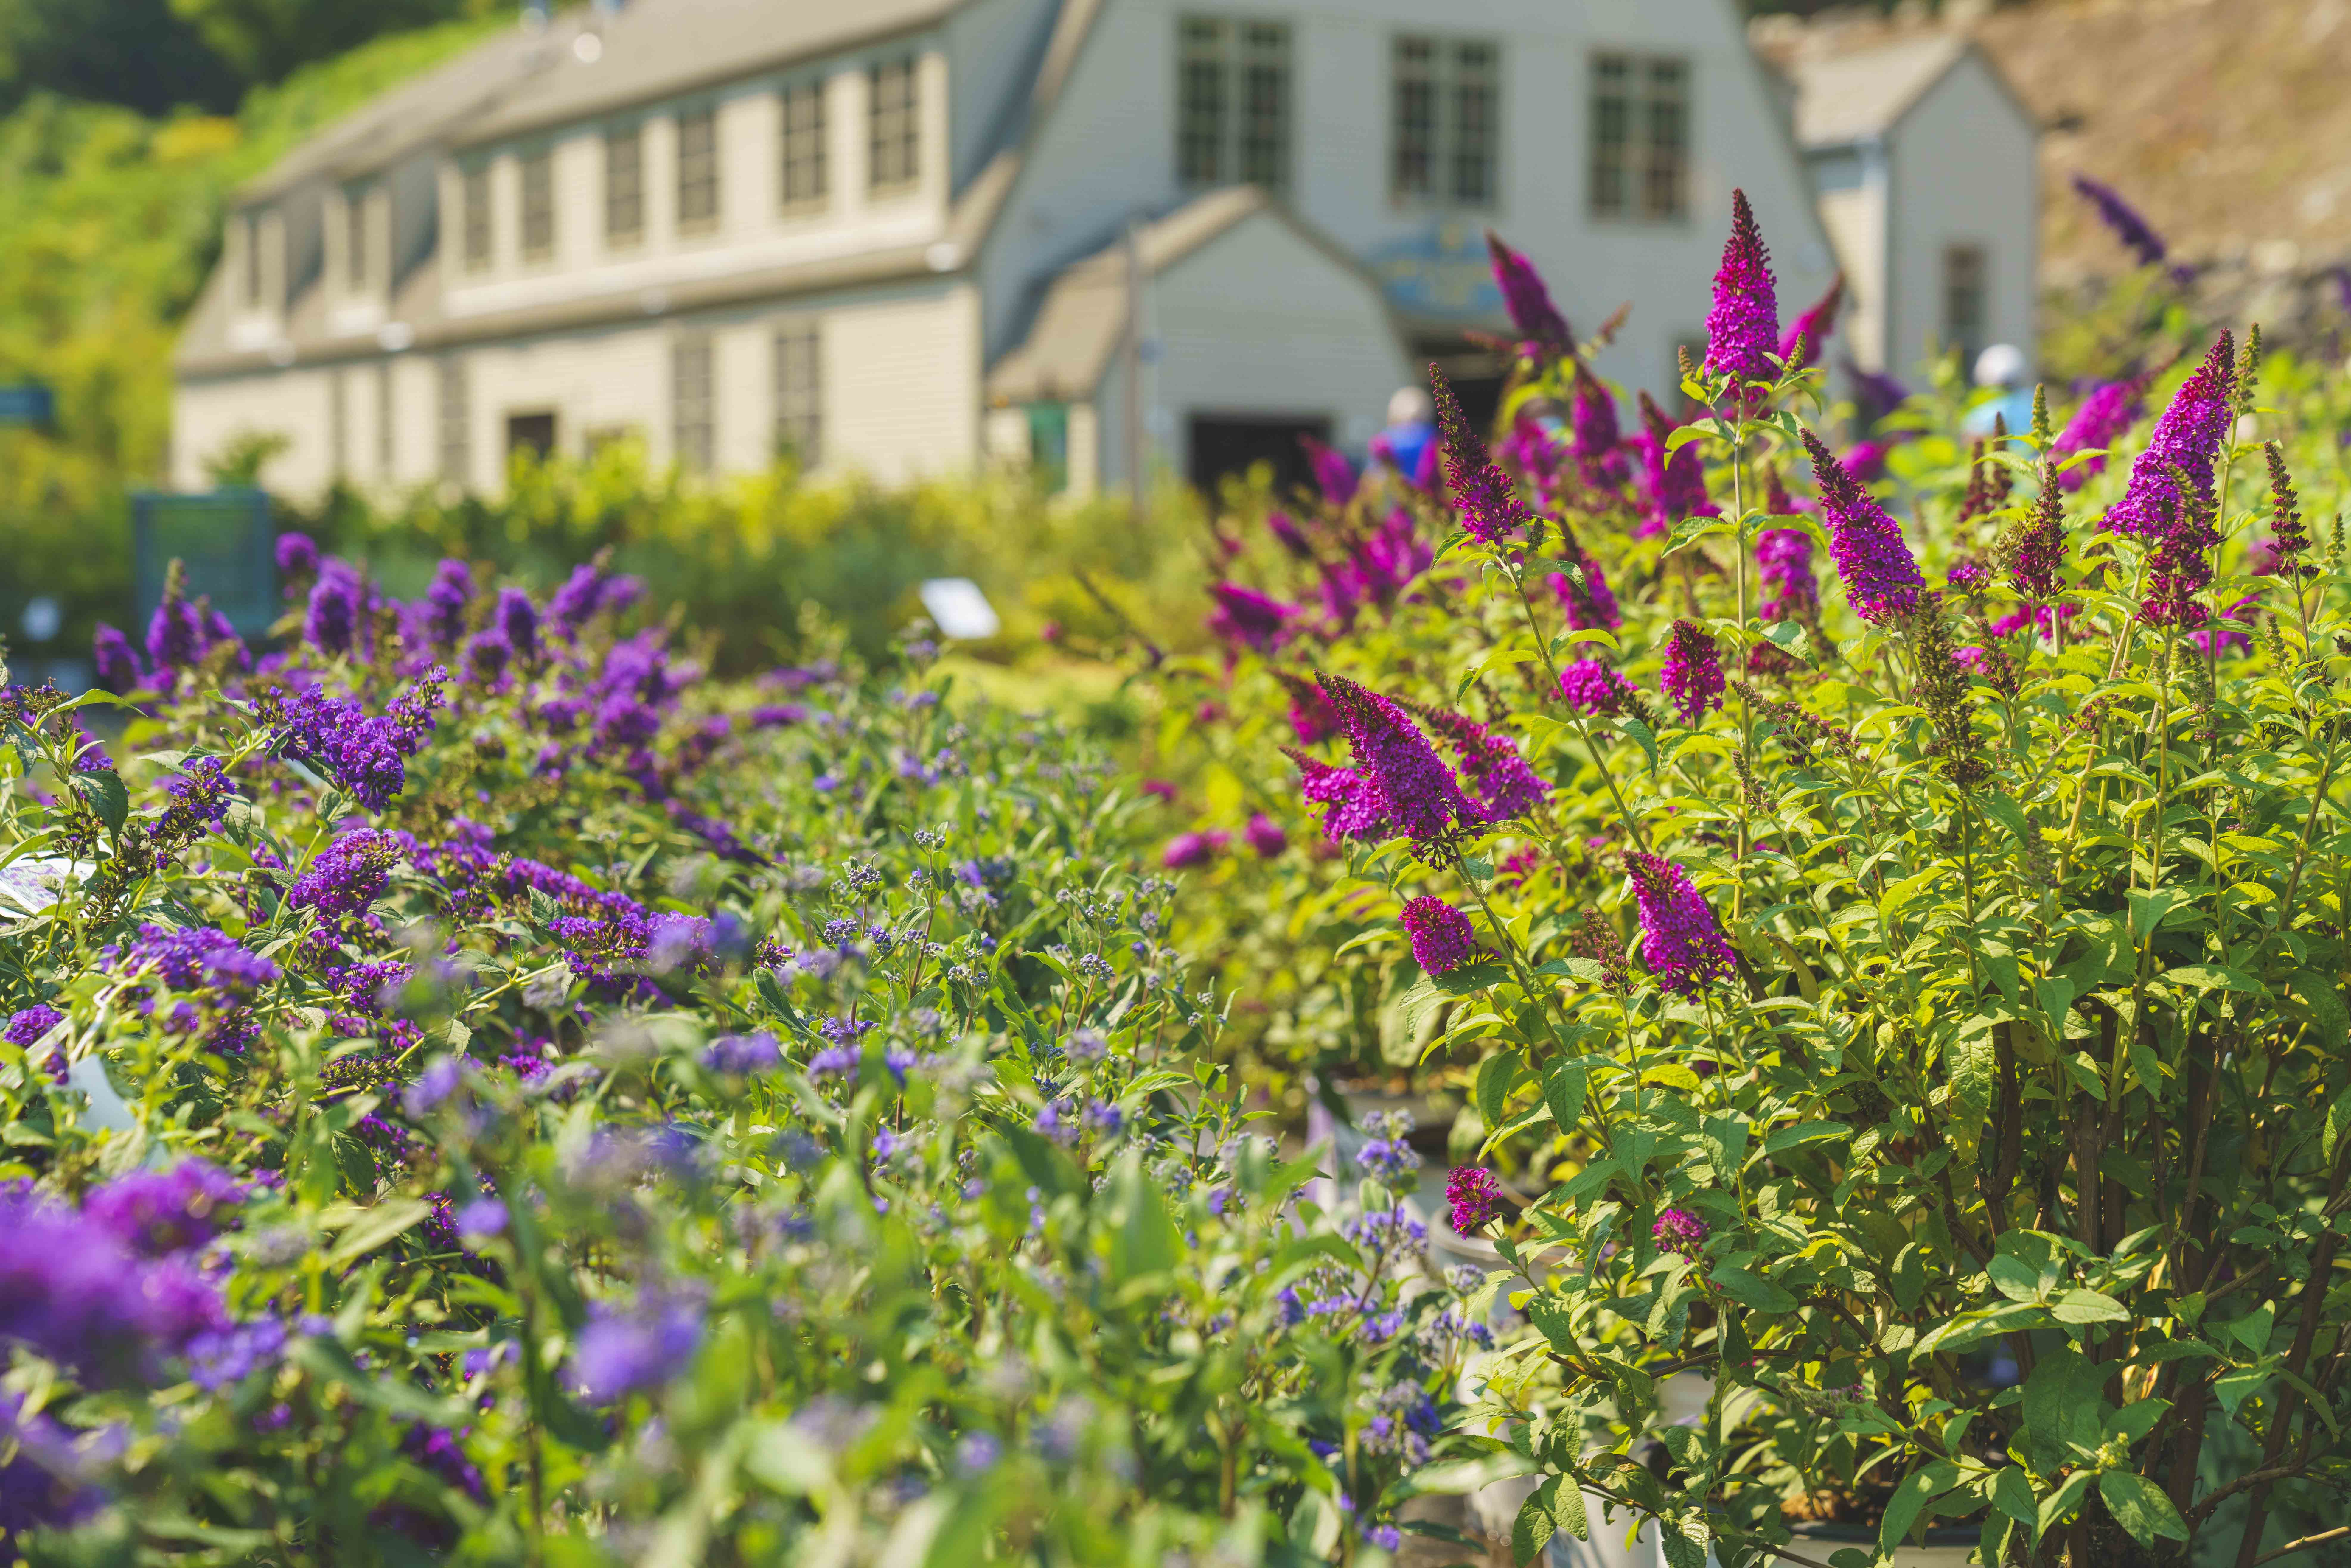
Planting a lilac near the house means that the heady fragrance can waft through open windows. Planted as a hedge, they make an effective, not to mention fragrant, screen. As part of a mixed border planting, they mix beautifully with roses and peonies.
As a cut flower, they are a delight. Fill a vase with cool water. Using a sharp pair of hand pruners, cut when the lilac panicle (the entire cluster of flowers) is one-quarter to one-half open. Use your pruners to split the stem a couple of inches up the center to allow the stem to take up water. It is not necessary to crush the stem. Crushing the stem will not help the lilac take up water.
Syringa meyeri ‘Palabin’
Also known as Dwarf Korean Lilac, ‘Palabin’ is smaller, denser and more rounded in its habit than traditional lilacs. It typically grows 4’-5’ feet tall and 5’-7’ wide, making it suitable for small gardens. It has very fragrant purple flowers. They are arranged in 4” clusters that are perfectly scaled to the shrub. This variety is particularly resistant to powdery mildew.
Syringa patula ‘Miss Kim’
‘Miss Kim’ is a compact, upright variety which grows 4’-7′ tall with a similar spread. It has deep purple buds that open to reveal clusters of 3” long, highly fragrant, lavender blue flowers. The flowers bloom slightly later than other lilacs, extending that heavenly season of lilac fragrance. Leaves are very resistant to powdery mildew. They are burgundy tinged in the fall, adding to this shrub’s appeal.
Syringa vulgaris ’Sensation’
‘Sensation’ is unusual in that its flowers are bi-colored. The clusters of blooms are composed of individual purple flowers, each edged in white. They are sweetly fragrant. The effect is charming. Rich green foliage is held on upright branches. In time it reaches a height of 10’-12’ and a width of 6’. ‘Sensation’ will be a sensation in your garden.
Syringa vulgaris ‘Agincourt Beauty’
‘Agincourt Beauty’ has some of the largest flowers of any lilac. Deep violet in color and sweetly fragrant, the 6-12 inch flower clusters cover the shrub with bloom. The plant has an upright form, reaching a mature height of 8-15 ft.
Syringa vulgaris ‘New Age Lavender’
This lilac has lovely full-sized soft lavender flowers on a 5 ft by 5 ft shrub – half the size of traditional lilacs! If you have limited space but yearn for the traditional lilac fragrance, this may be the lilac for you. An added benefit is its resistance to mildew.
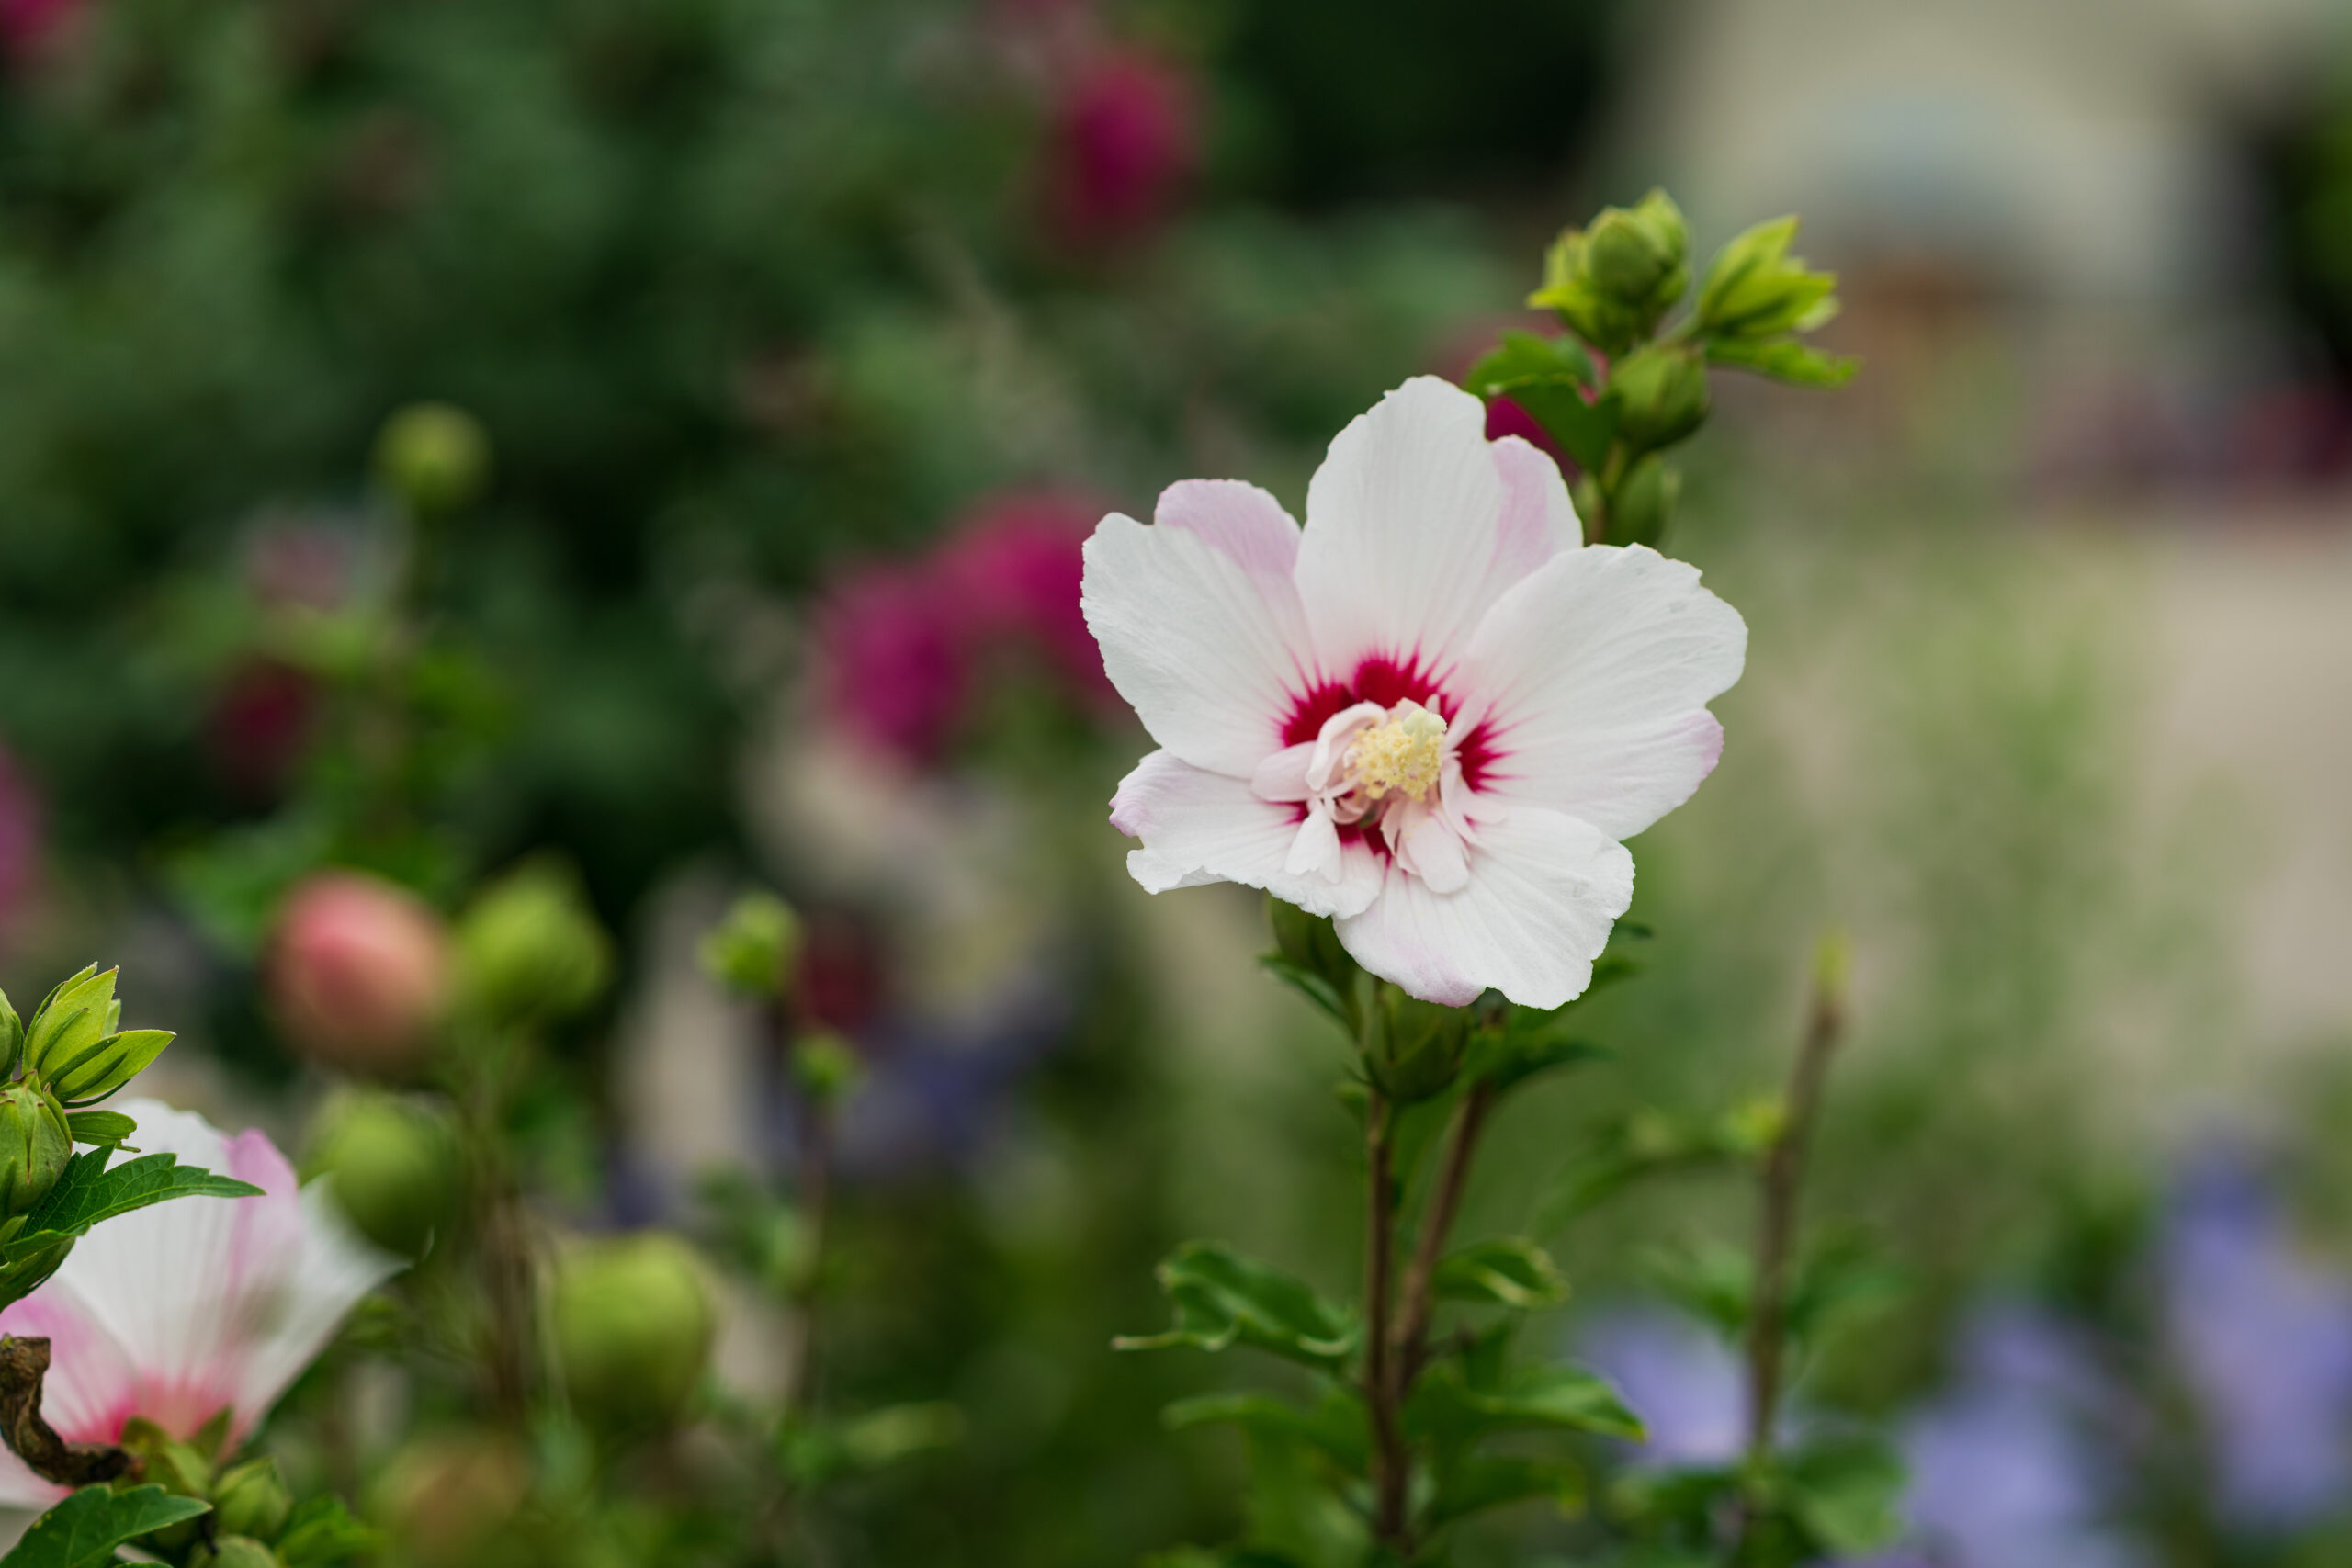
Syringa vulgaris ‘Krasavitsa Moskvy’
Syringa vulgaris ‘Krasavitsa Moskvy’ has pale pink buds that open to large, intensely fragrant double flowers in tones of white and blush pink. Growing 8-12 ft tall, this shrub makes a beautiful statement in the garden.
Reblooming Lilacs
In recent years plant breeders have developed lilacs with the ability to rebloom. After the first flush of springtime bloom, these lilacs take a rest in the heat of summer before flowering again later in the summer and into the fall. The second bloom cycle is not as heavy as the first, but it is still showy. Pruning immediately after the spring bloom will create a fuller shrub with more branches and encourage more flowers. These lilacs display good mildew resistance. Their compact size allows them to fit into smaller landscapes and they make a nice addition to perennial beds, mixed borders and foundation plantings. The Bloomerang series have large and fragrant flower clusters displayed on a dense and branching shrub which is perfectly sized for the small garden.
Syringa x ‘Bloomerang Purple’
Clusters of lilac purple, sweetly scented flowers cover the branches in spring and continue off and on until frost. It grows 4’-5’ in height and width, making it suitable for small spaces. It is a nice addition to the mixed border and can be used to create a fragrant, low hedge.
Syringa x ‘Bloomerang Dark Purple’
‘Bloomerang Dark Purple’ is slightly larger than others in the series, reaching 6’ in height and width. Its flower clusters are larger and more rounded in form. It has striking deep purple buds which open to classic deep lavender purple flowers.
Syringa x hyacinthiflora ‘Declaration’
Introduced by the U.S. National Arboretum, this outstanding cultivar has large, dramatic clusters of deep reddish-purple blooms that can be 8”-12” in length. It has the wonderful fragrance of the hyacinthiflora hybrids. Maturing at 6’-8’ tall and 5’-6’ wide, it is smaller than traditional lilacs, making it perfect for growing near a patio or in a mixed bed.
Syringa x hyacinthiflora ‘Mount Baker’
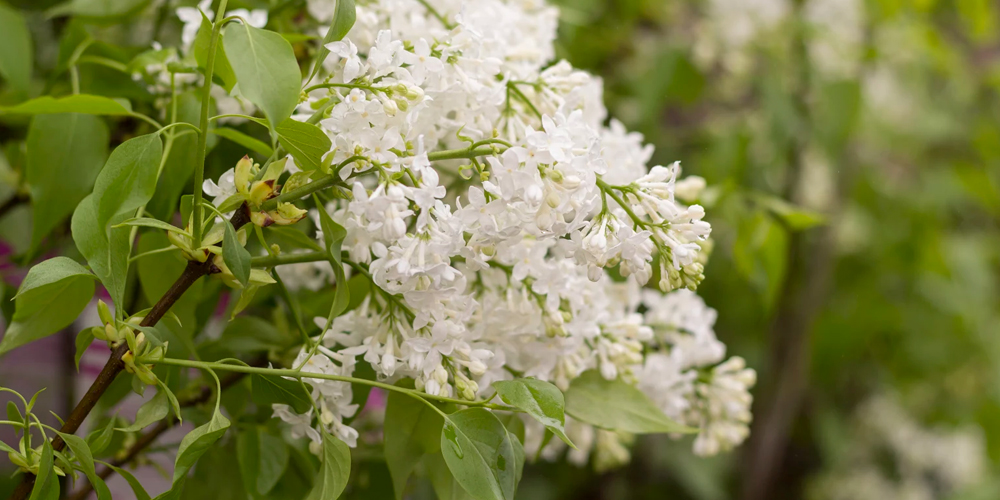
Lilac ‘Mount Baker’
‘Mt. Baker’ has intensely fragrant white blossoms in spring. Growing 10’-12’ high and wide, it retains branches close to the ground, giving it a full appearance. The foliage has strong resistance to mildew and remains attractive over a long season.
Syringa x hyacinthiflora ‘Purple Glory’
‘Purple Glory’ has luxuriant deep purple flowers that are wonderfully fragrant. There is a heavy bloom set even on young plants. New leaves will emerge in spring with a purple blue blush, and in fall these purple highlights return. Dense foliage fills branches low to the ground. Growing 12’ tall and 8’ wide, it makes an attractive specimen plant and can also be massed in a hedge or screen.


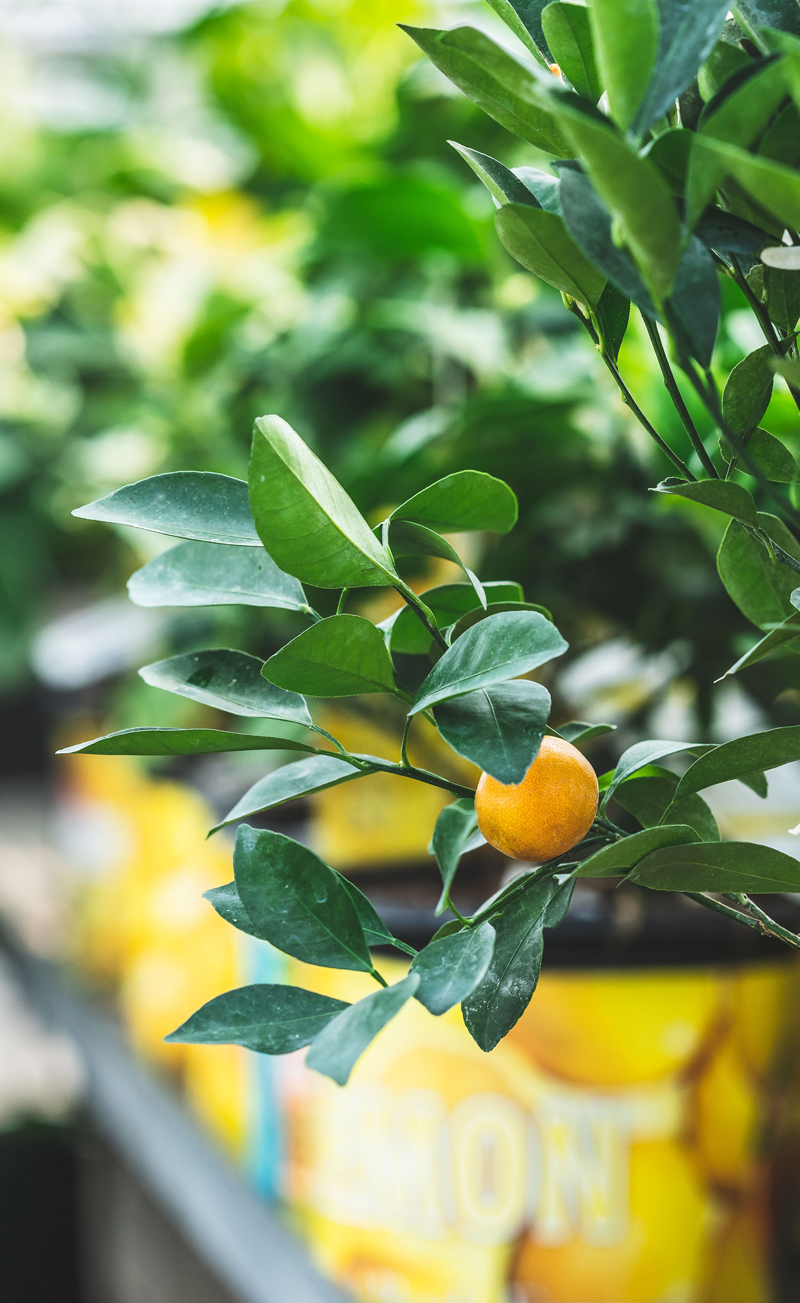
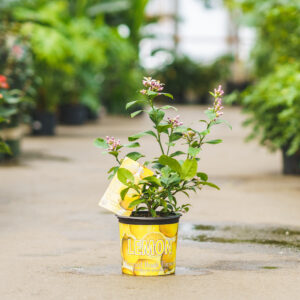 When we think of citrus in the US most of us call to mind the warm and sunny climates in Florida and California where oranges, lemons, limes, grapefruits, and kumquats can flourish outdoors. But even in New England, where our winters are not exactly conducive to growing tropical plants, we can get creative and enjoy fragrant citrus blossoms, gorgeous glossy foliage, and homegrown vitamin C!