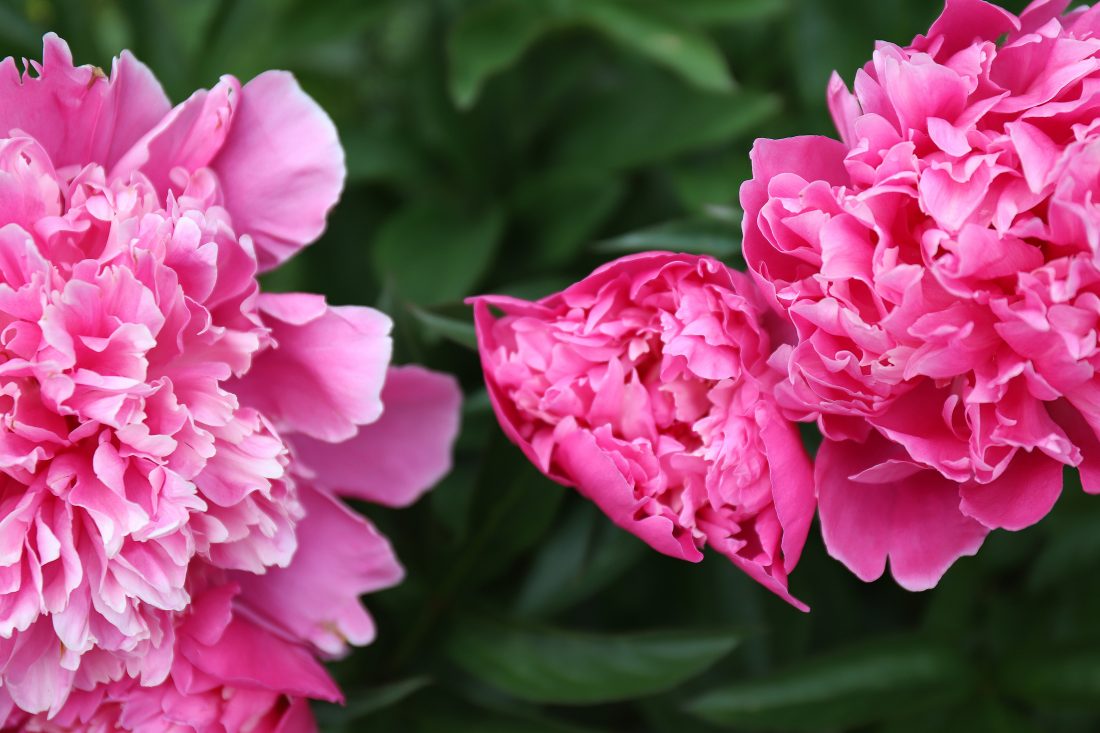
There are many ways to keep color in the garden even after the glorious days and exuberant flowering display of June. Like late-blooming teenagers, there are plants that come into their own after others have made their statement. They extend the joy of being in the garden into July, August and September, offering color and texture. And many late season bloomers are also magnets for pollinators such as butterflies and bees. Here are some perennials and shrubs that are worthy garden contributors later in the season.
PERENNIALS
Anemone hupehensis (Wandflower): The flowers of this perennial are suspended well above a tidy mound of rich green foliage. They wave in the wind and when backlit by the sun, make a beautiful scene. ‘September Charm’ has rose-pink flowers with yellow centers. ‘Honorine Jobert’ has ethereal white flowers.
Aster divaricatus (Wood Aster): The delicate, airy clouds of wood aster begin to bloom in late summer. Small, daisy-like flowers with yellow to red centers are carried above dark green to black stems. It grows 1.5-2.5’ tall in filtered to full shade. It is available in white, pink or purple varieties. Native to the open woods of the eastern United States, it is attractive to butterflies.
Aster novae-angliae (New England Aster): The rich colors of this aster range from blue-purple to lavender-pink, with yellow-orange centers. The blooms are large and showy. They provide a critical fall nectar source for pollinators, especially Monarch butterflies as they stock up for their fall migration to Mexico.
Ceratostigma plumbaginoides (Blue Plumbago): This is a beautiful spreading, low-growing groundcover that reaches just 8-12” in height. What a treat when deep blue flowers appear in late summer! And as fall approaches, its shiny green foliage turns a beautiful bronze-red color.
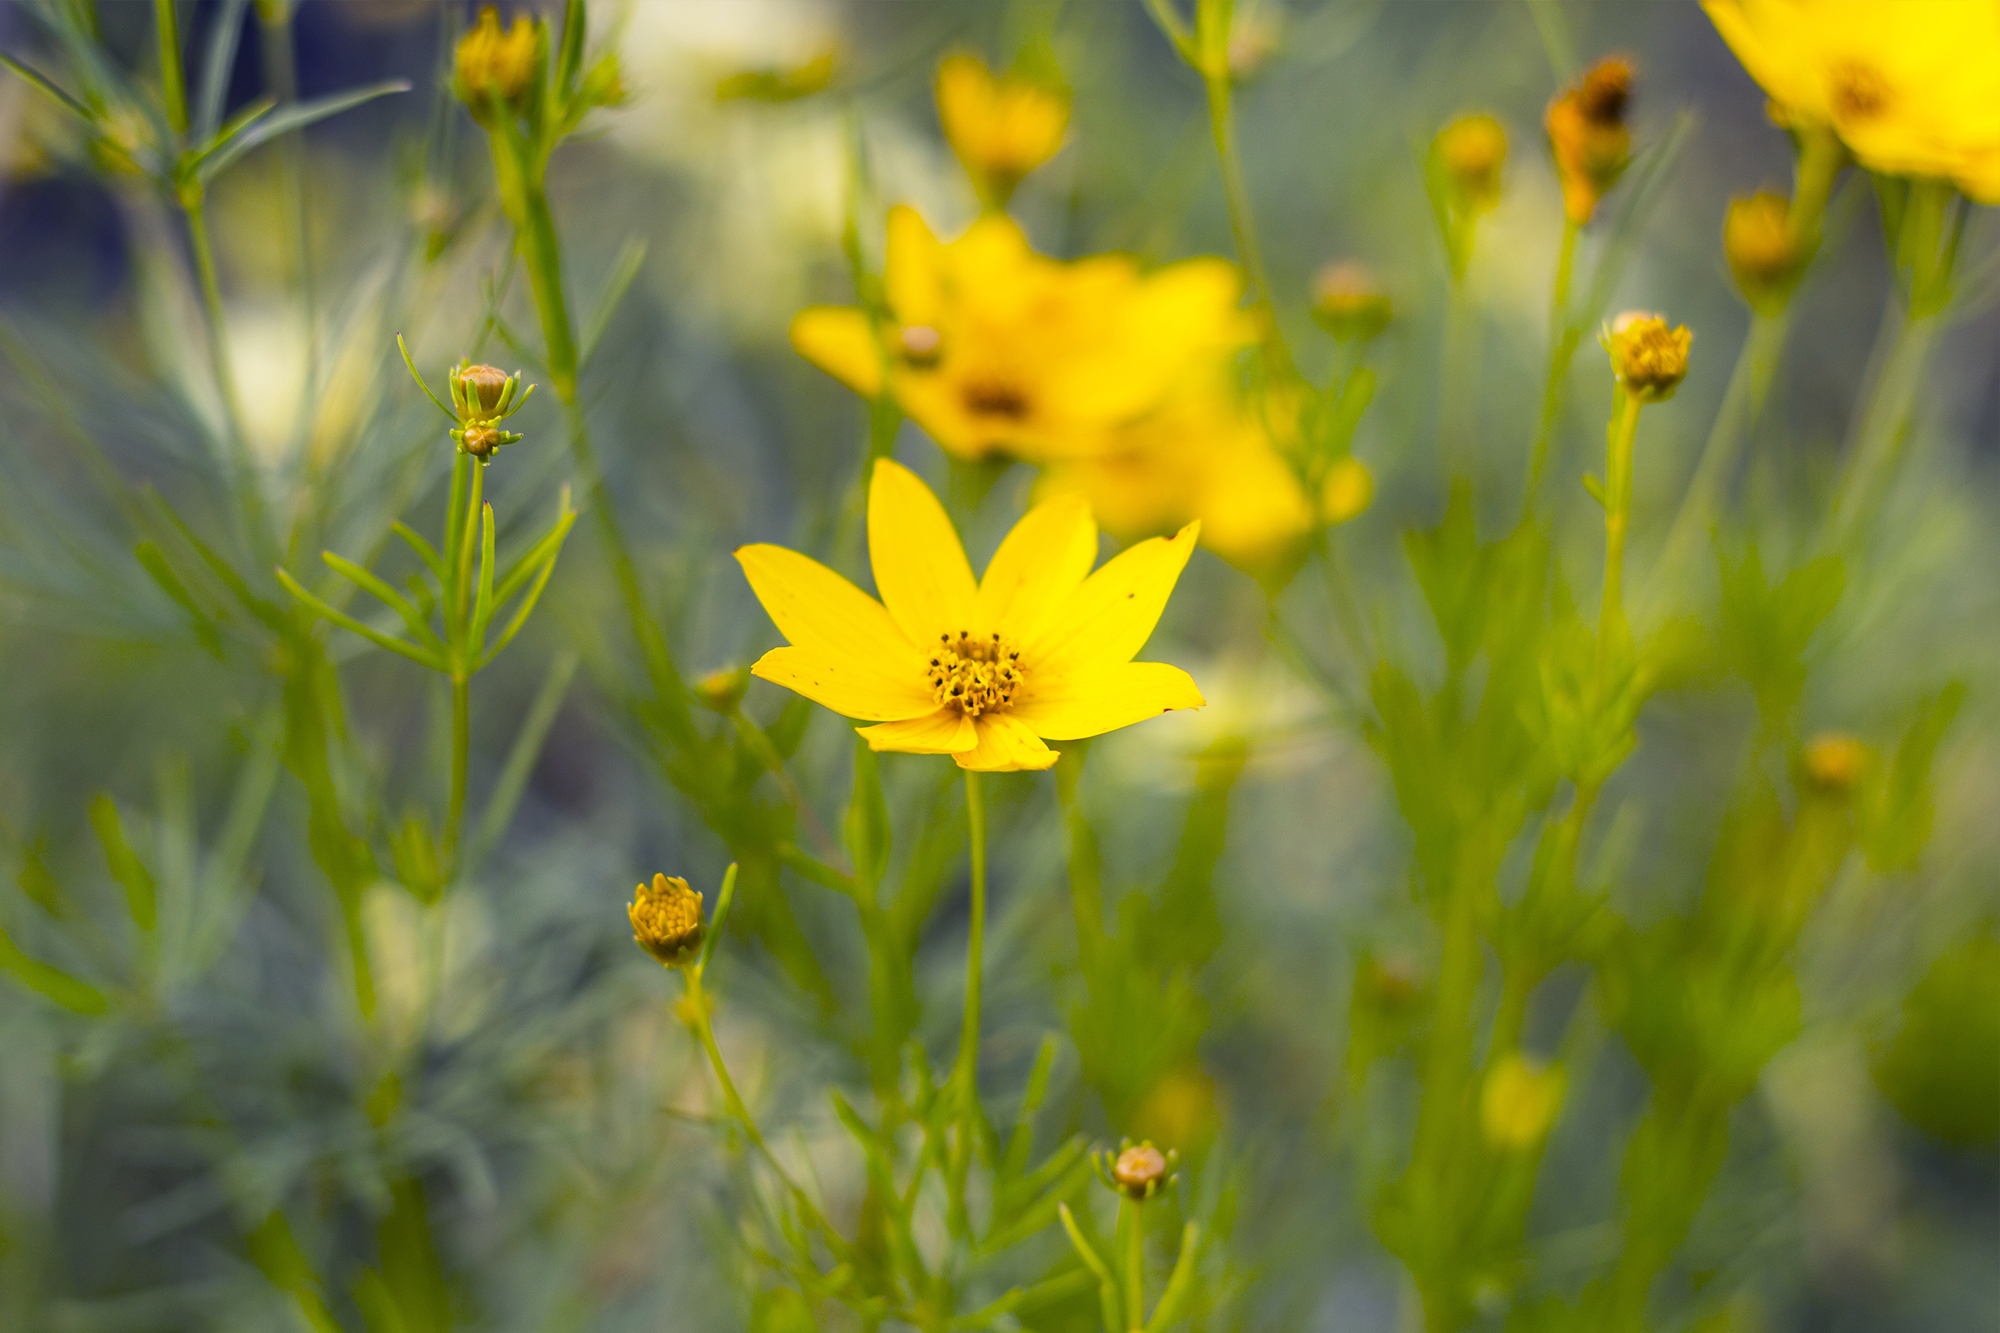
^^ Coreopsis grandiflora (Large Flowered Tickseed): Count on any of the Coreopsis varieties to provide warm yellow tones to the garden. There are many varieties available, all offering daisy-like flowers. They are deer resistant and attractive to pollinators. They offer a long period of bloom, beginning in midsummer and extending into the fall.
Coreopsis verticillata (Thread Leaf Coreopsis): This type of coreopsis has delicate leaves and stems and bears loads of flowers. Many varieties are available. ‘Moonbeam’ has flowers the color of chilled butter. ‘Mercury Rising’ has velvety red flowers with a bright yellow center.

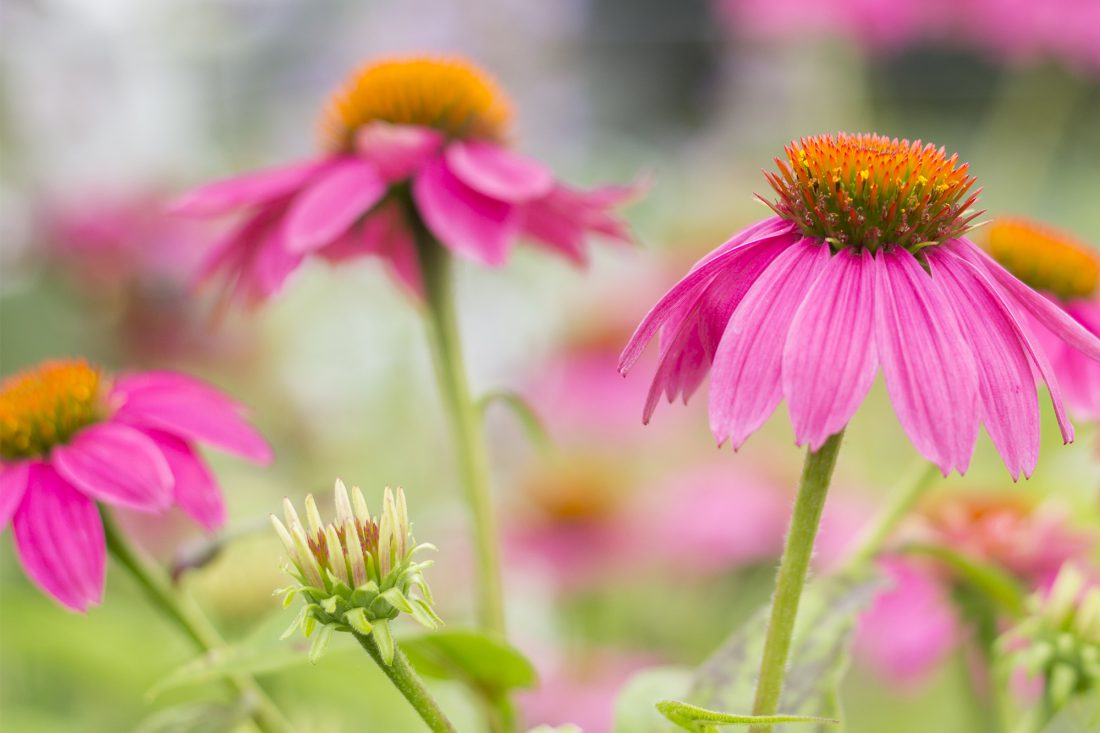
^^ Echinacea (Coneflower): One of the most iconic plants in a late summer New England garden is the purple coneflower with its showy 5” daisy-like pink flowers. It blooms throughout summer on upright stems and typically grows 2-4′ tall. If left standing into the winter, the cones in the center of the flowers will be a food source for birds. Plant breeders now offer us additional color and size choices like yellow and white.
Eupatorium (Joe Pye Weed): Native to the eastern United States, this plant makes a statement in the garden. Its reddish purple flowers form large, showy heads on 5-6 foot, wine-colored stems. Flowering begins in late August, but the stems and buds are ornamental well before then. Butterflies love it.
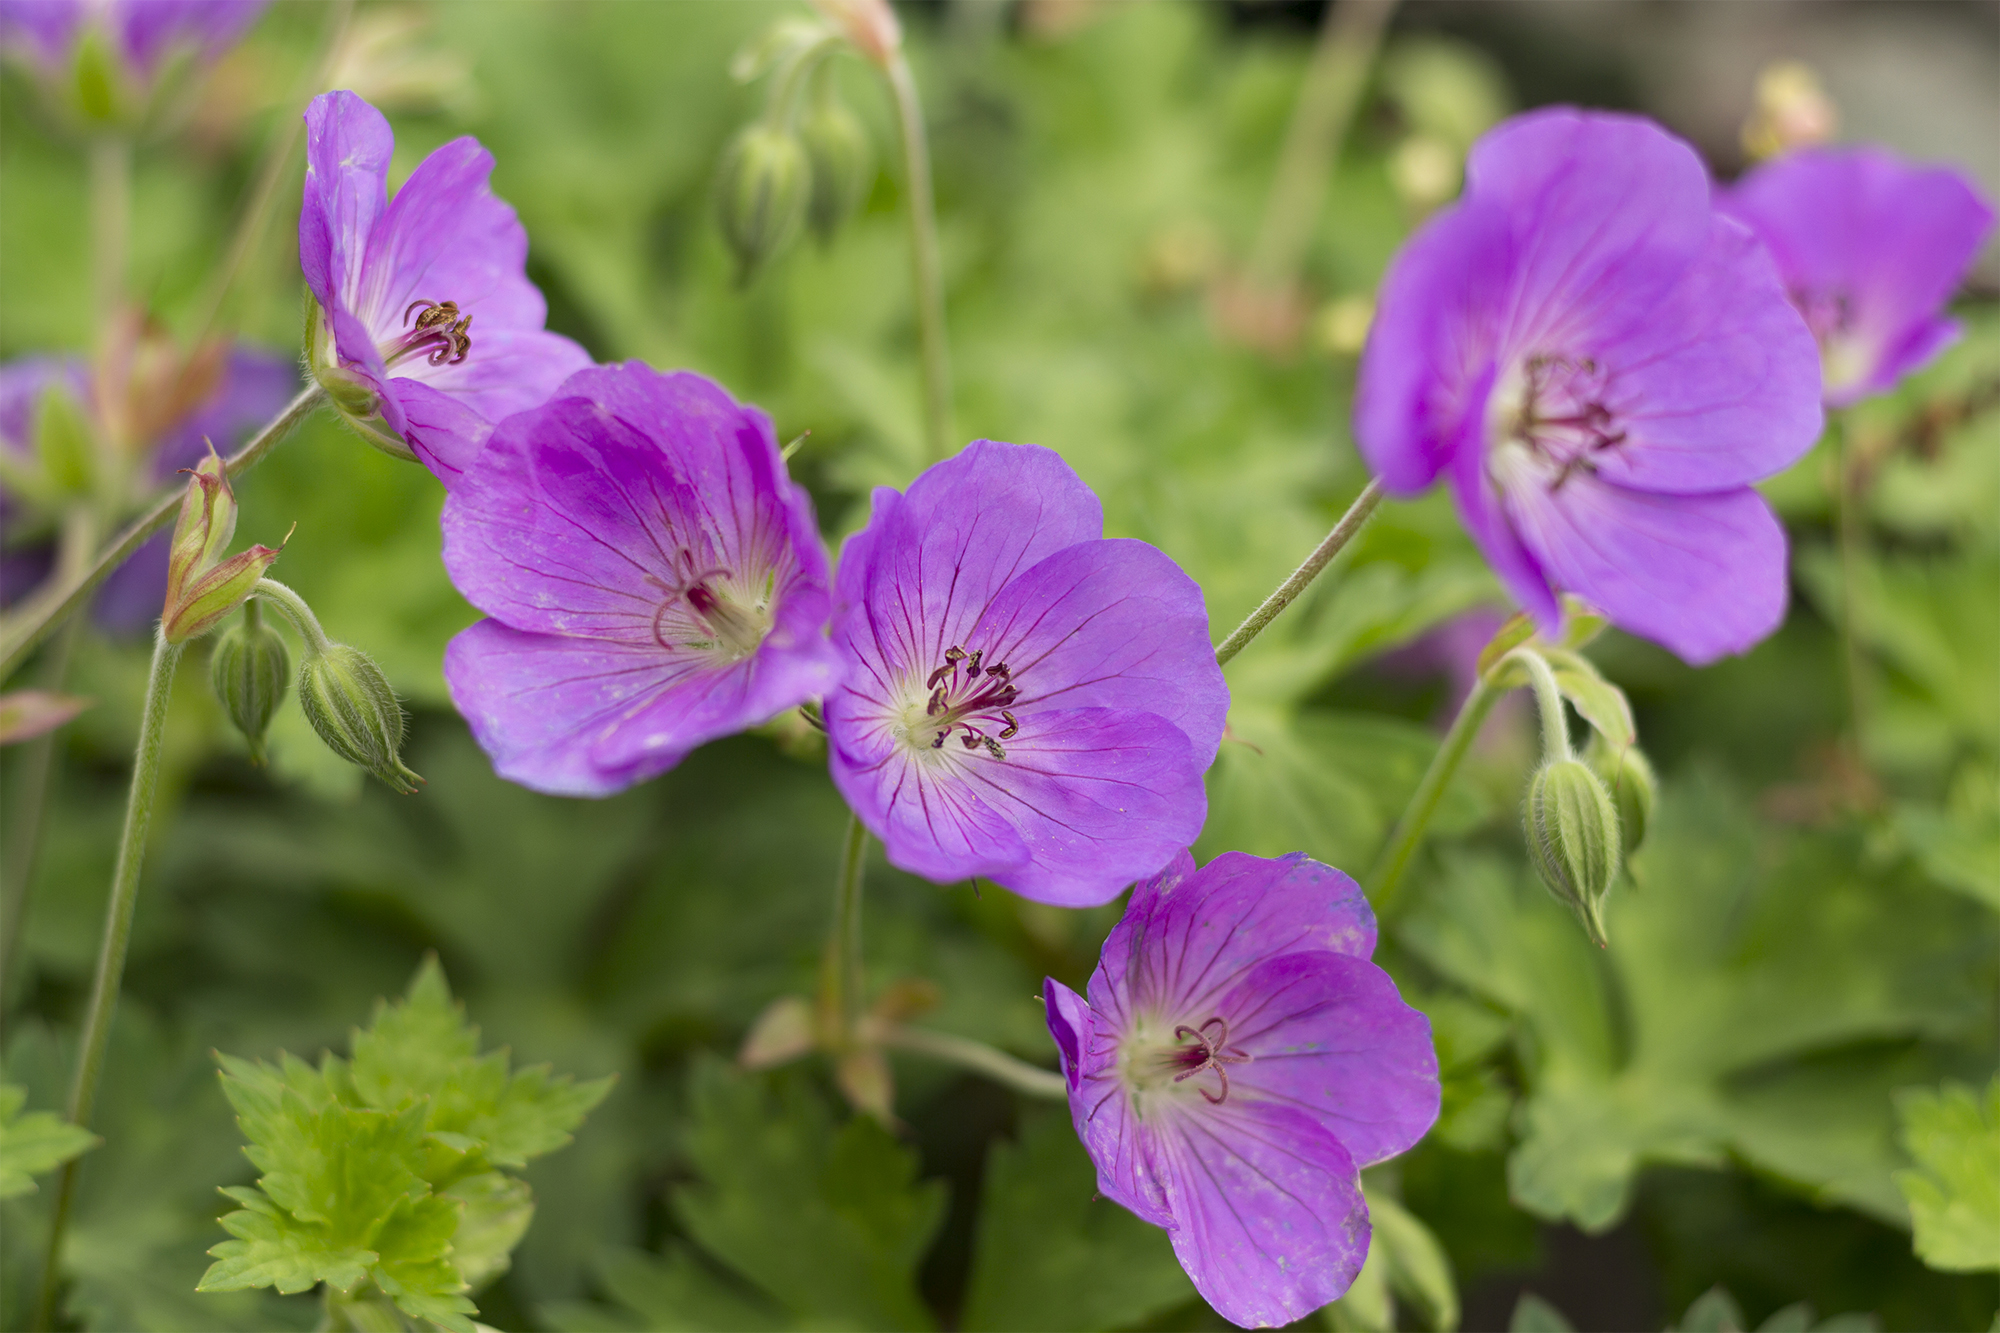
^^ Geranium ‘Rozanne’: This hardy geranium was named Perennial Plant of the Year in 2008 – and for good reason. It is one of the longest blooming perennials. It has violet-blue flowers with a white eye that begin blooming in early June and continue without deadheading until the end of October. The foliage turns a lovely shade of bronze-red in the fall. Growing 18” tall and 2’-3’ wide, it provides color, texture and mass to a garden bed or foundation planting.

^^ Hemerocallis (Daylilly): There is nothing easier to grow than a daylily. It comes back faithfully every year with gently arching long blades of foliage. In July and August its flowers stand proudly above the foliage. And those flowers are available in a range of colors – yellow, peach, pink, red – with a central eye of contrasting color. There are single flowers, double flowers, and even some flowers whose petals have ruffled edges. A mature clump is a handsome sight.
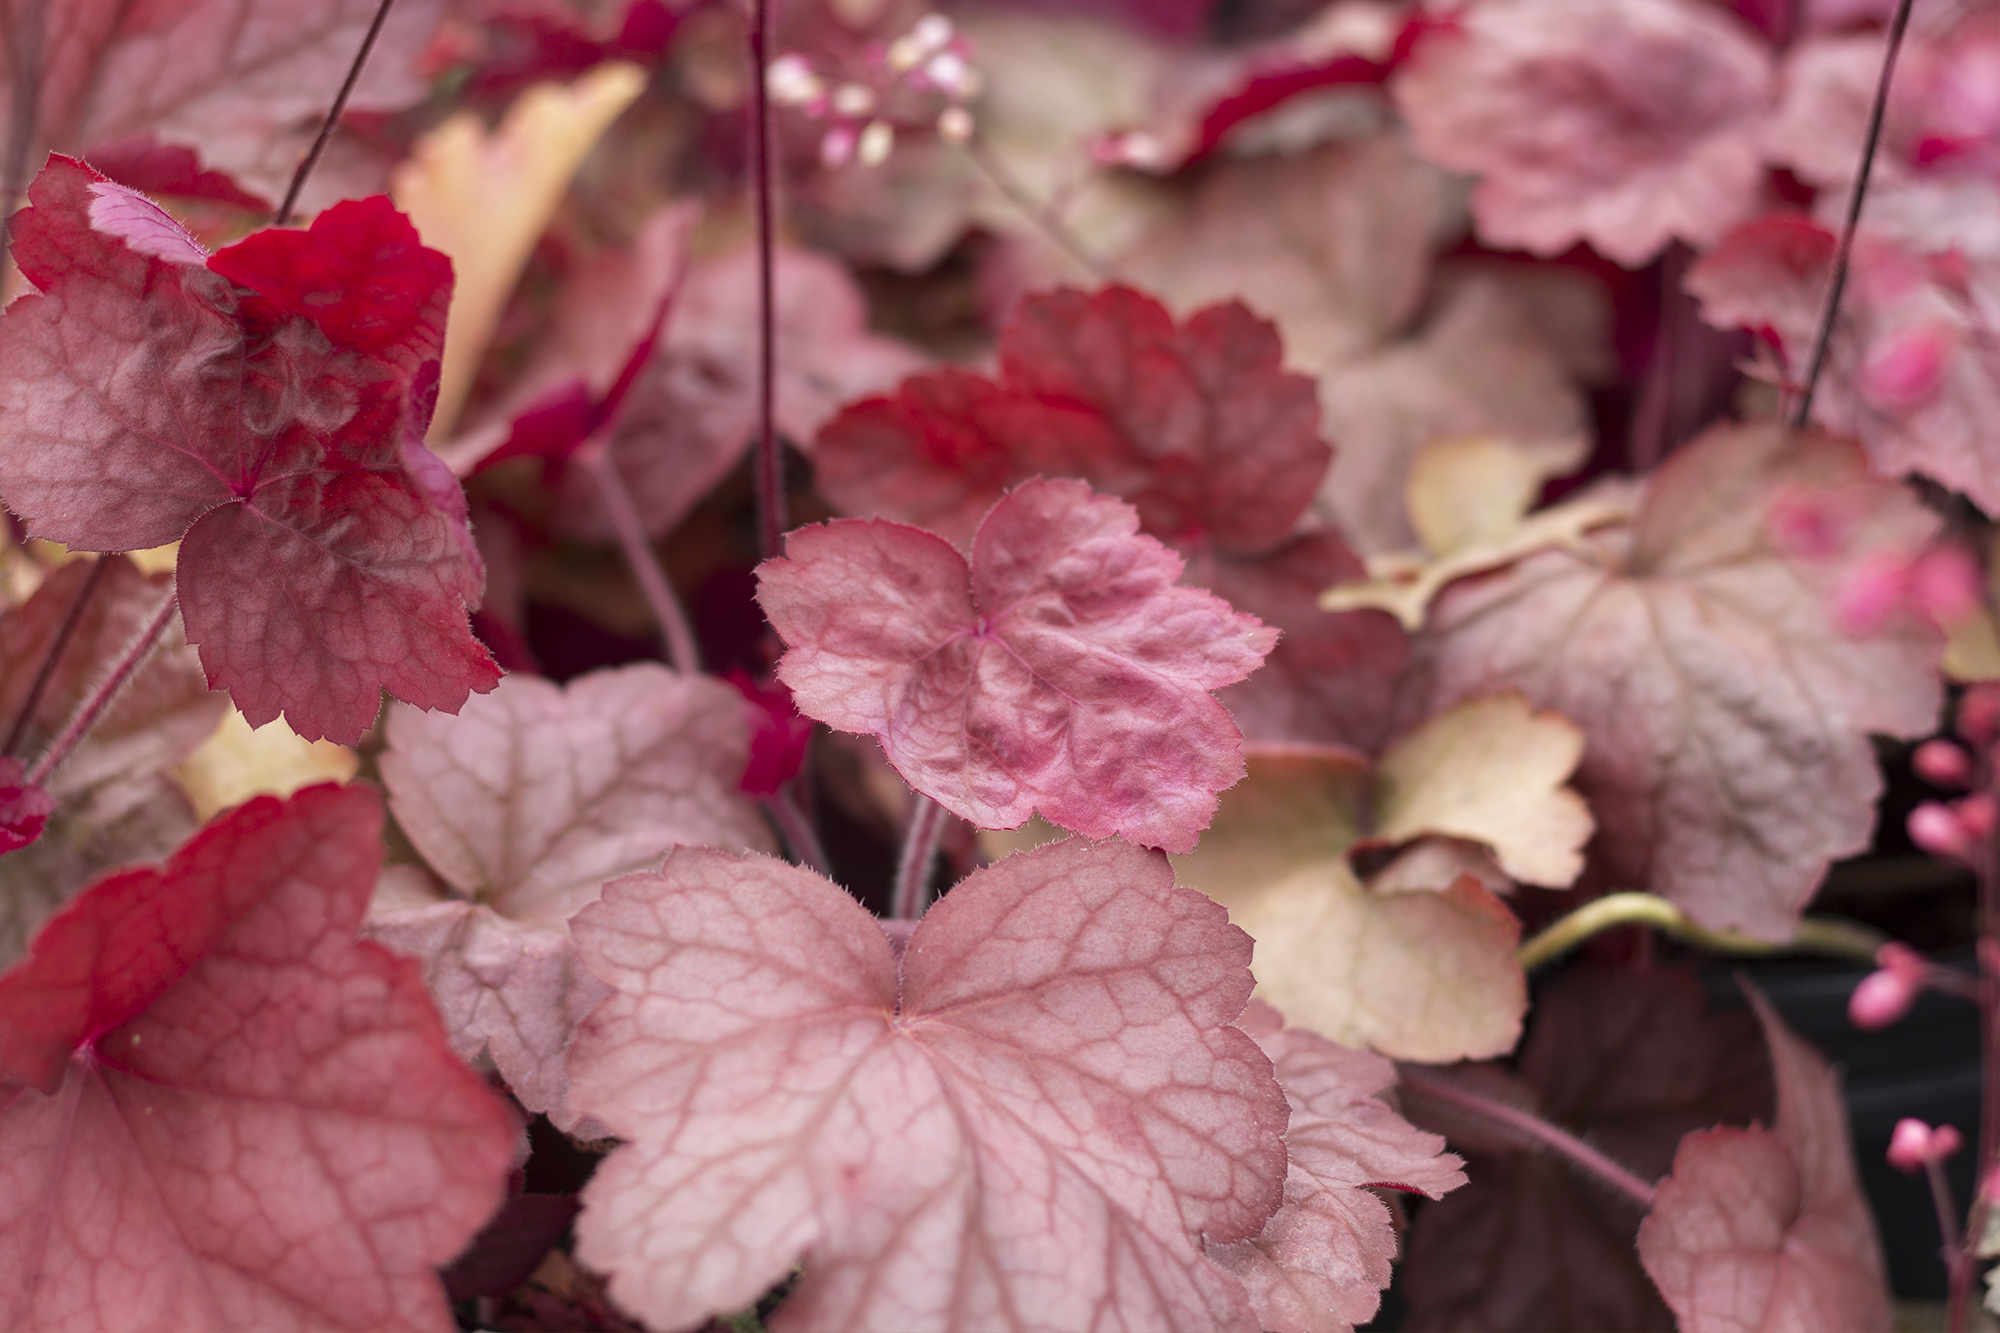
^^ Heuchera and Heucherella: These plants are wonderful colorful additions to a shady area. While they have tiny bell-shaped flowers on wand-like stems, they are more often grown for the season-long color of their leaves. They come in varieties with unusual foliage colors ranging from yellow to caramel to raspberry red to purple and almost black. They are clump forming plants that thrive in partly sunny to shady situations. They enjoy soil that is rich in organic matter.
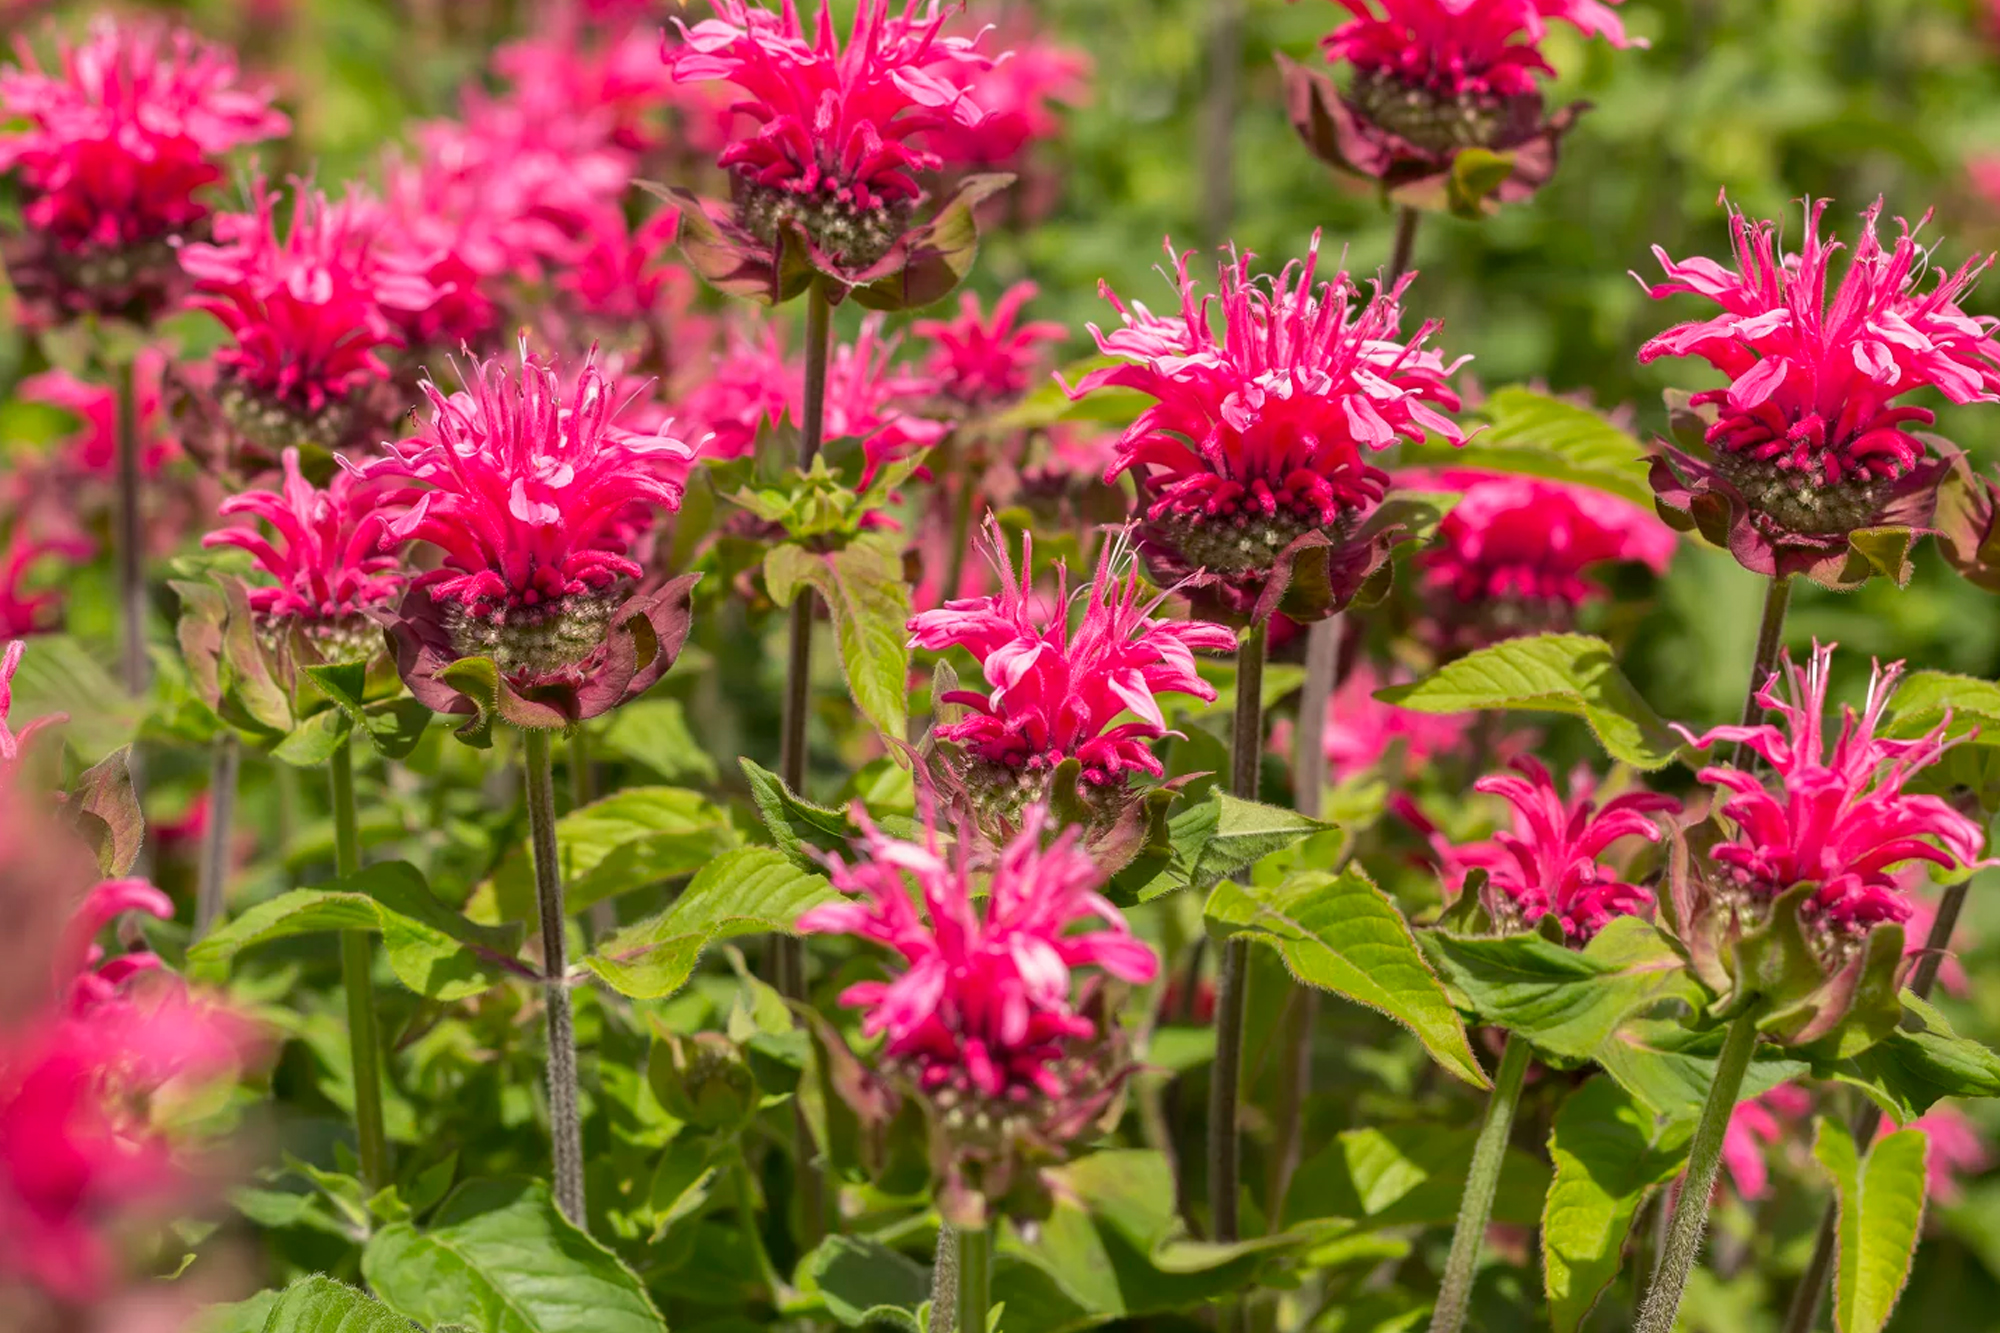
^^ Monarda (Beebalm): Monarda is a long-time favorite in the perennial border. Plant breeders have introduced many new varieties that offer new colors, sizes and improved mildew resistance. Plants have sturdy stems and with time will create a nice mass in the perennial border. Showy flowers are complex in their structure and attract all manner of pollinators. And did we mention it is deer resistant?
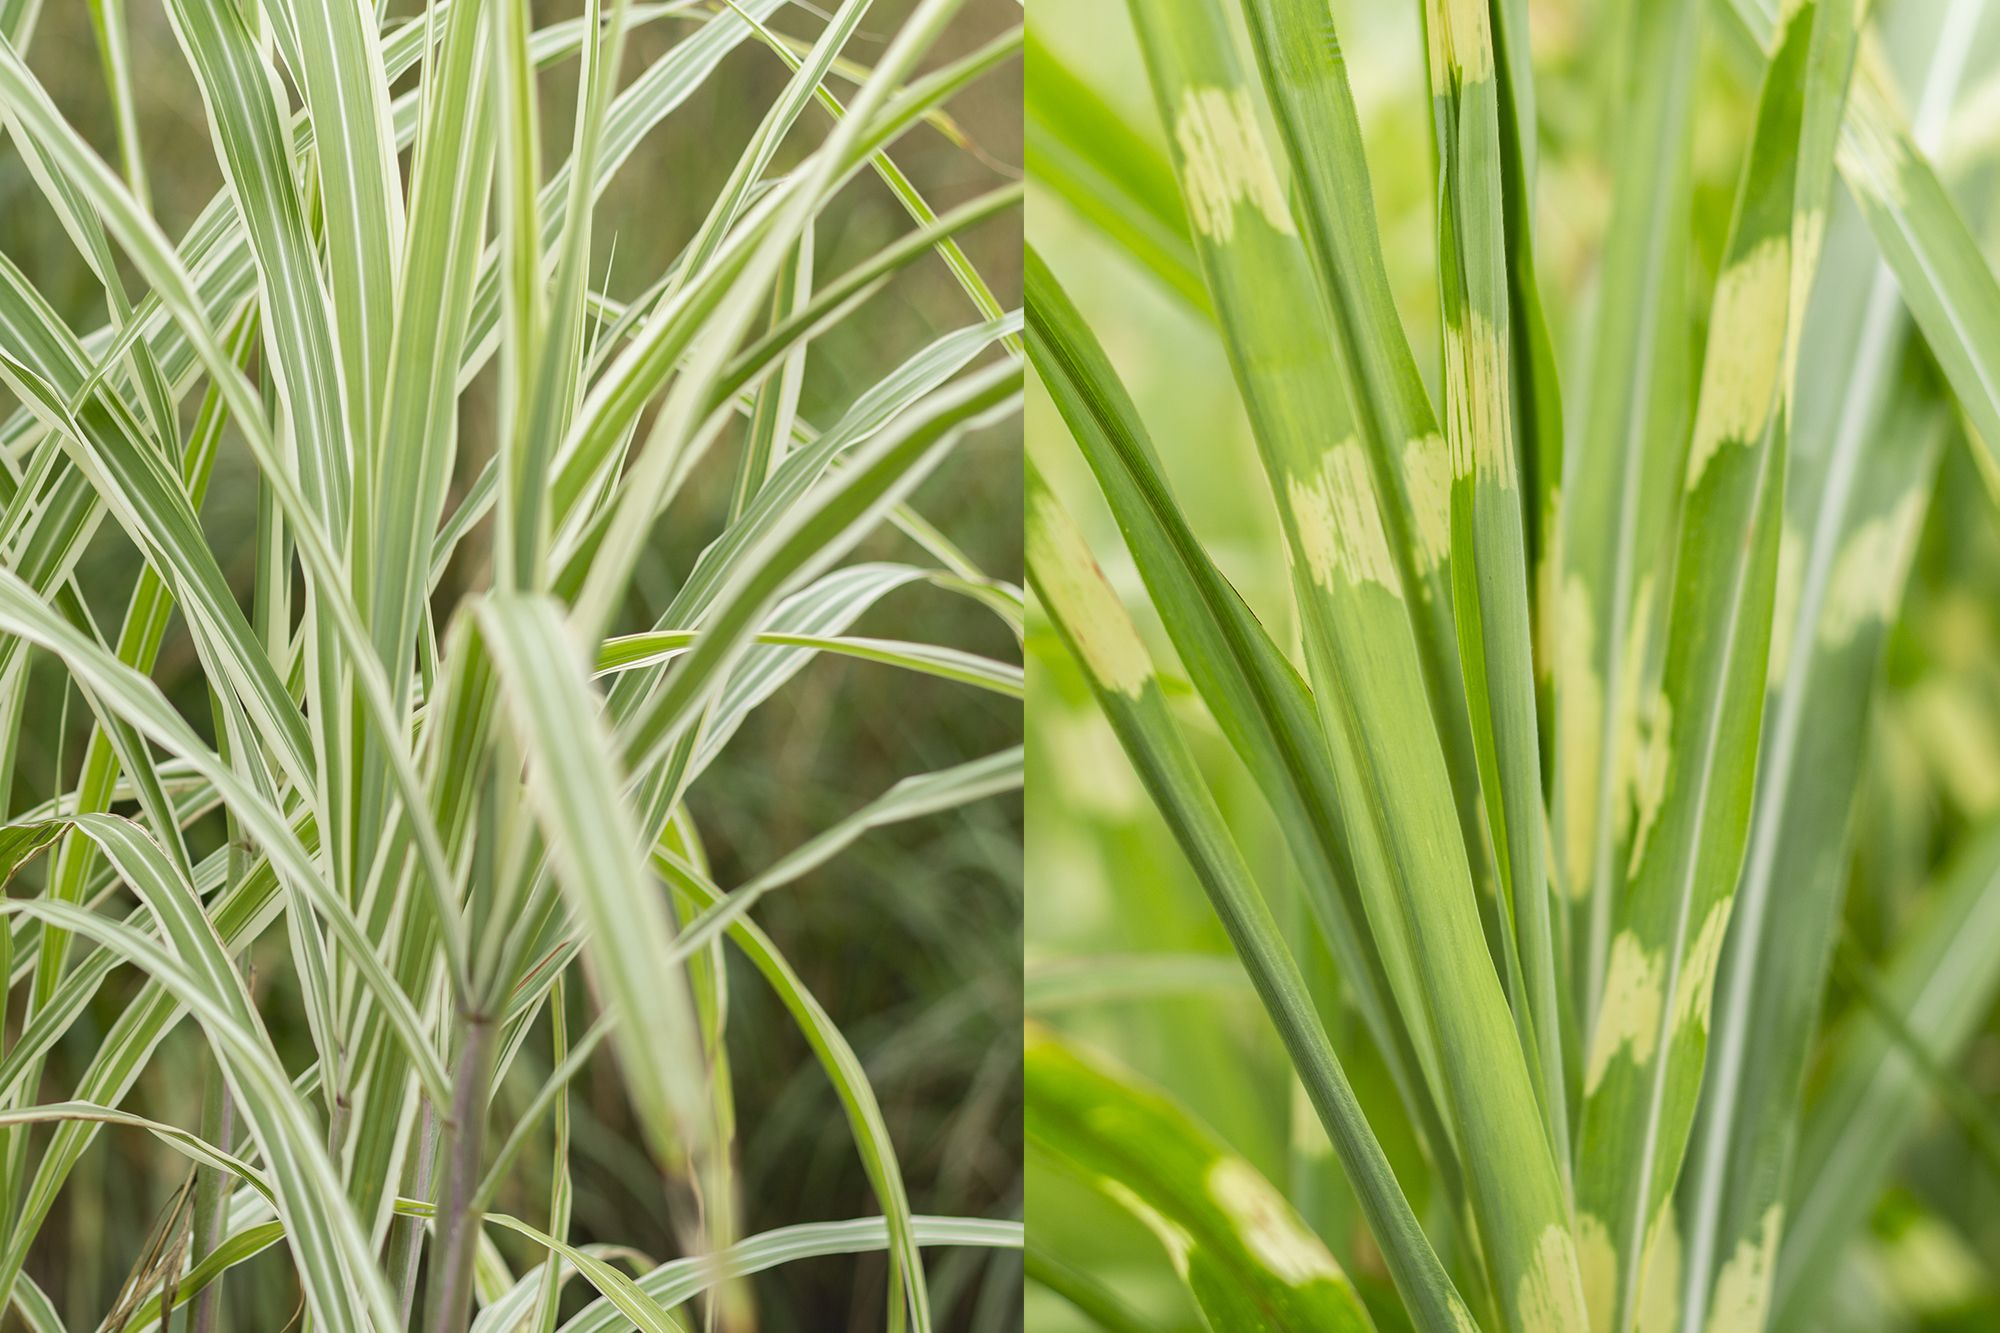
^^ Ornamental Grasses: This large family of beautiful perennial plants adds texture, color and movement to the garden. They also provide interest in the fall and winter landscape, especially when backlit by morning or afternoon sun. When the flowers of summer are only a memory, you’ll find delight looking out on frosted ornamental grass spikes in the early light of a cold winter’s day. Cut back to the ground in early spring.
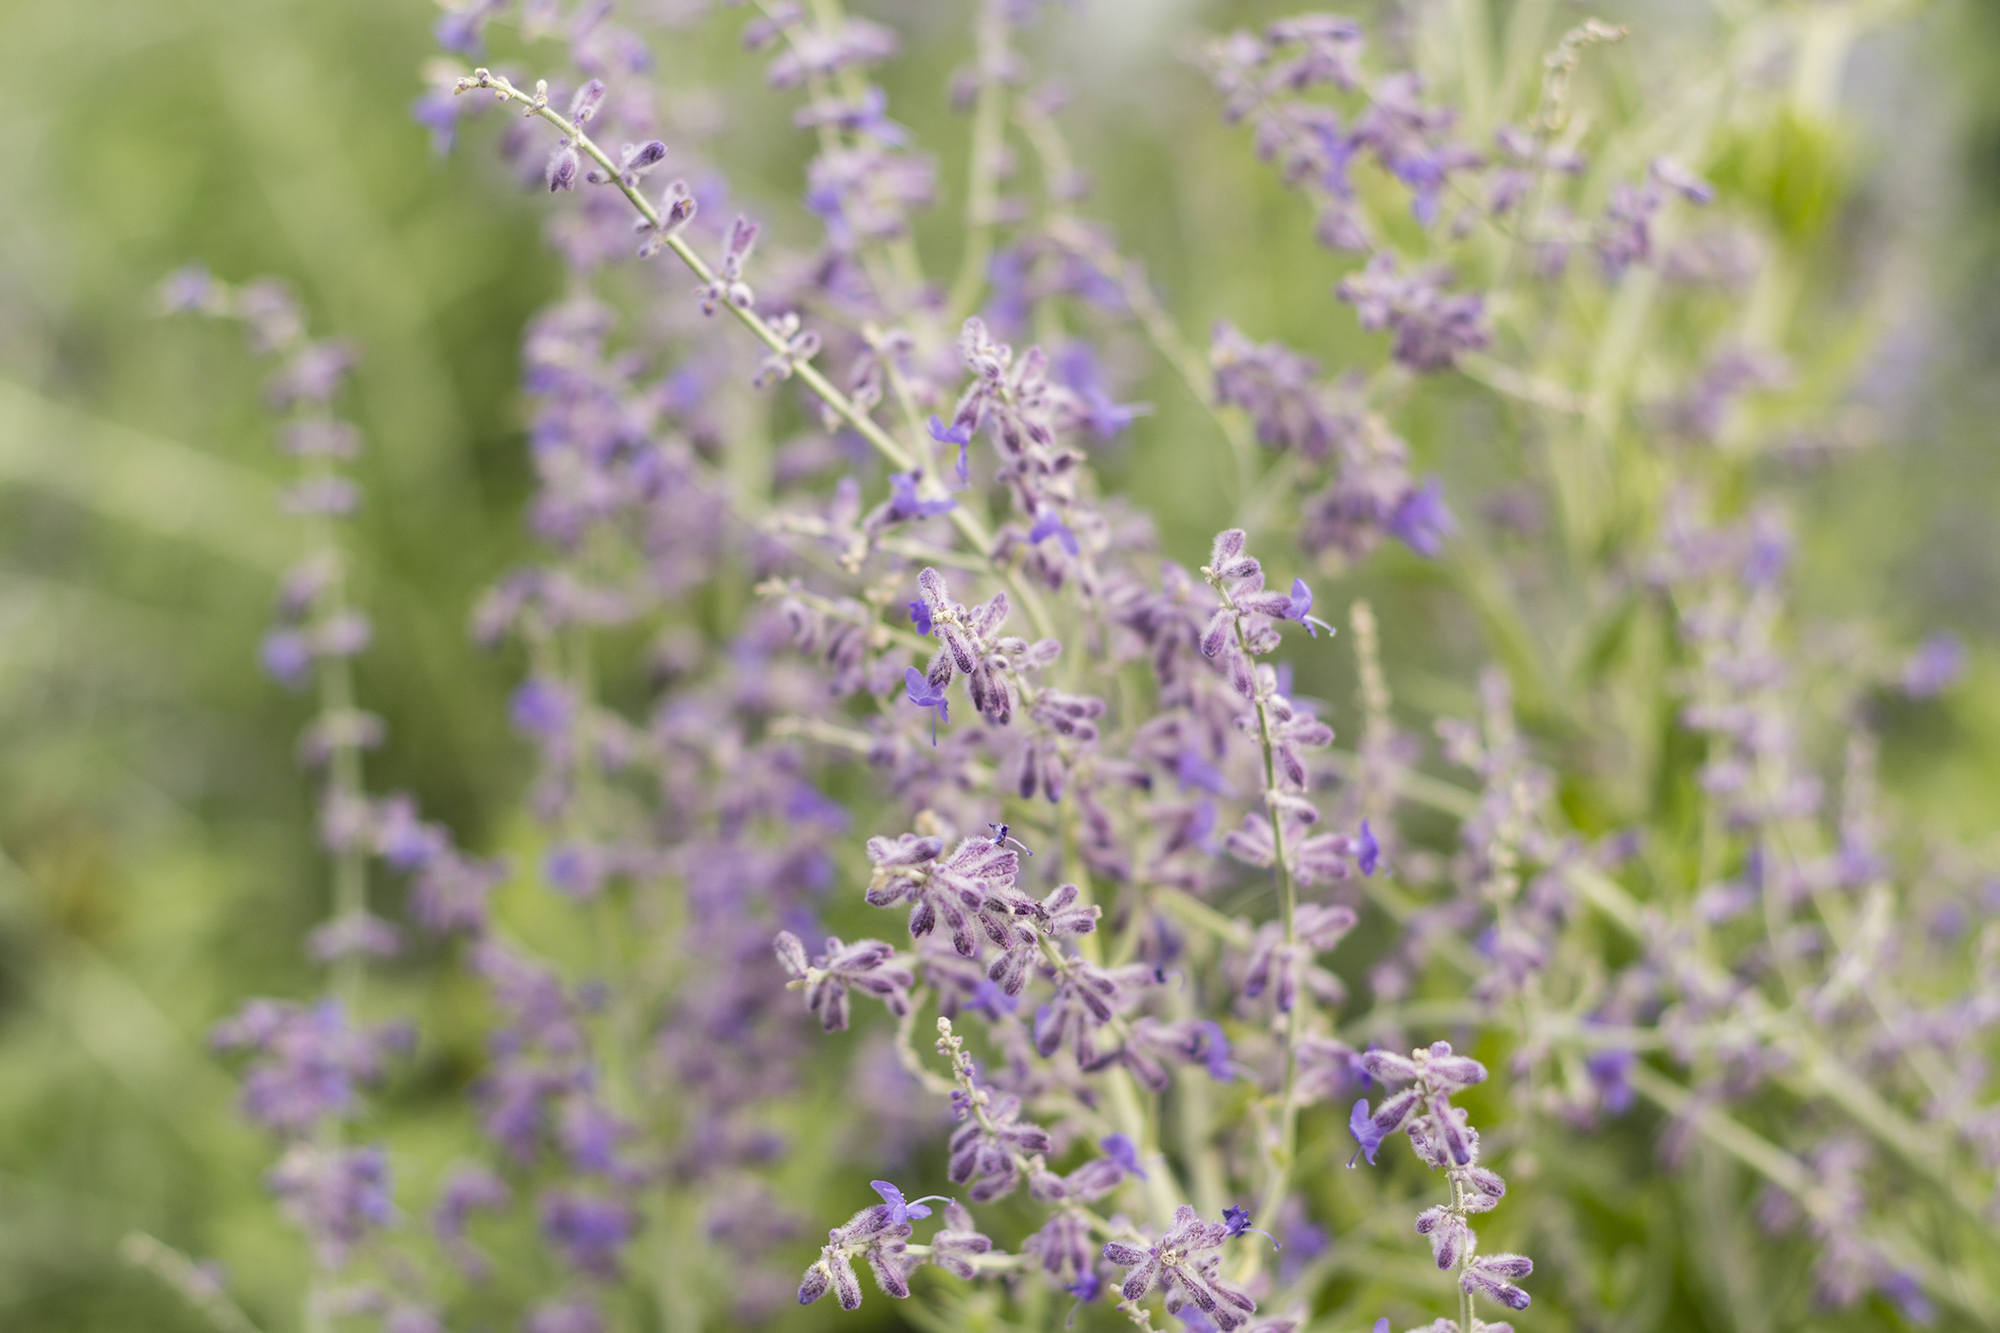
^^Perovskia atriplicifolia (Russian Sage): This is a lovely shrubby, aromatic perennial with finely dissected silver-green leaves. Interestingly, the plant’s stems are square. It becomes even more interesting in late summer through autumn when tubular pale blue flowers open. When planted in full sun its stems have a nice, upright posture and grow to a height of 3-4’. New varieties are available that have a more compact habit, growing to 2’ in height. Cut the plant back almost to the ground in late winter or very early spring. The whole effect is of a delicate, airy plant that complements everything around it. Perovskia atriplicifolia was named Perennial Plant of the Year in 1995.

^^ Phlox paniculata (Garden Phlox): This upright perennial is a classic in the perennial border. It grows in a clump 2-4’ tall and 2’ wide. Its pointed green leaves are held on sturdy, upright stems. But the reason it is so beloved has to do with its fragrant, densely packed, tiered flower clusters that hold court from July into September. A large number of varieties are available in colors including, white, lavender, pink and red, and today’s varieties are resistant to powdery mildew which troubled older varieties. ‘David’ is a beautiful white variety which glows in the evening light. ‘Bright Eyes’ has lovely pink flowers with a ruby colored center. While you are enjoying the flowers, don’t be surprised to see the butterflies and even hummingbirds doing so as well!
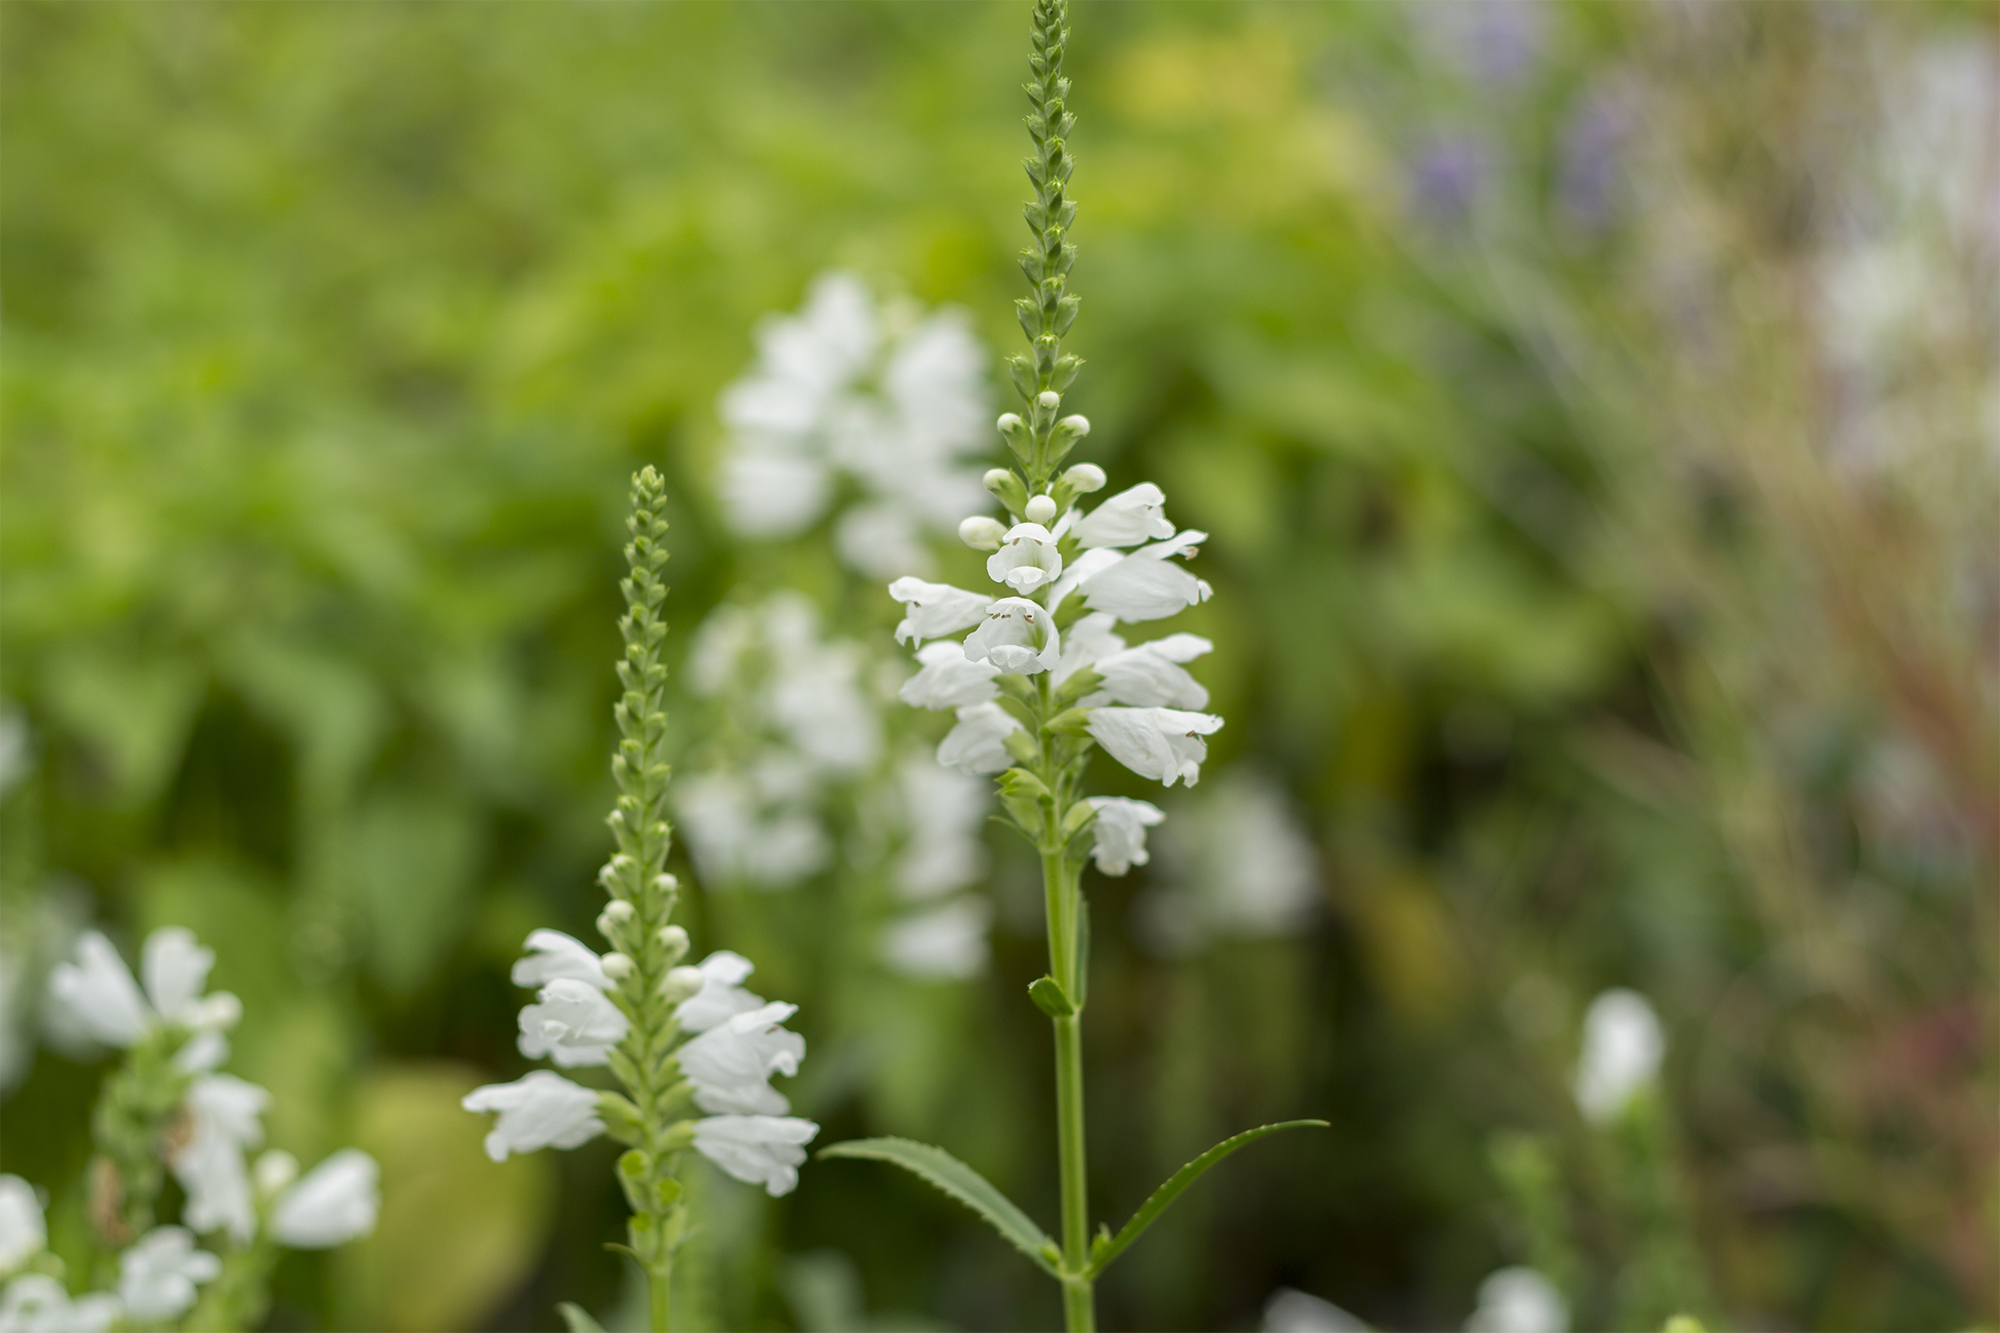
^^ Physostegia virginiana (Obedient Plant): You may be familiar with the lavender flowers of Physostegia virginiana. While it may have a tendency to grow beyond its bounds, ‘Miss Manners’ forms a clump of well-behaved deep green foliage topped with fresh white flowers. It grows to a height of 18-24” and a similar spread. It adds a crisp and refreshing late-season element to the perennial border.
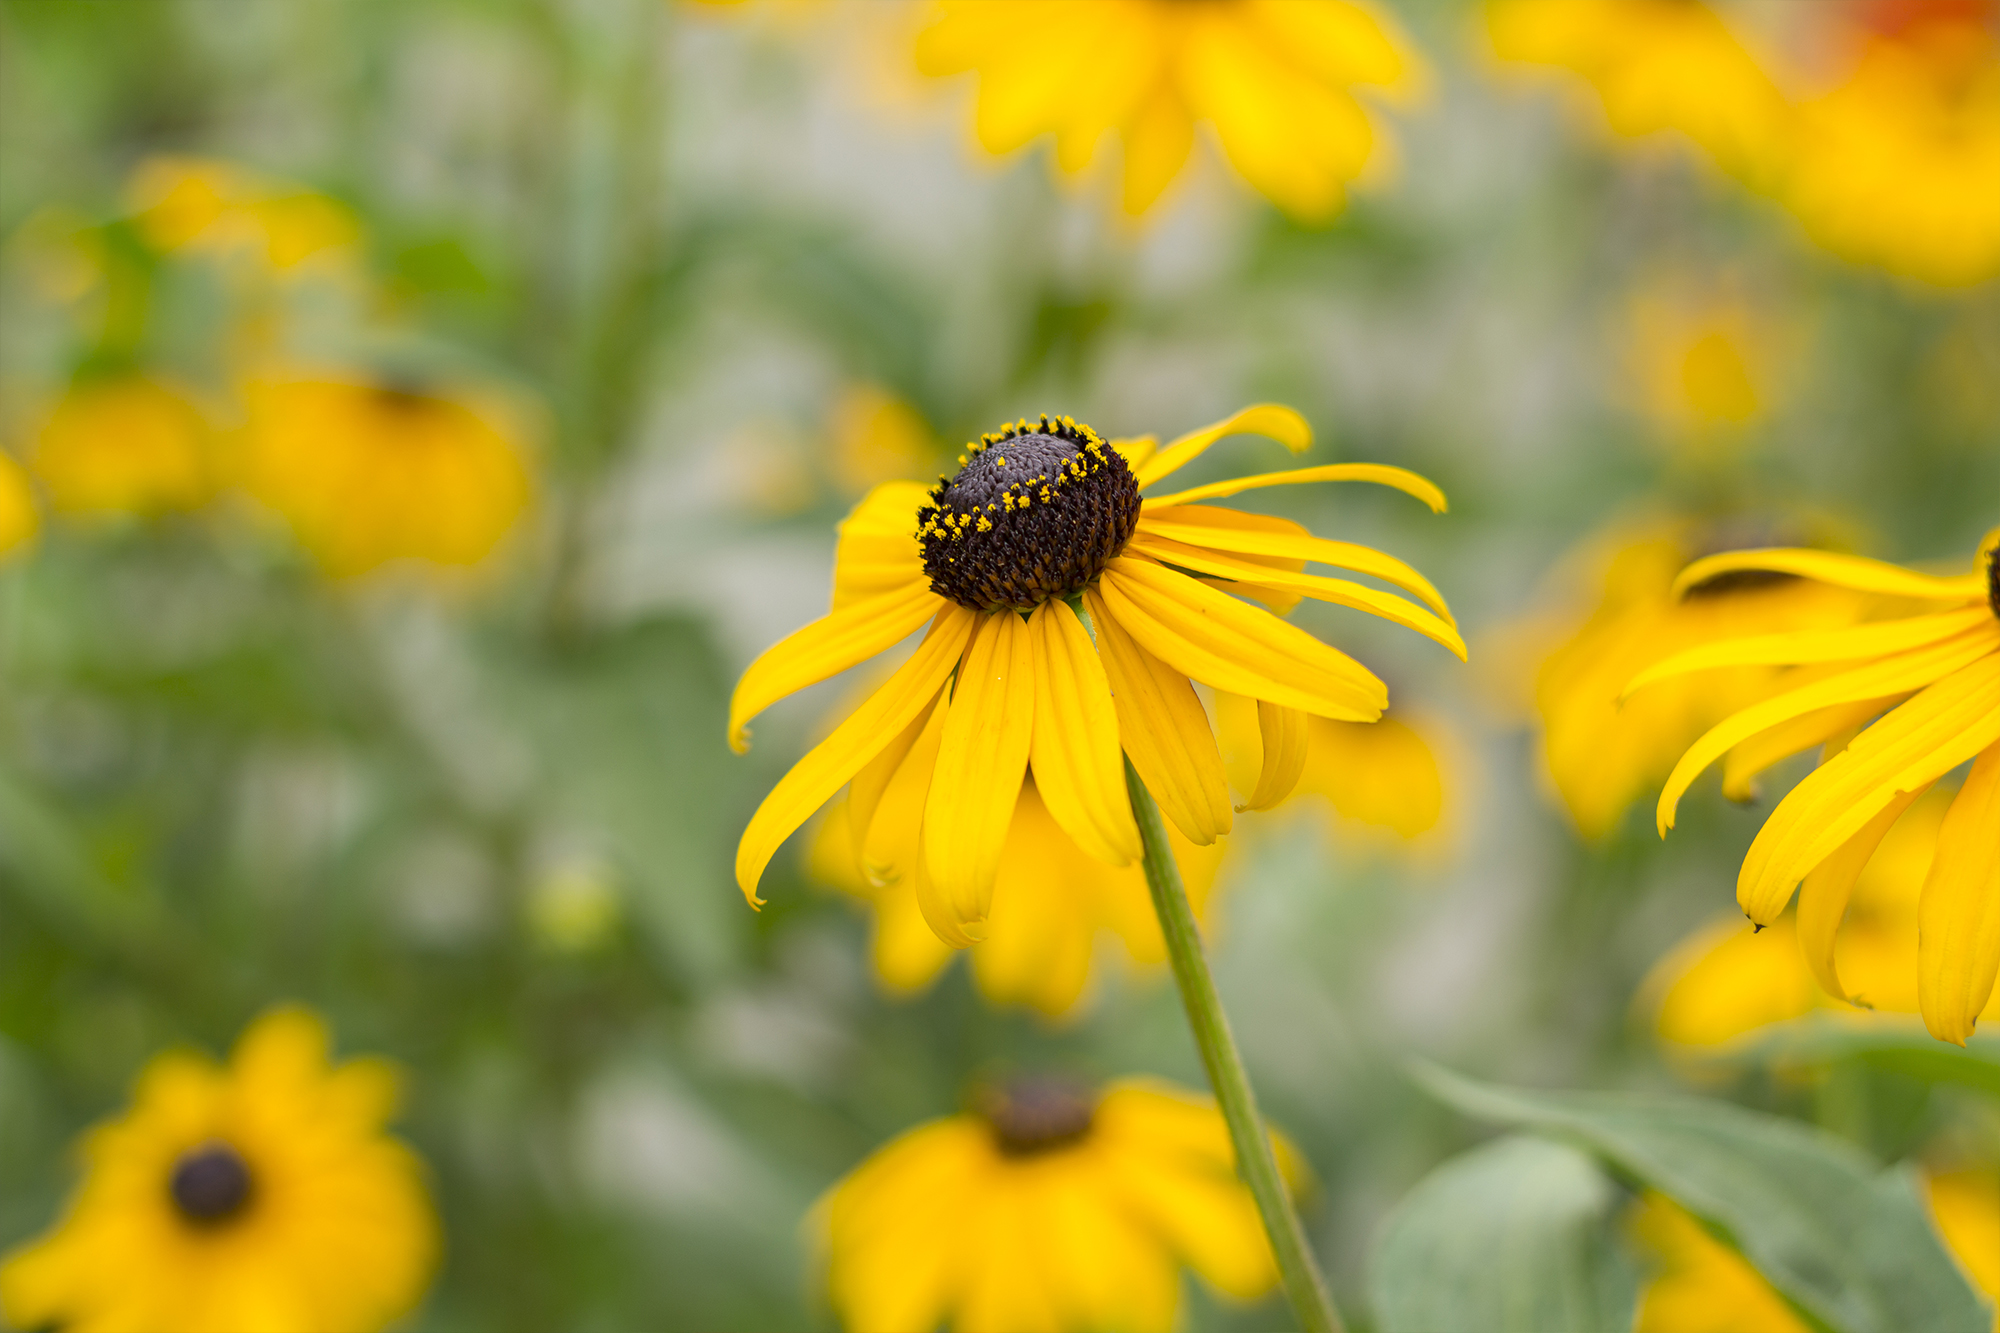
^^ Rudbeckia fulgida (Black Eyed Susan): One of the most frequently planted Rudbeckia is a variety called ‘Goldsturm’. It has showy dark golden-yellow flowers with black centers, and bloooms from July into mid-October. Growing 24” tall, it tolerates a wide range of conditions and if happy, will multiply readily. It was named Perennial Plant of the Year in 1999. It happens to be a favorite of goldfinches who love its seeds.
Rudbeckia nitida ‘Herbstsonne’: This is a taller growing Rudbeckia that looks fabulous at the back of the perennial border. Slender branching stems hold bright green, toothed leaves. It has bright yellow daisylike flower petals that bend down from a large green cone. Despite its height of 4-6’, it needs no staking. If left to stand for the winter, it is a good food source for birds.
^^ Sedum (Stonecrop): Whether in groundcover form or taller upright versions, every garden should have some Sedum. Perhaps most familiar is the 24” tall ‘Autumn Joy’ with its blue-green foliage and large heads of delicate bright-pink flowers that age into a beautiful copper color as fall approaches. Similar varieties include ‘Brilliant’ which has hot pink flowers, and ‘Autumn Fire’ whose flowers deepen to bronze-red. These easy and reliable plants pair well with ornamental grasses, asters and many other perennials. Also of great use in the landscape are low growing sedums which can serve as decorative ground covers, and fill crevices in rock walls or spaces between stones in a pathway. Their leaves come in a variety of colors and shapes, and their flowers are often vivid tones of yellow, pink or red.
SHRUBS
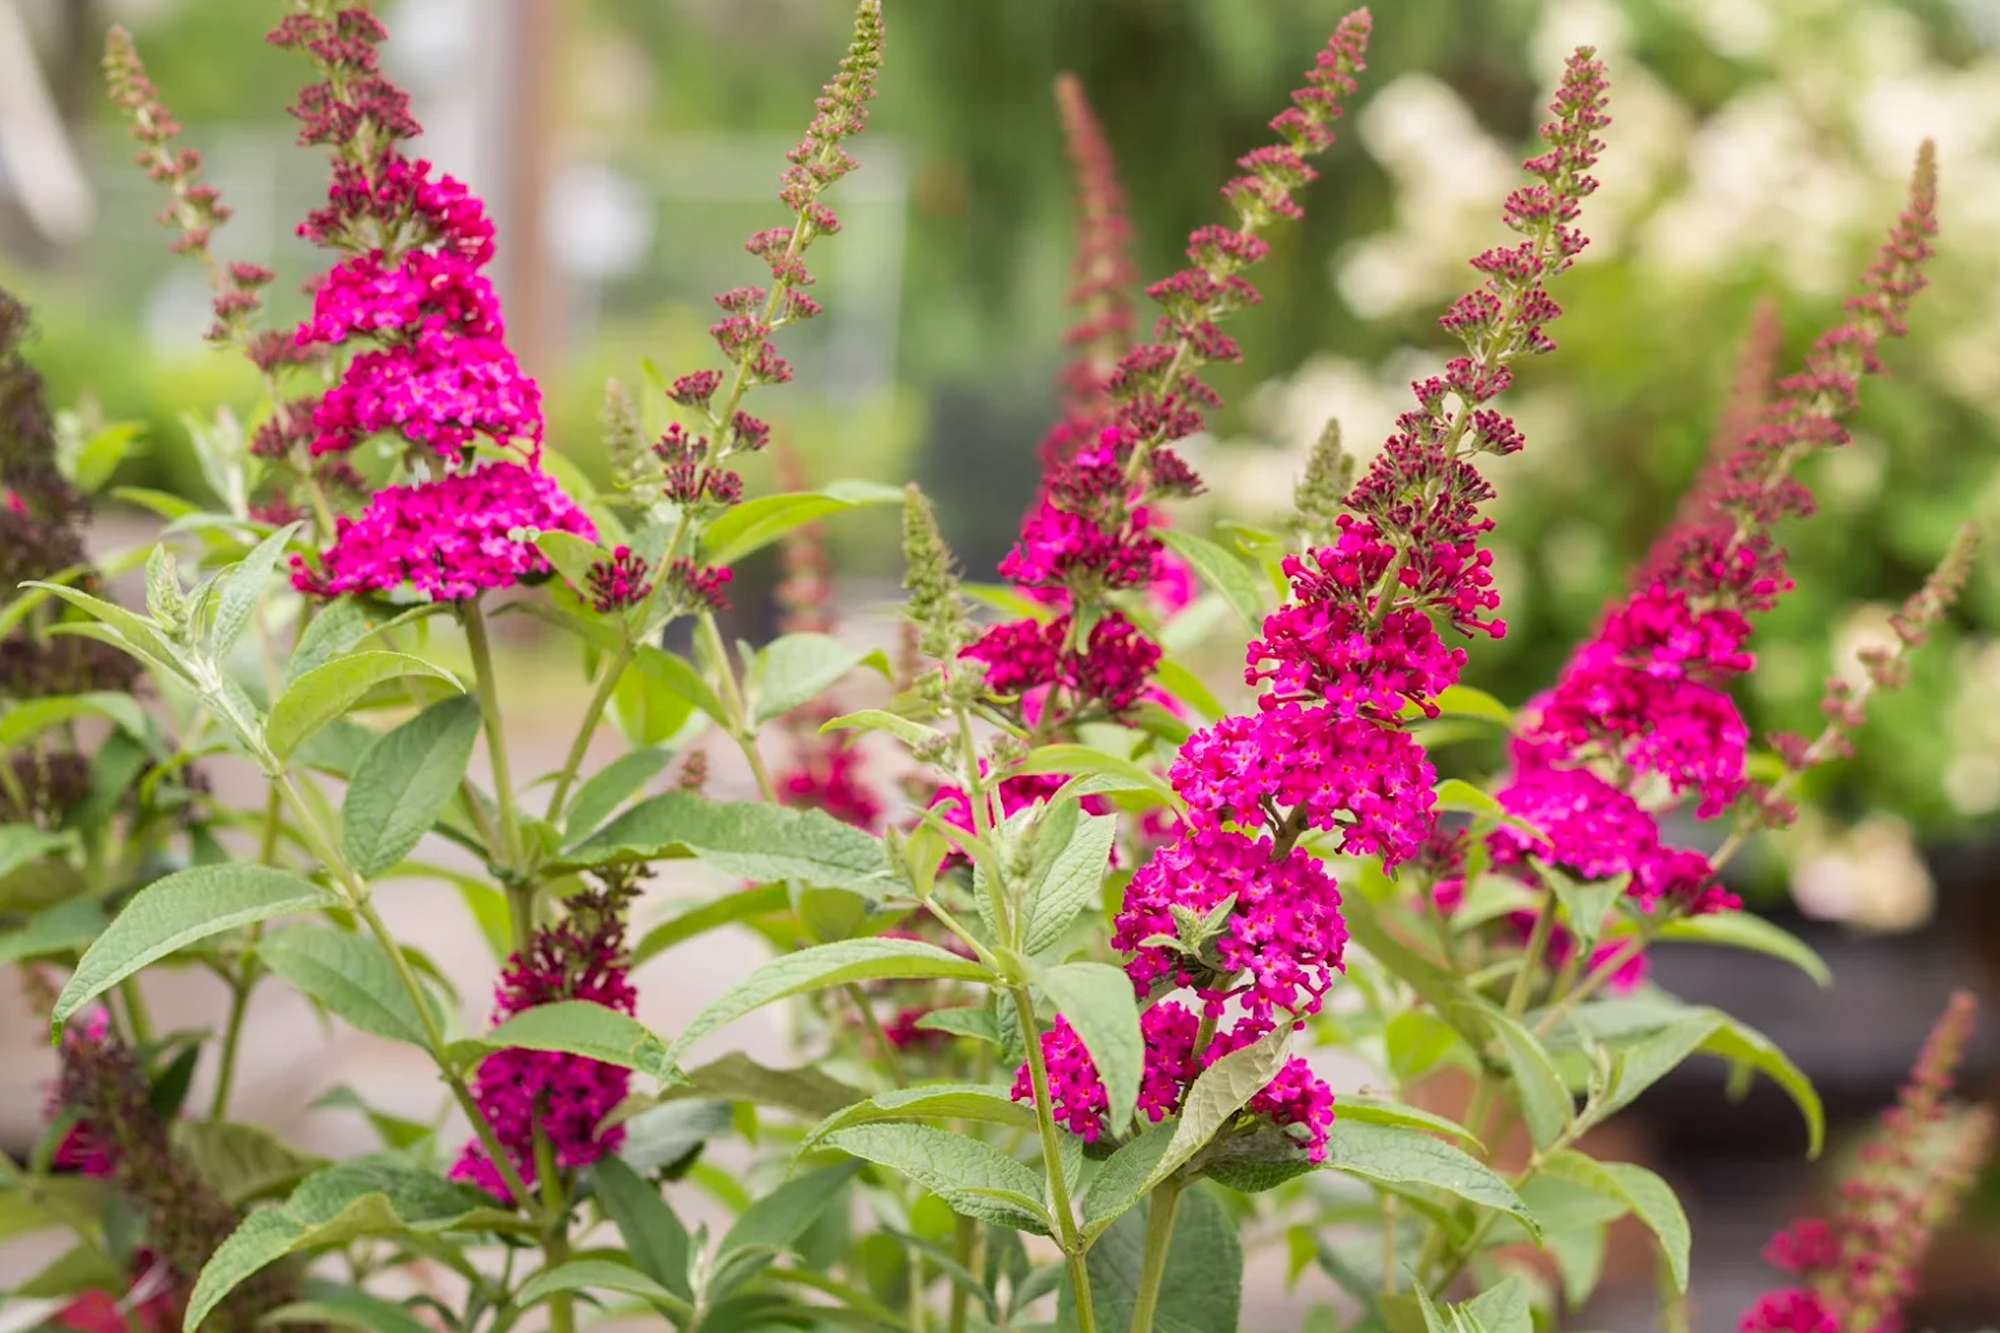
^^ Buddleia (Butterfly Bush): The colorful and fragrant flowers attract flocks of butterflies and hummingbirds. But fortunately, not deer! Arching branches bear long panicles of sweet smelling flowers in late summer. Pink, white, or purple flowered varieties are available. Whether you choose a variety that will grow 5 or more feet tall, or a more compact variety, these shrubs should be pruned back hard in spring.
Caryopteris (Bluebeard or Blue Mist): This small shrub is adored by butterflies, bees and other beneficial insects. The entire plant will quiver with their activity! The feathery blue flower clusters cover the plant in late summer and into the fall. Its silvery grey foliage is pleasantly aromatic when brushed by your hand. It should be hard pruned in early spring in order to encourage strong new growth. It will easily grow 2-3’ high in a season.
Clethra alnifolia (Summersweet): One of our native shrubs, Clethra is prized for its fragrant late summer flowers (hence its common name, Summersweet) and glossy green foliage which turns a beautiful yellow in the fall. A magnet for butterflies, it grows in full sun or part shade and will tolerate a damp site. ‘Ruby Spice’ grows 4-6’ in height and has deep reddish-pink flowers. ‘Hummingbird’ has a more dwarf, mounded habit. It grows to 3’ in height and bears white flowers.
Hibiscus syriacus (Rose of Sharon): It is hard to resist the brightly colored, exotic looking flowers of this hardy, deer resistant shrub. Flowers can be single or double and come in white, pink or blue-purple colors. Most varieties grow 8-10’ tall and 6’ wide, but can be pruned in early spring to control size and shape. Some varieties are also available in tree form.
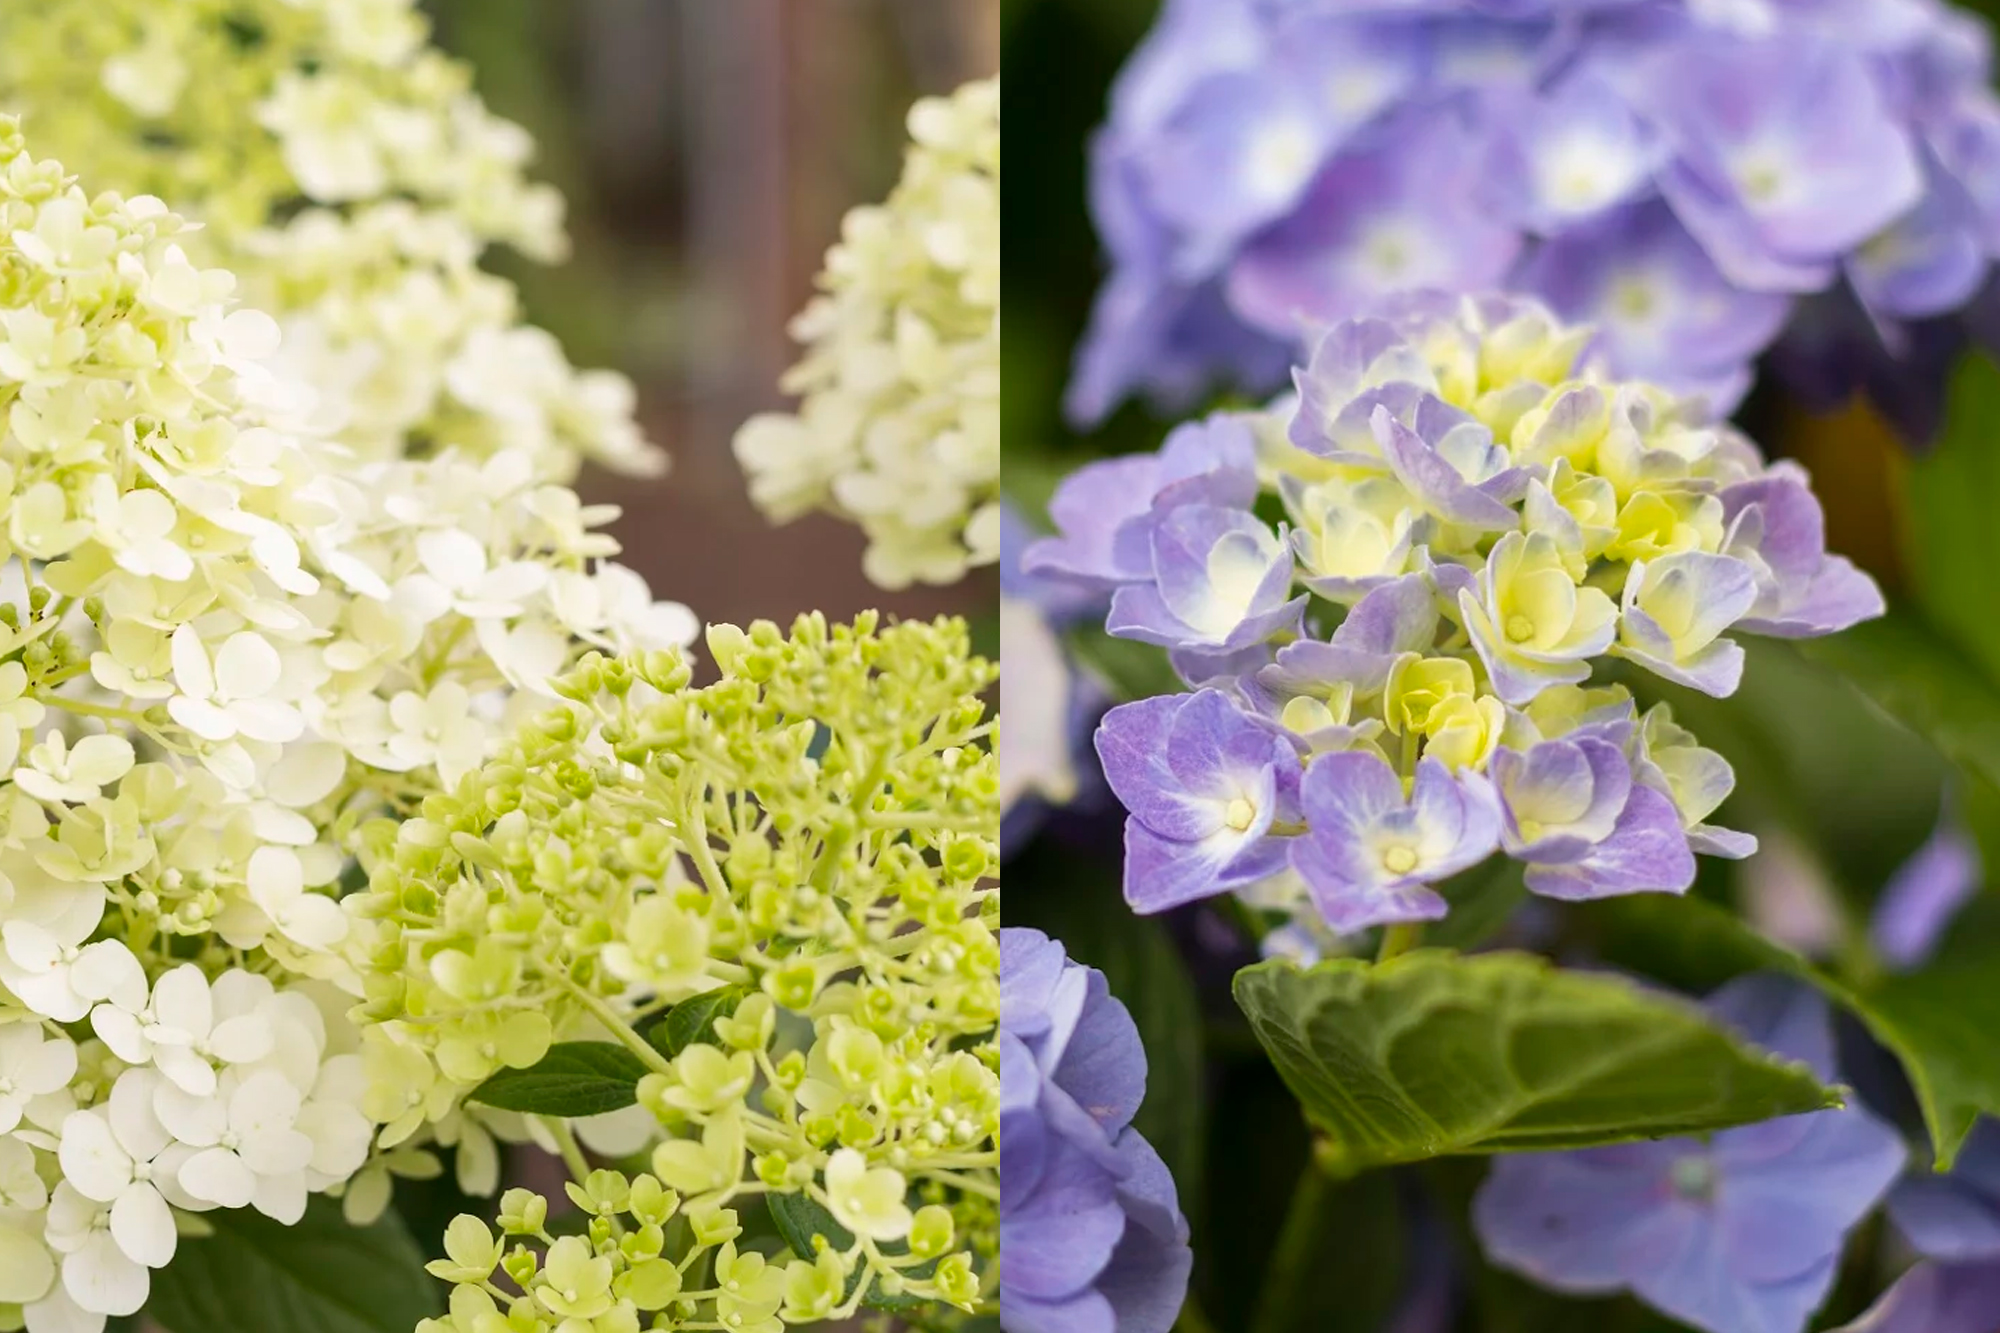
^^ Hydrangea: No garden is complete without Hydrangea. Whether you choose Hydrangea macrophylla with its beautiful blue mop head flowers or its lace cap varieties; Hydrangea paniculata with its color changing cone-shaped flowers; Hydrangea arborescens with its shade-loving white mop head flowers; or Hydrangea serrata whose classic lace cap flowers have showy sterile florets forming an outer ring around the center of tiny fertile florets, you will be grateful for their presence in your garden.
Hypericum (St. John’s Wort): Another deer resistant shrub, Hypericum is a mounding shrub with bluegreen foliage. Growing to 3’ in height and spread, it has bright, golden yellow flowers in midsummer that are loved by butterflies. Flowers are followed by rich red berries that are often used in autumn floral arrangements. It grows in full sun to part shade.
Itea (Sweetspire): This is a lovely deer resistant native shrub that produces loads of long, white flowers that remain attractive through late summer. It is a compact, rounded shrub with gently arching branches. Its bright green leaves have wonderful fall color, turning shades of orange and red. ‘Henry’s Garnet’ grows 4’ tall while ‘Little Henry’ grows just 3’ tall.
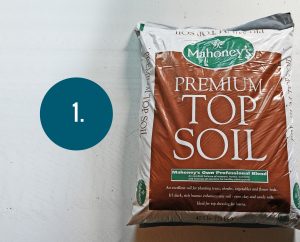
 So, how much soil do you need? Well that depends on your conditions. Keep in mind here that your turf success is really just a result of your soil quality. The stronger your root system is in deep, healthy soil- the better your new seed will perform. I put down up to 10 inches of compost and loam when I redid my back yard and it shows in times of summer drought. This summer, my lawn stayed green while others dried out. It is deeply rooted and healthy enough to withstand stressful conditions. Use a quality top soil or compost to amend your existing conditions. If your soil is of good quality, just till and loosen the top couple inches and rake out a good grade.
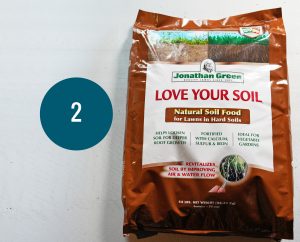
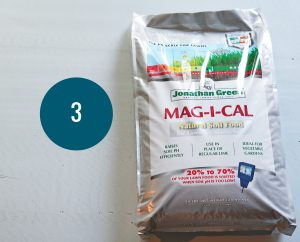 If there’s ever a time to test your soil- it’s now. Even if you are only testing the pH. You can get an extensive test through our own lawn-care service, Safe Lawns, or the UMass Extension (for a fee). Or you can do a basic, at-home test yourself.
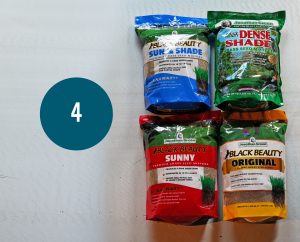 Your grass seed is more important than most people think. Cheap grass seed is just that, cheap and we can’t in good faith carry it. You see, varieties of grass seed get old and are replaced as better seeds become available. This makes the older seed cheaper than the newer, better performing ones. Another way to get cheap seed is to add annual blue grass to the mix. Annual blue grass is an inexpensive filler, but it doesn’t come back the next year making it a turf that comes up well initially, but then your lawn comes in very thin next spring. Cheap grass seed is like a cheap beer only that headache you get is going to last for years.
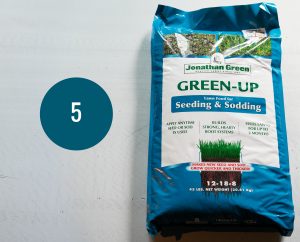 es fertilizer. It makes a huge difference and it seems like everyone wants to either skip this step or add it later. Whether organic or synthetic, add fertilizer when you seed.