Crisp Air, Vibrant Lawns: Fall Seeding in New England Explained
Fall in New England is a wonderful time to seed your lawn for lush green come spring. This time of year provides the ideal combination of cool air and warm soil, creating the perfect conditions for new grass to develop healthy roots before winter. Whether you’re refreshing your existing lawn or starting anew, this comprehensive guide will walk you through the process step by step, for the lushest lawn in New England!
Step 1: Assess Your Seeding Needs
Before you begin, it’s essential to determine whether you’re overseeding to fill in sparse areas or embarking on a new seeding project. This initial decision will dictate the amount of seed you require.
Step 2: Measure Your Lawn Area
Take a leisurely stroll through your lawn, measuring its dimensions (length x width) to calculate the square footage accurately. This vital step will help you determine the quantity of seed and other necessary materials.
Step 3: Understand Your Lawn’s Light
Consider the lighting conditions in your yard, keeping in mind that they might have changed from the sun-soaked summer months. It’s crucial to understand how many hours of sunlight your lawn receives each day during the summertime when your trees are leafy. This knowledge will inform your choice of grass type.

Step 4: Prepare the Ground
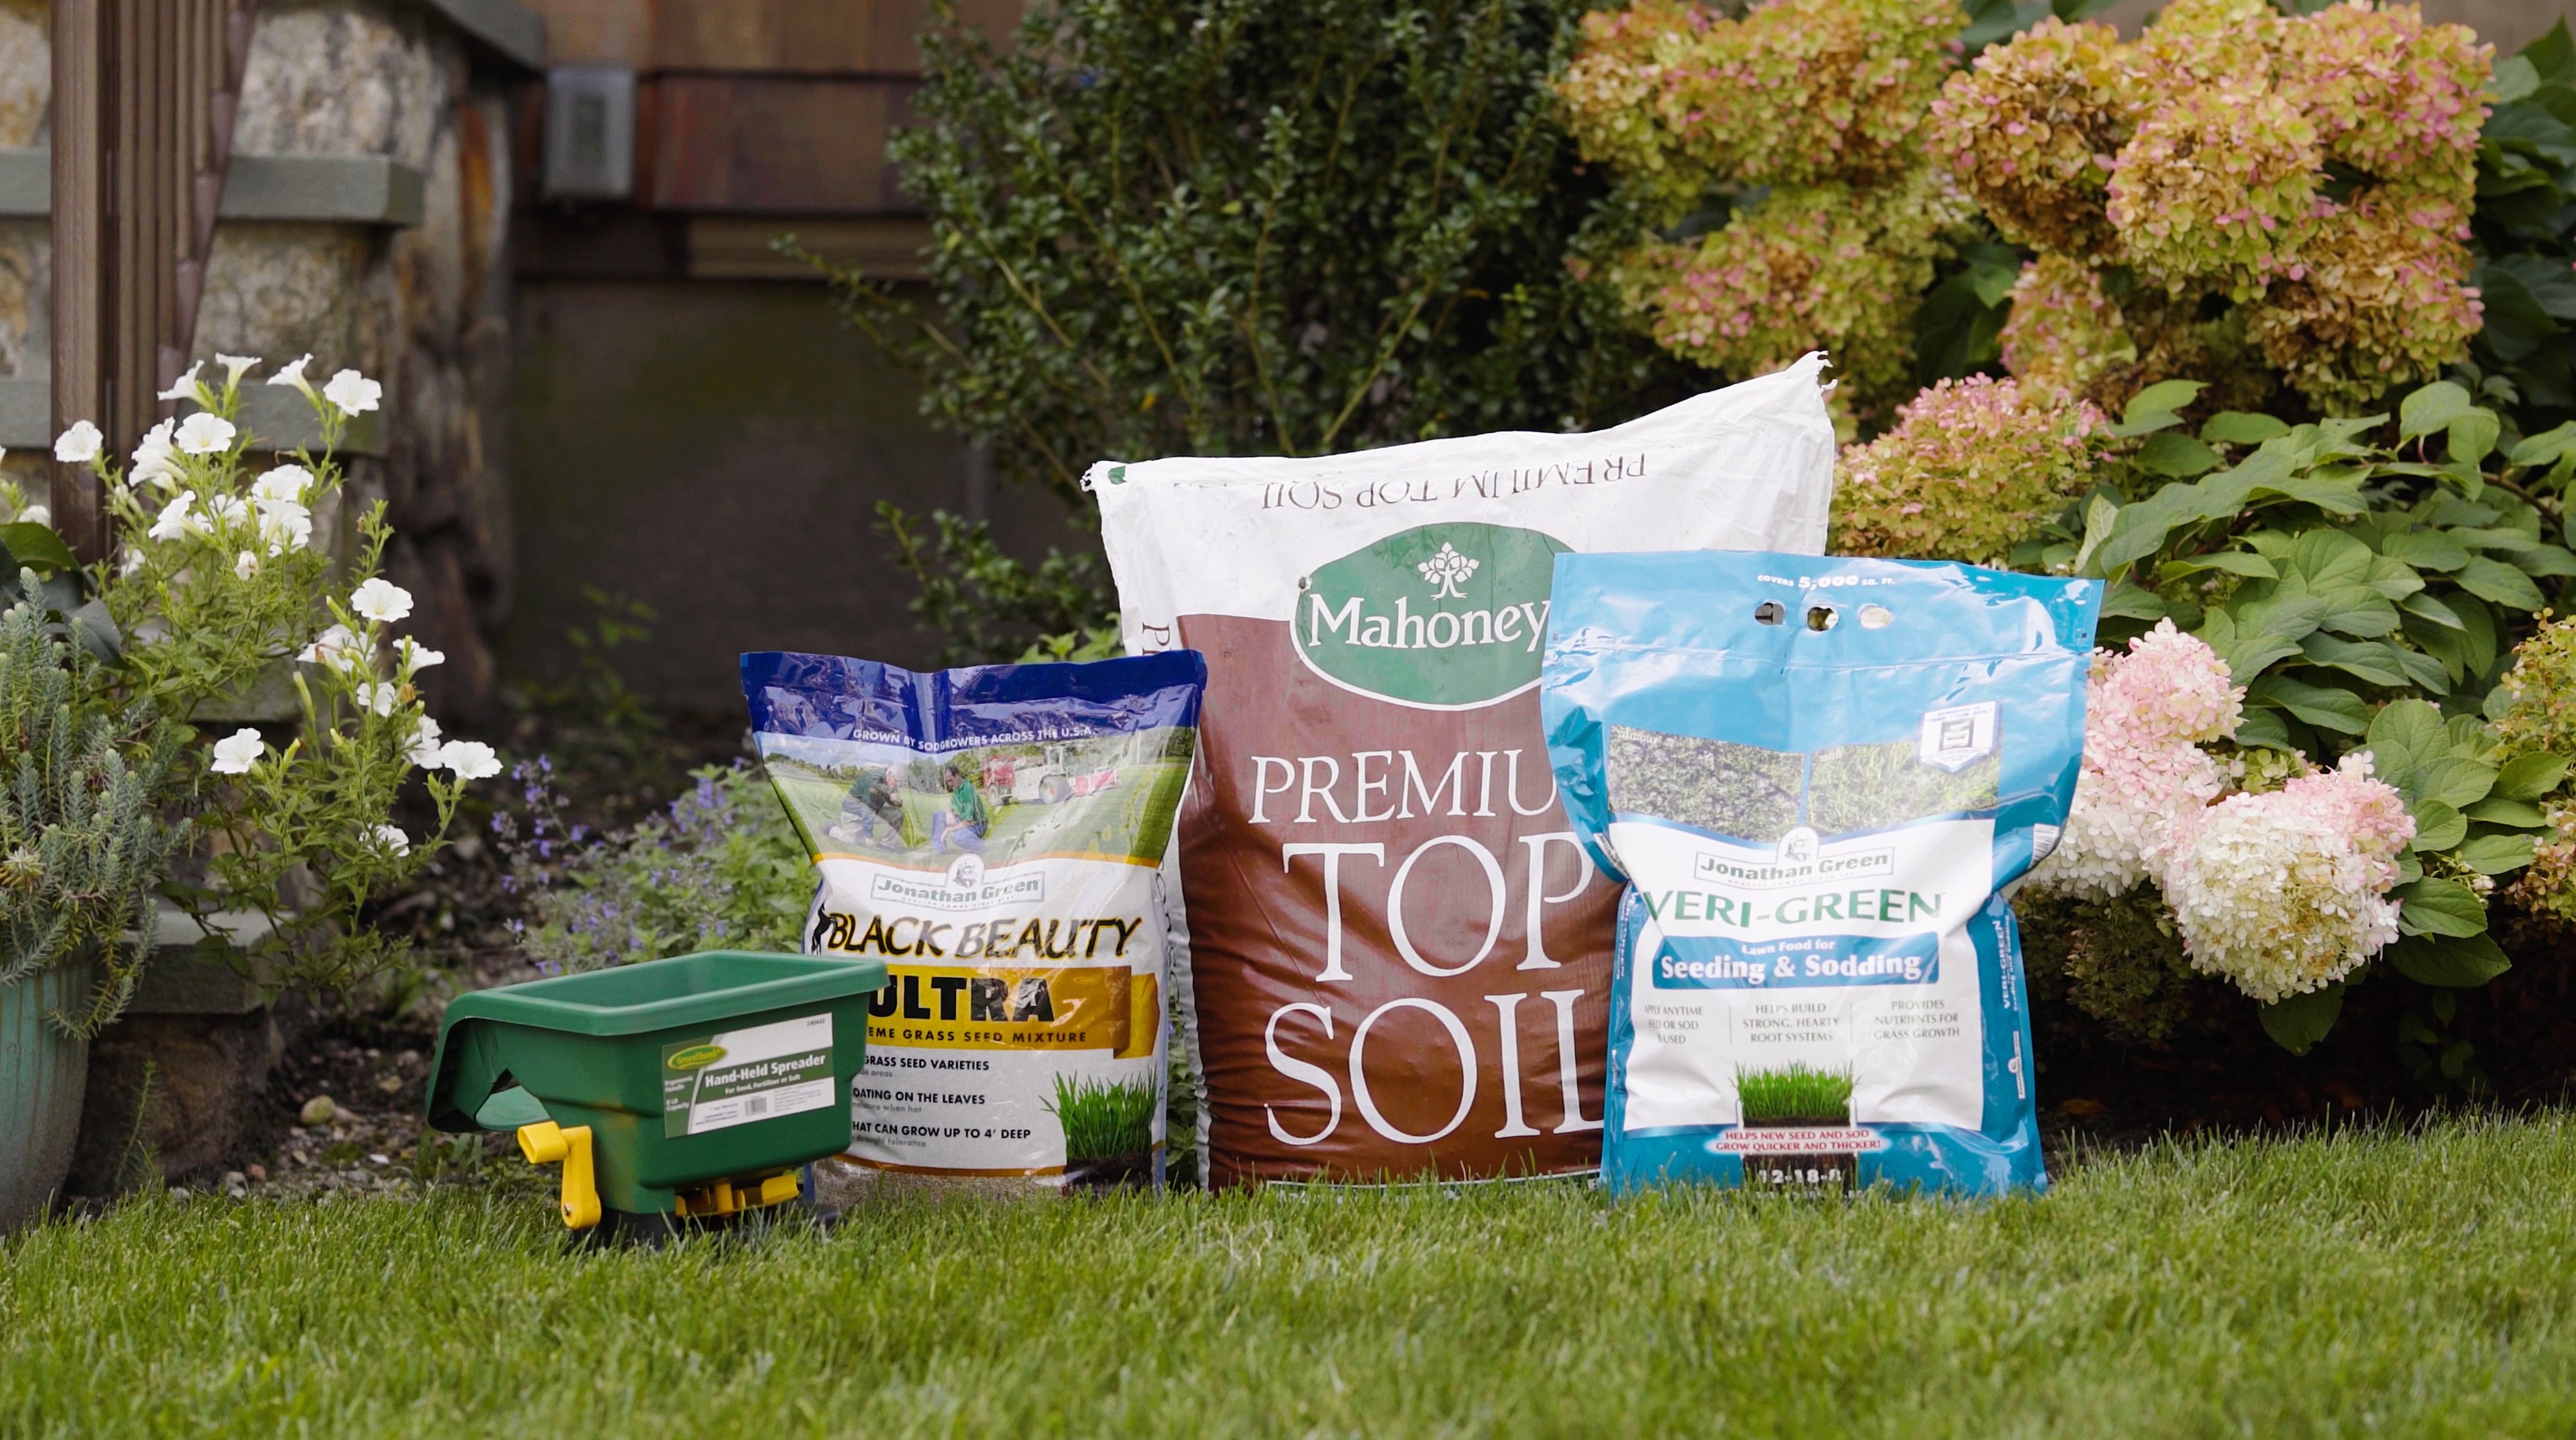
Prepare your canvas by thoroughly cleaning the designated area. Remove any rocks, leaves, or debris. Also, keep an eye out for low spots that may require additional soil to create a level surface. For small areas, Mahoney’s Top Soil is an excellent choice, while larger areas may benefit from bulk loam. Don’t forget to compact the newly added soil with a roller or by lightly stepping down on it. This will prevent runoff during watering.
Step 5: Choose Your Grass Type
Select the type of grass that suits your lawn’s needs and your personal preferences. You can opt for a mix of varieties or individual grass types, such as Tall Fescue, Rye Grass, or Bluegrass, each with its unique characteristics and growth patterns. Click here to see our grass seed varieties and choose one that’s right for the light and traffic your lawn will be getting.
Step 6: Starter Fertilizer
Unless you’ve applied fall fertilizer within the past four weeks, it’s advisable to use a starter fertilizer. Look for a product with a higher middle number in the nutrient range (Nitrogen, Phosphorus, Potassium). The middle number represents phosphorus, which is important for healthy root development. Jonathan Green’s 12-18-8 is an excellent choice for both new seeding and overseeding. Apply it uniformly across your entire lawn area, avoiding separate applications.
Step 7: Determine Seeding Rates
The amount of seed you need depends on your seeding goals. For overseeding, aim for 1-3 pounds of seed per 1000 square feet, while new seeding typically requires 3-5 pounds per 1000 square feet. To achieve a thicker and more lush lawn, consider reapplying seed 14 days after the initial seeding to fill in any gaps.
Step 8: Tools of the Trade
Ensure an even seed distribution by using a push spreader or hand spreader. Avoid broadcasting seed by hand, which can result in uneven germination and waste.
Step 9: Cozy Cover for Cooler Nights
In cooler temperatures, consider using weed-free straw, compost, or salt marsh hay. These materials will provide insulation and protection to your seeds, promoting ideal germination conditions.
Step 10: Master the Art of Watering
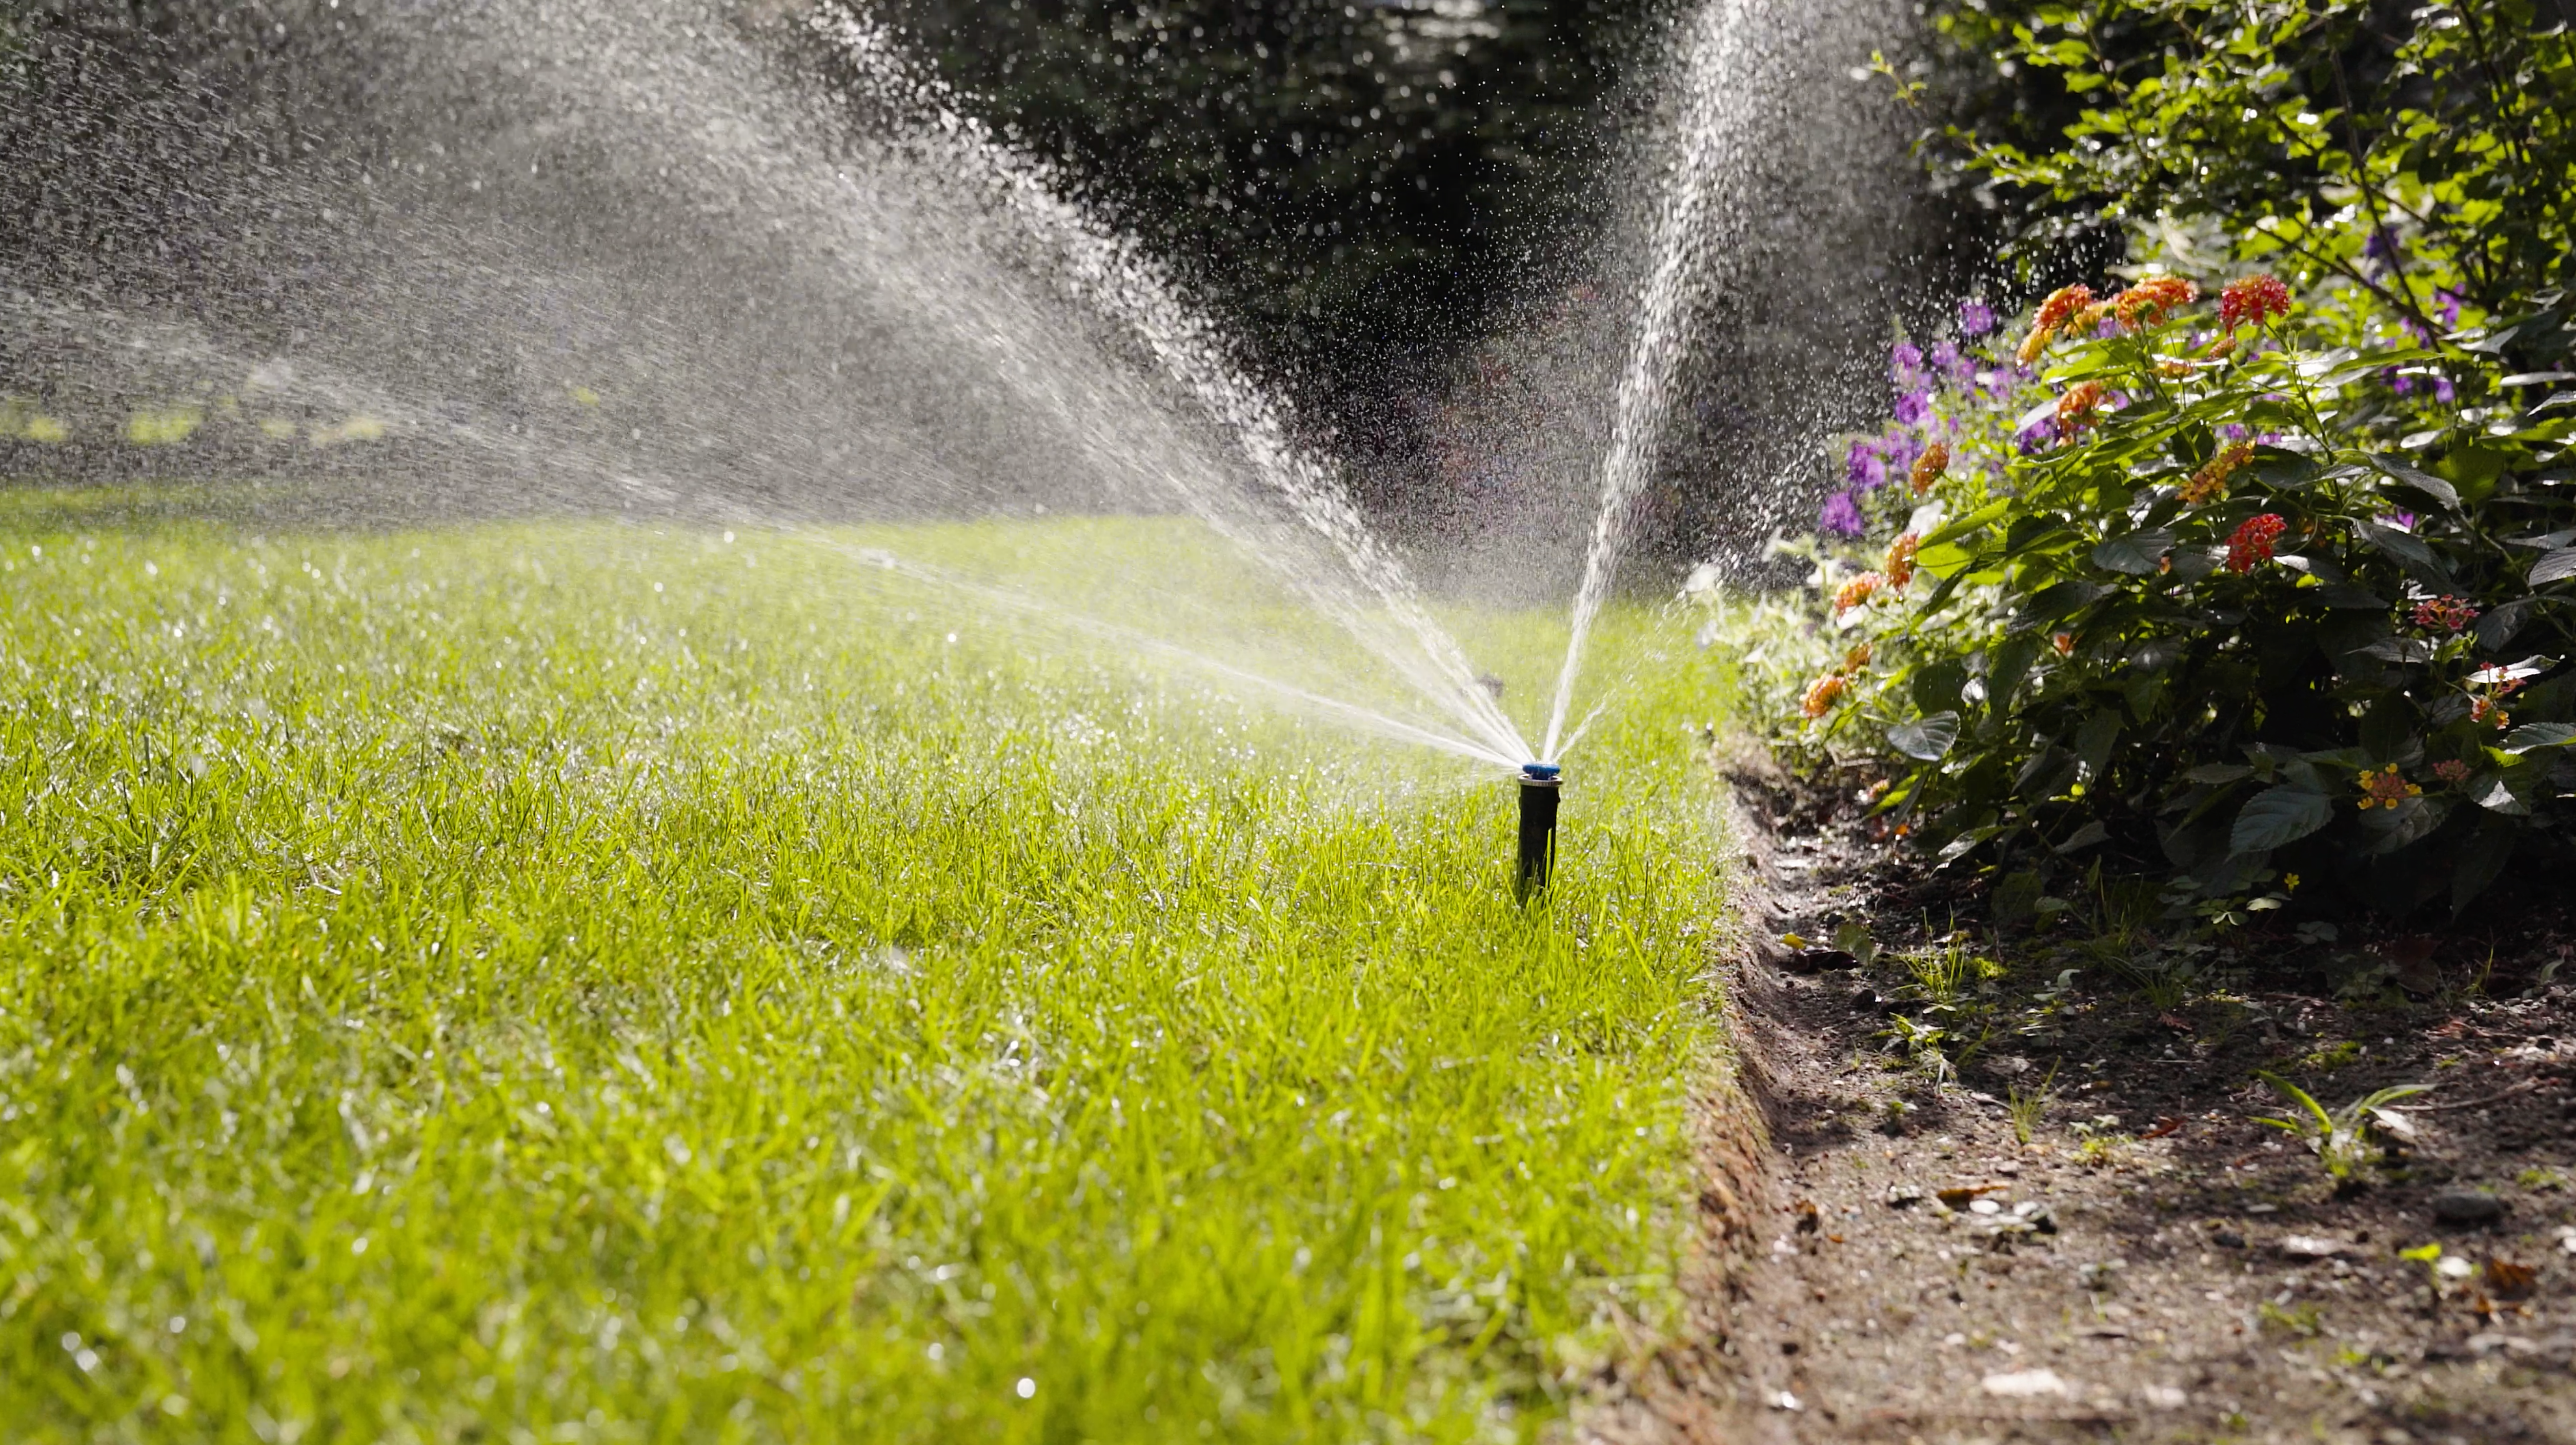
Your freshly seeded lawn needs about 2 inches of water per week. A rain gauge can help you determine the time needed to achieve this, allowing you to schedule watering effectively. For optimal results, water deeply and in the morning, as evening watering can encourage pathogens and fungus.
Remember, patience is your greatest ally, and the reward will be a vibrant, green lawn that you can cherish in the seasons to come.
Happy seeding! May your lawn thrive and impress!