Frost covered branch image

Getting Your Garden Cozy for Winter: A New England Guide

 

As the temperatures drop and the days grow shorter, it’s essential to prepare your garden for the brisk New England winter. While we may be bidding farewell to our colorful blooms, there’s no reason your garden can’t be a haven of beauty and potential even during the cold season. Proper winterization will help protect your plants, garden structures, and soil, ensuring a healthy and vibrant garden in the coming spring! So, grab your gardening gloves, and let’s get to work on prepping your garden for a cozy New England winter! 


Prune Sparingly and Leave the Leaves

Gently prune any dead, damaged, or diseased parts of your perennial plants and remove them from your garden While it may be tempting to do a big fall cleanup, consider resisting the temptation. For more information about the benefits of “leaving the leaves” click here!  


Bury Those Bulbs

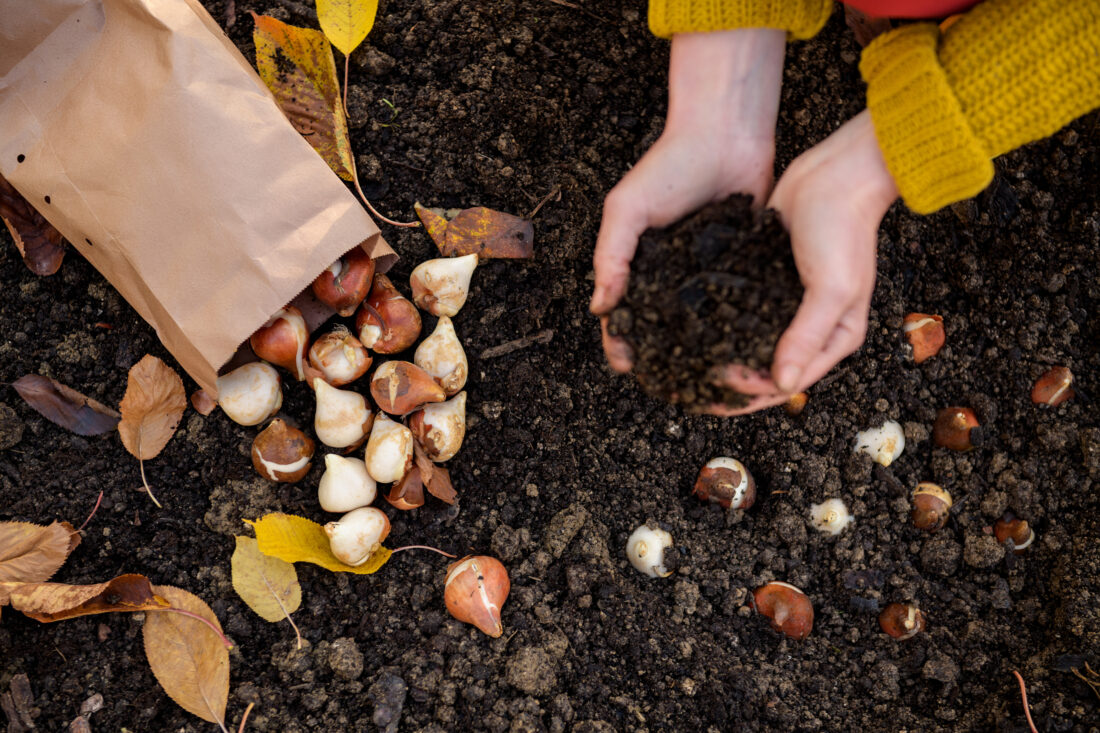
One key task during this season is planting bulbs that will burst forth in a symphony of colors come spring. Fall is the opportune time to tuck bulbs into the soil, allowing them the necessary period of dormancy to thrive in the warmer months. If you’re eager to delve into the art of fall bulb planting, be sure to check our detailed guide to fall bulb planting. Discover the joy of anticipation as you envision the beauty that will unfurl in your garden when winter’s chill gives way to the blossoming wonders of spring.


Mulch It Up

Mulch is your garden’s best friend in winter. A thick layer of mulch (about 2-4 inches) will help insulate your plants’ roots and protect them from the harsh cold. Use organic mulch such as leaves, straw, or compost. This not only keeps the soil temperature more stable but also enriches it with nutrients for the coming spring.


Click to order bagged mulch and compost
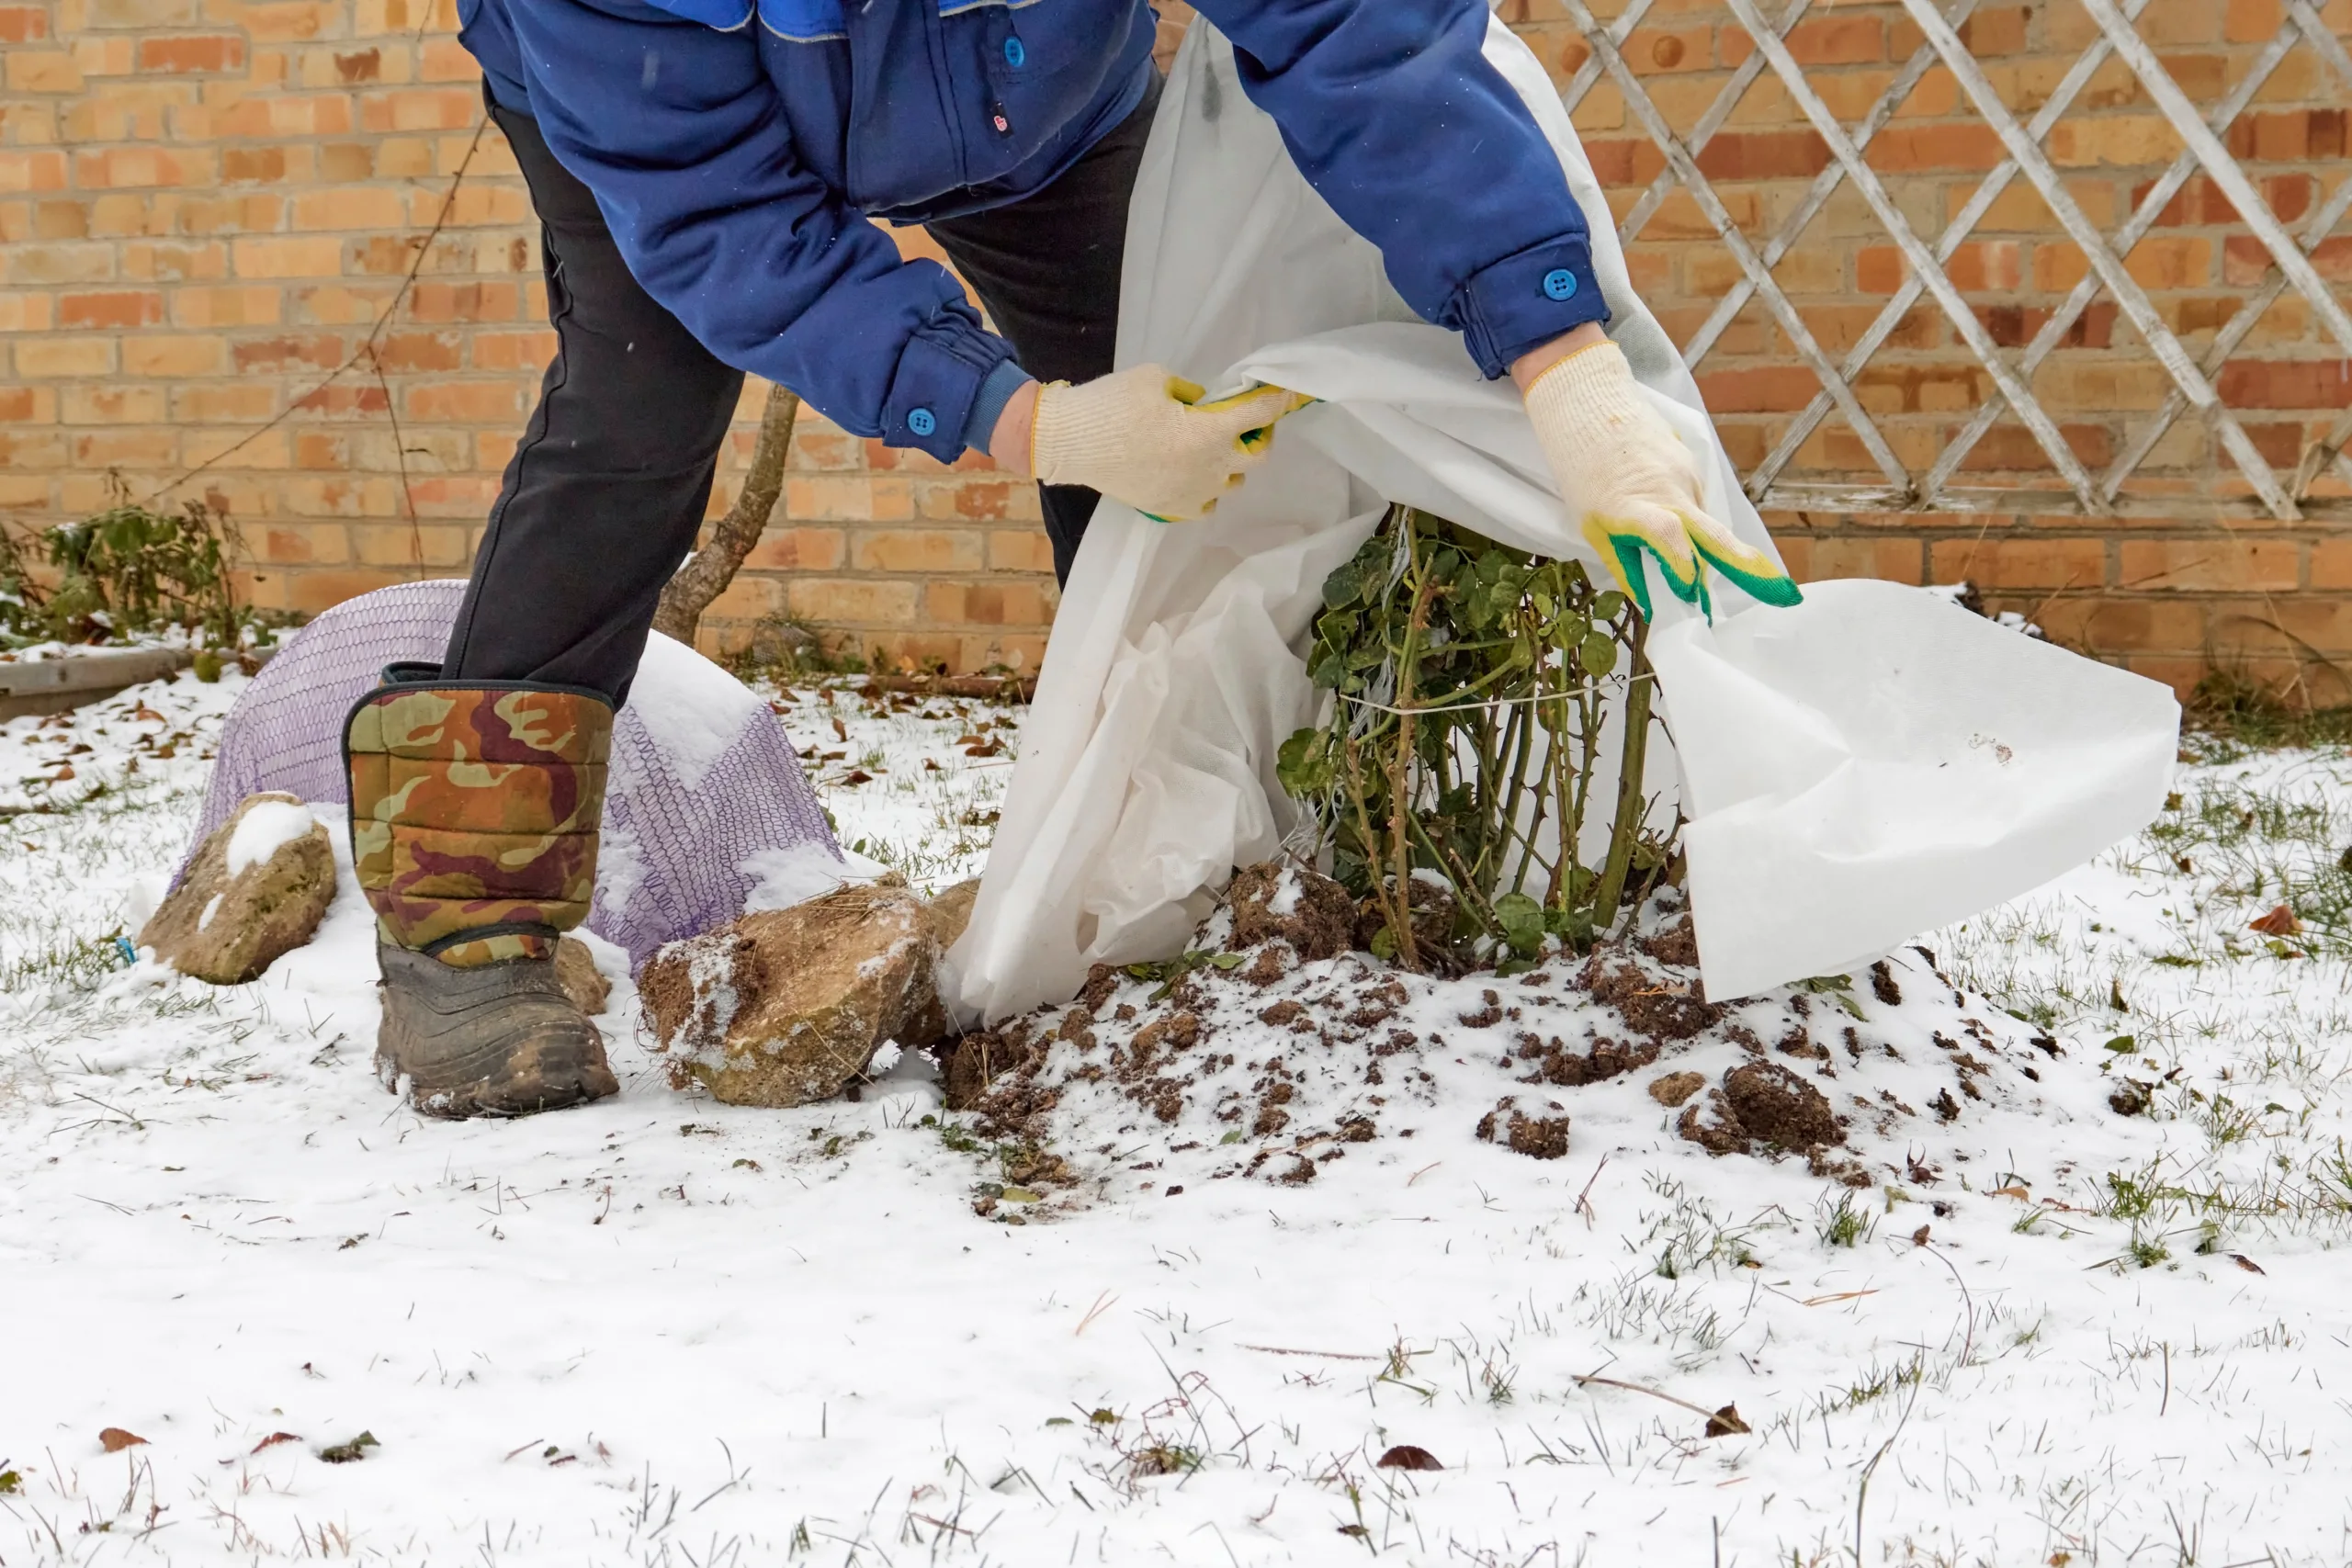
 

prepare your garden for winter


Protect Vulnerable Plants

Some plants, especially newly planted ones, are more susceptible to frost and freezing temperatures. Protect them by covering them with burlap or frost cloth. Be sure to remove these covers during the day to allow for sunlight and air circulation. Most evergreen shrubs would also benefit from an application of Wilt Stop. This will reduce moisture loss during the winter months and protect plants from windburn.  


Bring Potted Plants Indoors

If you have potted plants that aren’t winter-hardy, bring them inside before the first frost. Place them in a sunny spot, and don’t forget to water them sparingly, as they won’t need as much moisture in the winter months. 


Clean and Store Tools

Before winter sets in, it’s a good idea to clean and store your gardening tools properly. Make sure they are free of dirt and moisture to prevent rust. This will ensure they’re ready to go when spring comes around. But if winter does get the best of your tools, you can find the tools to meet your needs here. 


Plan Ahead!

Winter is a wonderful time to reflect on the past season and plan for the next. Take note of what worked and what didn’t and sketch out any changes or new additions you want to make in your garden. This planning will help you hit the ground running when the snow melts. 
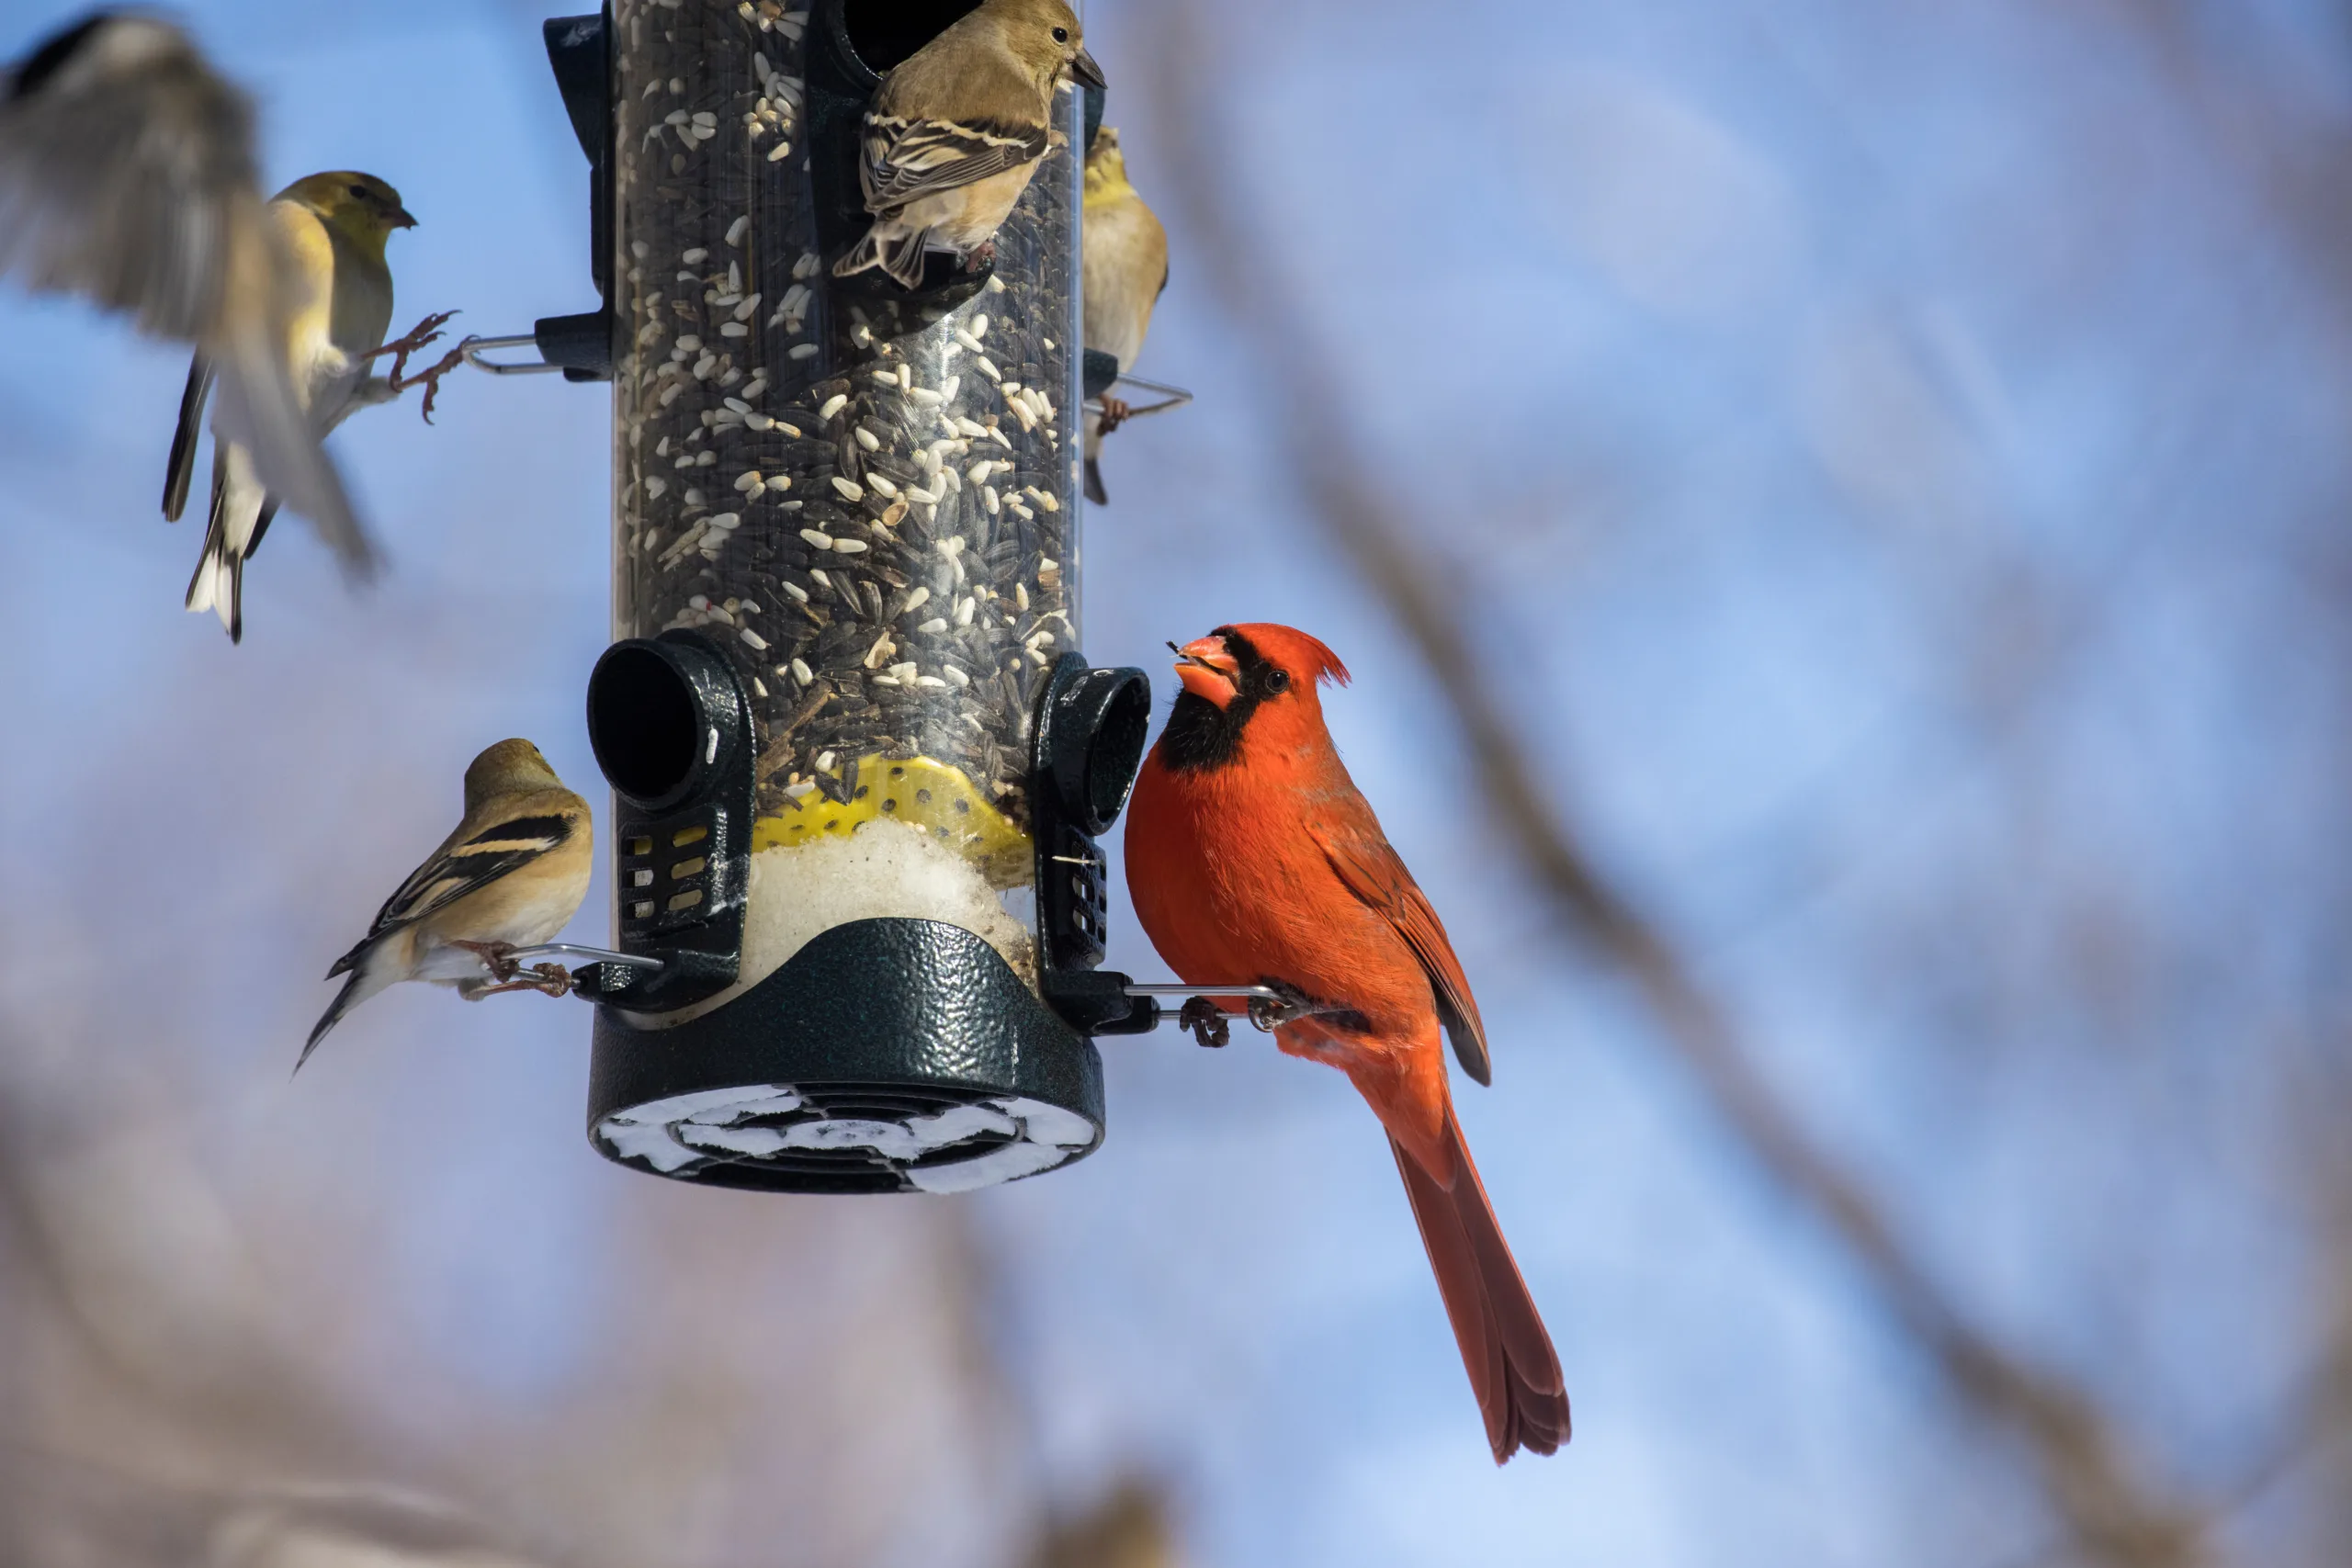


Bird Feeding Stations

Don’t forget about our feathered friends! Setting up bird feeding stations with birdseed and water will not only provide a food source for local wildlife but also add a touch of life and activity to your winter garden. Shop our favorite products here.


Enjoy The Beauty of Winter

Winters can be long and challenging, but they also have a unique beauty. Take some time to enjoy your garden’s winter aesthetics – the frost-kissed plants, the glistening snow, and the tranquility of a dormant landscape. Consider adding some outdoor seating or a fire pit to make your garden a cozy, winter retreat. 

In New England, a well-prepared garden can still bring joy and inspiration even during the coldest months. With a little TLC and some planning, your garden can emerge from winter stronger and more beautiful than ever. So, get out there, wrap up warmly, and let’s prepare our gardens for a wonderful New England winter! 


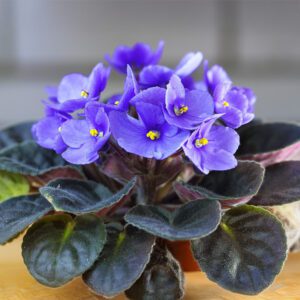
african violet

A Guide to Indoor Flowering Plants

Who doesn’t love a pop of color inside the home? Indoor flowering plants are a wonderful way to brighten up any space, add life to your decor, and bring nature indoors. Whether you’re a beginner or an experienced green thumb, there’s an indoor flowering plant that can fit your lifestyle and space.

In this post, we’re going to talk about some popular indoor flowering plants—Kalanchoe, indoor roses, and others—and give you easy tips on how to care for them. Let’s get growing!


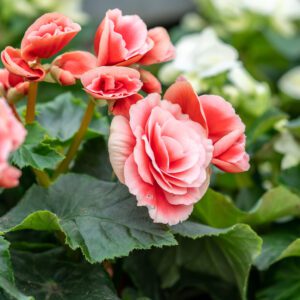
rieger

1.Rieger Begonias

Rieger begonias are prized for their bright, abundant blooms that come in colors like pink, red, yellow, orange, and white. These compact, bushy plants are perfect for adding vibrant color indoors, especially during the winter months when they typically bloom.

Care Tips:

  • Light: Rieger begonias thrive in bright, indirect light. Too much direct sunlight can cause leaf burn, but they need plenty of light to keep blooming.
  • Watering: Keep the soil evenly moist, but not soggy. Water when the top inch of soil feels dry. Avoid letting the plant sit in water, as Rieger begonias are prone to root rot.
  • Temperature: They prefer cooler indoor temperatures, between 60–70°F. High heat can cause them to stop blooming, so keep them away from heaters or drafts.
  • Bonus Tip: Deadhead (remove) spent blooms to encourage continuous flowering. Rieger begonias also benefit from a balanced fertilizer every few weeks during their growing season for even more vibrant blooms!


2. Kalanchoe (and Calandiva*)

Kalanchoes are succulent plants that bloom in clusters of small, vibrant flowers in shades of red, orange, pink, yellow, and white. They’re low-maintenance and ideal for busy gardeners or anyone who tends to forget watering! Calandiva is a beautiful variety of kalanchoe, featuring double blooms that look like tiny roses. These multi-petaled flowers come in shades of pink, red, yellow, orange, and white, and what makes Calandiva extra special is how long the blooms last—up to 6–8 weeks—which is longer than traditional kalanchoe flowers.

Care Tips for Both Plants:

  • Light: Bright light is key for both kalanchoe and Calandiva. They can even handle a little direct sunlight.
  • Watering: Allow the soil to dry out between waterings. Since they are succulents, they store water in their leaves and are more drought-tolerant.
  • Temperature: Both plants enjoy warmer temperatures (between 60–85°F) and adapt well to typical indoor environments.
  • Bonus Tip: Deadhead (remove) spent flowers to encourage more blooms. After they finish blooming, they may need a short resting period before flowering again.

*Calandiva is a specific variety of kalanchoe with double blooms and extended flowering periods.


3. Miniature Roses

Miniature indoor roses bring all the charm of garden roses into your home, with full, fragrant blooms that brighten any room. They do require a bit more care than some other indoor plants, but the reward is worth it!

Care Tips:

  • Light: Roses need lots of bright light to thrive—ideally 6 hours a day. A sunny windowsill is best, or even some supplemental grow lights if needed.
  • Watering: Keep the soil consistently moist but not waterlogged. Water when the top inch of soil feels dry to the touch.
  • Humidity & Temperature: They like good air circulation and cooler temperatures (between 60–75°F). Misting or a humidifier can help keep them happy indoors.
  • Bonus Tip: Prune your rose plant regularly to encourage new growth and more flowers. Don’t be afraid to trim it back—it’ll come back even stronger!


4. African Violets

African violets are classic indoor flowering plants that are beloved for their continuous blooms and compact size. Their velvety leaves and charming purple, pink, or white flowers are sure to steal the show.

Care Tips:

  • Light: Bright, indirect light is best, as direct sunlight can scorch their leaves. A north or east-facing window works well.
  • Watering: Water from the bottom (like cyclamen) or carefully at the base, avoiding water on the leaves, which can cause spotting. Keep the soil evenly moist.
  • Temperature: Keep them in a warm room (between 65–75°F) with consistent humidity.
  • Bonus Tip: African violets can bloom year-round if they’re happy, so feed them a little bit of fertilizer designed for flowering plants every few weeks during the growing season.


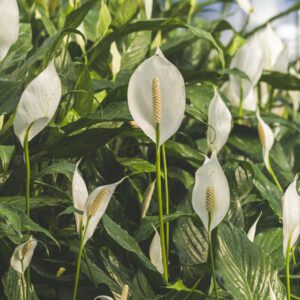
5. Peace Lily
Though more known for its lush green leaves, the peace lily also produces beautiful white “flowers” (technically a spathe and spadix). It’s an excellent indoor plant because it’s both beautiful and easy to care for.
Care Tips:

  • Light: Peace lilies can tolerate lower light conditions but bloom best in bright, indirect light.
  • Watering: They like to be watered when the top inch of soil is dry. They’re also very forgiving, wilting slightly to let you know when they need a drink!
  • Temperature: They thrive in warmer, humid environments (65–85°F). They’ll love a spot in the bathroom or near a humidifier.
  • Bonus Tip: Wipe the leaves occasionally with a damp cloth to remove dust and keep them shiny.


6. Anthurium

With its glossy leaves and striking red, pink, or white flowers, Anthurium is a showstopper. It’s also quite hardy, making it a great option for beginners or those who want a stunning indoor plant without too much fuss.

Care Tips:

  • Light: Bright, indirect light is ideal. Too much direct sunlight can scorch the leaves.
  • Watering: Water when the top layer of soil dries out, and ensure good drainage.
  • Temperature: Warm temperatures (65–80°F) and high humidity are best for anthuriums.
  • Bonus Tip: Anthuriums are toxic to pets, so if you have curious cats or dogs, keep these out of reach!


7. Indoor Mums

Indoor mums are known for their dense, vibrant blooms in shades of yellow, pink, purple, red, and white. They’re perfect for adding color to your home, especially in the fall.

Care Tips:

  • Light: Mums love bright, indirect light. Place them in a well-lit spot, but avoid direct sun, which can be too harsh.
  • Watering: Keep the soil evenly moist. Don’t let it dry out, but make sure it’s not waterlogged either.
  • Temperature: Mums prefer cooler temperatures (between 60–70°F). Too much heat can shorten their bloom time.
  • Bonus Tip: Pinch off spent blooms to encourage more flowers and extend their blooming period


8. Cyclamen

Cyclamen are those elegant plants with delicate, butterfly-like flowers and heart-shaped leaves. Their blooms come in shades of pink, red, white, and purple, and they usually bloom during the winter months, making them perfect for adding color when it’s cold and gray outside.

Care Tips:

  • Light: Cyclamen like bright, indirect light. A sunny windowsill that doesn’t get direct midday sun is ideal.
  • Watering: Keep the soil moist but not soggy. Water from the bottom (set the pot in a saucer of water for a few minutes), so the leaves stay dry.
  • Temperature: They prefer cooler temperatures (around 50–65°F). A chilly room or a spot away from heaters is perfect.
  • Bonus Tip: Cyclamen go dormant after blooming. Don’t panic if the leaves start to yellow; just reduce watering, let the plant rest, and it should come back next season.


A Few General Indoor Flowering Plant Care Tips:

  • Humidity: Many flowering plants love humidity! If your home is dry, consider grouping plants together or using a humidifier.
  • Fertilizer: Most flowering plants benefit from a balanced fertilizer during the growing season (spring through summer). Look for fertilizers specifically for flowering plants to encourage more blooms.
  • Pruning: Regularly removing dead or yellowing leaves and spent flowers helps keep your plant healthy and encourages new growth.

Final Thoughts

Indoor flowering plants are a joy to have around. With their bright blooms and fresh foliage, they make any space feel more lively and welcoming. While each type has its own specific care needs, once you get to know them, they’re not hard to take care of. Plus, with the right attention, many of them will reward you with blooms for months on end!  Come visit us at any one our 7 locations to pick up a beautiful indoor flowering plant of your own!

Happy planting, and remember—don’t be afraid to experiment with different plants to find your favorites. Each one will bring a little bit of beauty into your life!


Pumpkin Play with KidsGardening

Mahoney’s is proud to be a sponsor of theKidsGardening Garden Youth Grant Program, an initiative that aligns with our mission to create opportunities for kids to play, learn, and grow through gardening.  Check out some of the activities below to bring that mission into your own life! 


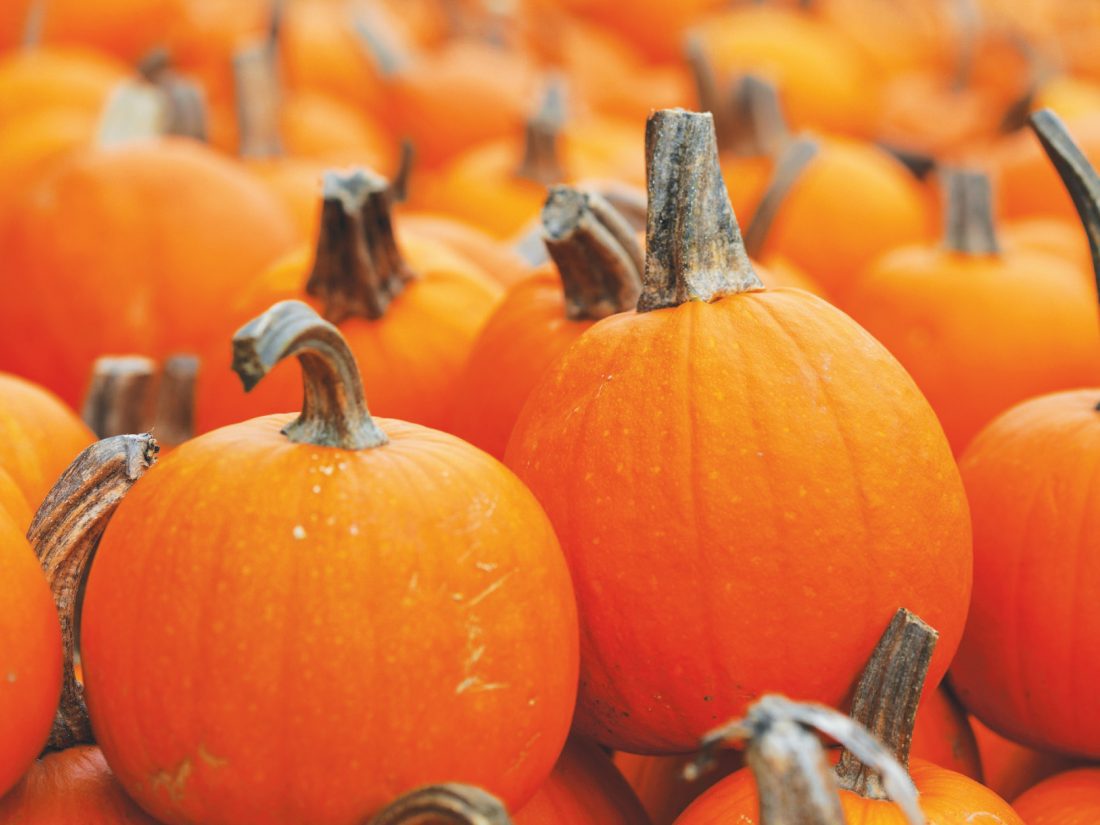
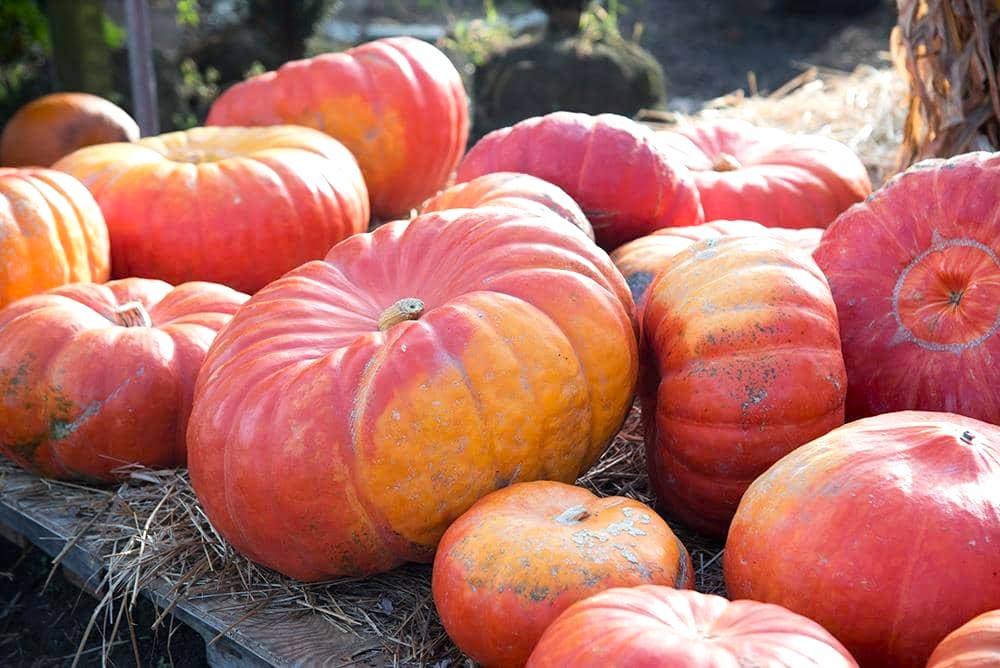
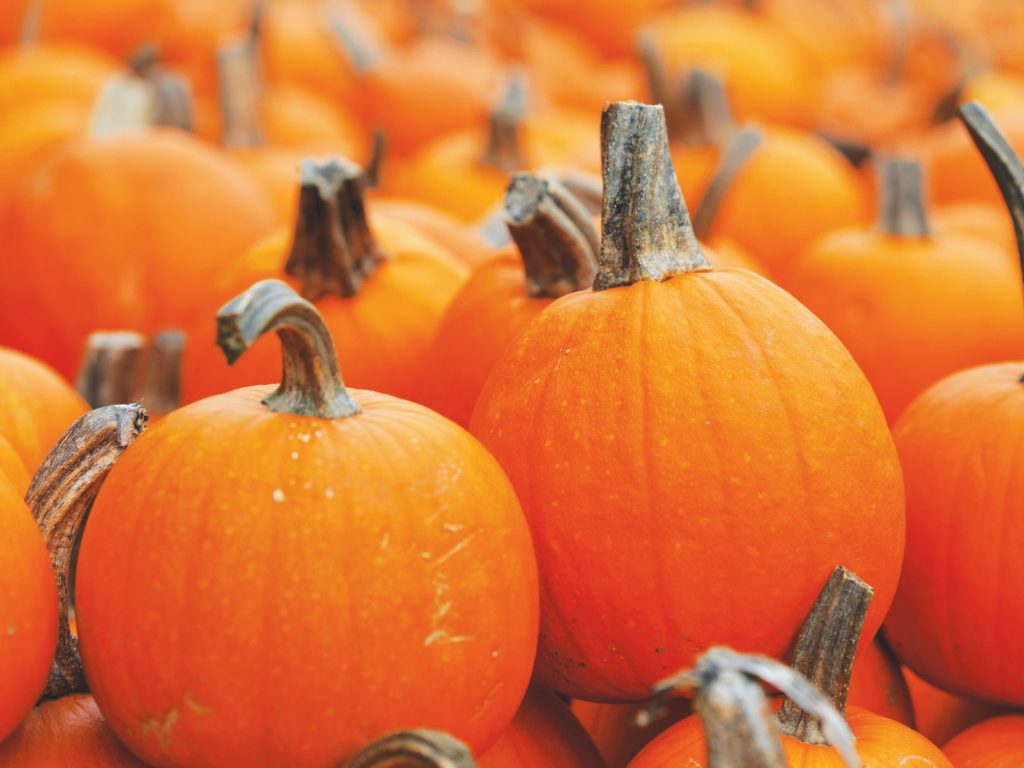
Fall is here, and that means pumpkins are everywhere! While they make excellent jack-o’-lanterns and delicious pies, pumpkins can also be used in fun and educational activities for kids. Whether you’re a parent, teacher, or caregiver, here are some creative ways to incorporate pumpkins into learning and play. Perfect for ages 3 to 12, these pumpkin crafts are hands-on, sensory-friendly, and adaptable for both indoor and outdoor settings.


  1. Float Your Pumpkin Boat: A Fun Physics Experiment

Did you know that all pumpkins float? No matter how big or small, pumpkins are less dense than water, which makes them perfect for a simple and engaging physics lesson. 

Start by introducing kids to the concept of density using a fun guessing game: “Will it sink or float?” Compare a heavy object, like a stone, to a pumpkin. Even if the stone is smaller, it’s denser, so it sinks! After the kids guess, you can test their predictions using a container of water. 

Want to take it a step further? Turn the pumpkin into a boat! Scoop out the inside, make a mast using toothpicks or wooden skewers, and attach paper sails. Kids can decorate their sails however they like and then experiment by floating their pumpkin boats. How much weight can the boat hold before it sinks? It’s a hands-on way to explore basic physics while having fun with water play.


  1. Save Your Pumpkin Seeds: Sensory and Educational Fun

Pumpkin seeds aren’t just tasty snacks—they’re also a great way to introduce a variety of learning opportunities. Whether it’s a math lesson or sensory play, seeds are versatile tools for exploration. 

  • Roasting Seeds: After scooping the seeds from the pumpkin (which can be a fun, slimy sensory activity in itself!), have kids wash and roast the seeds for a healthy snack. Season with salt or spices, and roast until golden brown. Not only are they delicious, but they also make a great crunchy addition to soups, salads, and even baked goods. 
  • Counting Seeds: For a fun math lesson, have kids guess how many seeds are in their pumpkin. Then, count them together! This can be a great way to practice basic arithmetic while building patience and focus. 
  • Sprouting Seeds: For a science lesson, you can sprout pumpkin seeds. It’s a quick and easy way to introduce kids to plant life cycles and the process of germination. 

    pumpkin activity 

  1. Pumpkin Potions: Imaginative Play Meets Chemistry

What kid doesn’t love a little bit of magic? Turn a hollowed-out pumpkin into a “cauldron” for creating fizzy potions. This activity blends imaginative play with a simple chemistry lesson. 

Kids can mix vinegar, baking soda, and other fun “ingredients” like food coloring or natural elements (think dried lavender or cinnamon sticks) to create bubbly concoctions. The reaction between the baking soda and vinegar creates a fun and fizzy explosion, perfect for sparking curiosity and wonder. 

You can extend the activity by having kids collect their own “ingredients” from nature, adding an element of outdoor exploration. Keep in mind that this activity can get messy, so choose a location that’s easy to clean up afterward!


  1. Pumpkin Planters: Planting for the Fall

Pumpkins aren’t just for carving—they can also be turned into festive planters! This activity combines gardening with fall decor and is perfect for children who are eager to get their hands dirty. 

Start by cutting off the top of the pumpkin and scooping out the insides. Then, fill the pumpkin halfway with soil and plant flowers, herbs, or even succulents. If you’re working with seeds, fast-growing options like beans, marigolds, or wheatgrass are great choices. Once the pumpkin starts to decay, you can plant the whole thing in the ground, where it will decompose and naturally fertilize your plants. 

It’s a great way to teach kids about the life cycle of plants and composting while creating beautiful, temporary fall planters. 


Why Pumpkins? 

Pumpkins are not just a symbol of fall—they’re a rich resource for learning, creativity, and sensory play. Their history dates back over 7,000 years to Mexico, and they’re packed with nutrients like beta-carotene and Vitamin C. Whether you’re exploring science, encouraging imaginative play, or diving into gardening, pumpkins offer endless possibilities for fun and education. 

So grab some pumpkins and get crafting this fall! Want to learn more about growing your own pumpkins? Check out our KidsGardening’s Pumpkin Growing Guide for tips on how to cultivate these fantastic fruits in your garden. 


Full Instructions Here!


Tricyrtis

Keep the Color Going: 5 Perennials for a Vibrant Fall Garden

As summer winds down, you might think that the bright, bold blooms of your garden will start to fade. But the fall garden has its own special kind of beauty! By planting the right perennials, you can keep the color going strong well into autumn. Here are five perennials that offer spectacular fall hues and texture, plus one unsung hero that’s sure to impress.

Tricyrtis (Toad Lily)

Benefits & Features:
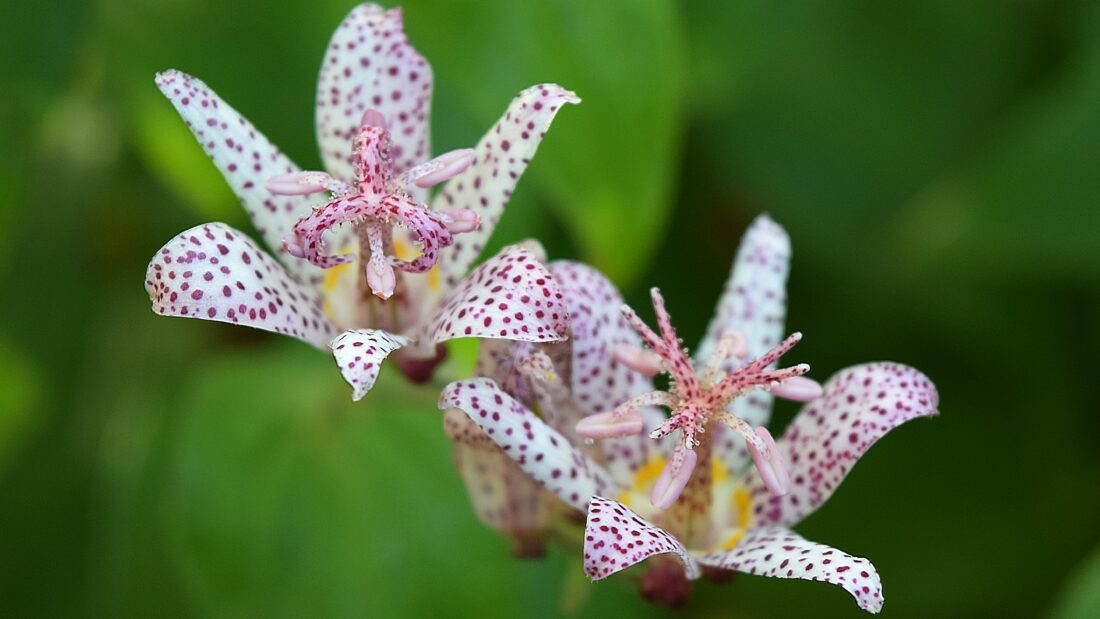
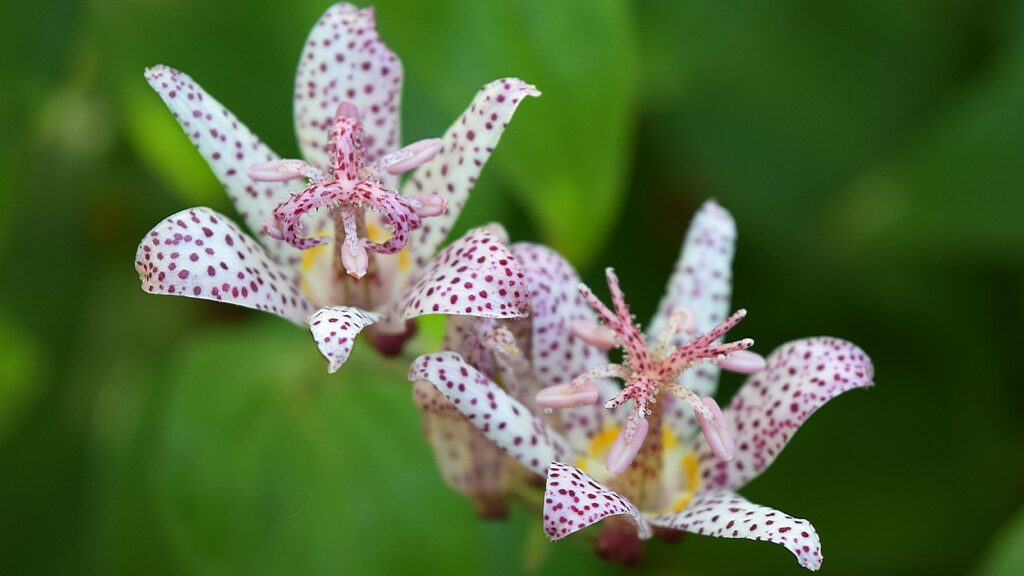
Tricyrtis, also known as Toad Lily, might not be as well-known as other fall perennials, but its unique beauty is worth adding to your garden. With delicate, orchid-like flowers in shades of white, purple, and speckled pink, it offers a striking display that begins in late summer and continues into the fall.

Care Tips:

  • Sunlight: Prefers partial to full shade.
  • Water: Keep the soil consistently moist but well-drained.
  • Soil: Likes rich, well-draining soil.
  • Why You’ll Love It: Tricyrtis adds an exotic touch to shaded areas of your garden and stands out in a time when other blooms are fading.
Tricyrtis fall perennial

Tricyrtis (Toad Lily)


Stokesia (Stokes’ Aster)

Benefits & Features:
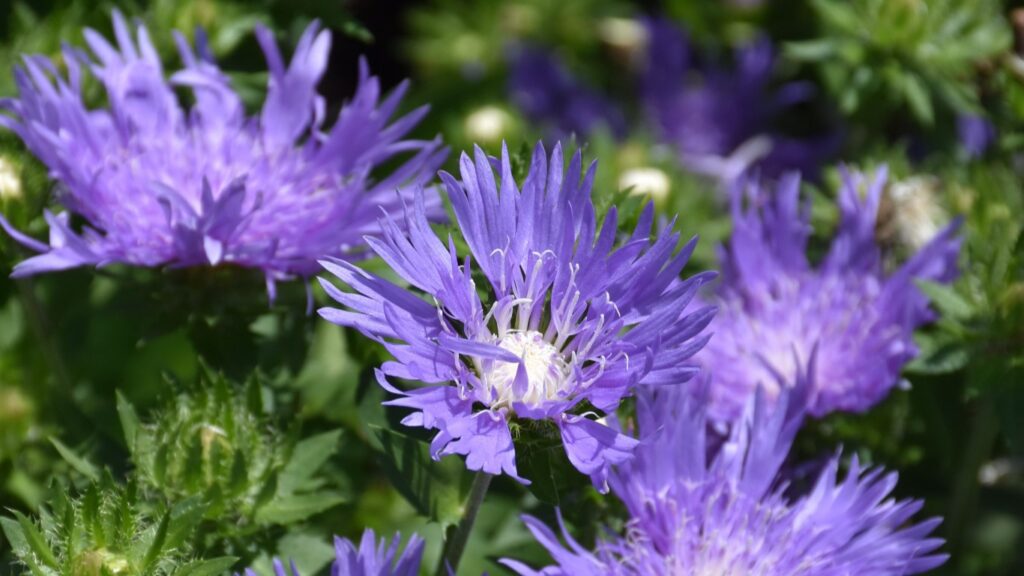
Stokesia offers charming, daisy-like blooms in soft blues, purples, and whites that provide a fresh burst of color in the fall garden. It’s a compact plant, making it ideal for borders or containers, and its long-lasting flowers make for excellent late-season pollinator support.

Care Tips:

  • Sunlight: Full sun to partial shade.
  • Water: Drought-tolerant once established but benefits from occasional watering during dry spells.
  • Soil: Well-drained soil is a must; avoid overly wet conditions.
  • Why You’ll Love It: Stokesia is both heat- and cold-tolerant, offering blooms that persist when other perennials are winding down.
stokesia stokes' aster

Stokesia (Stokes’ Aster)

Dragon’s Blood Stonecrop (Sedum)

Benefits & Features:
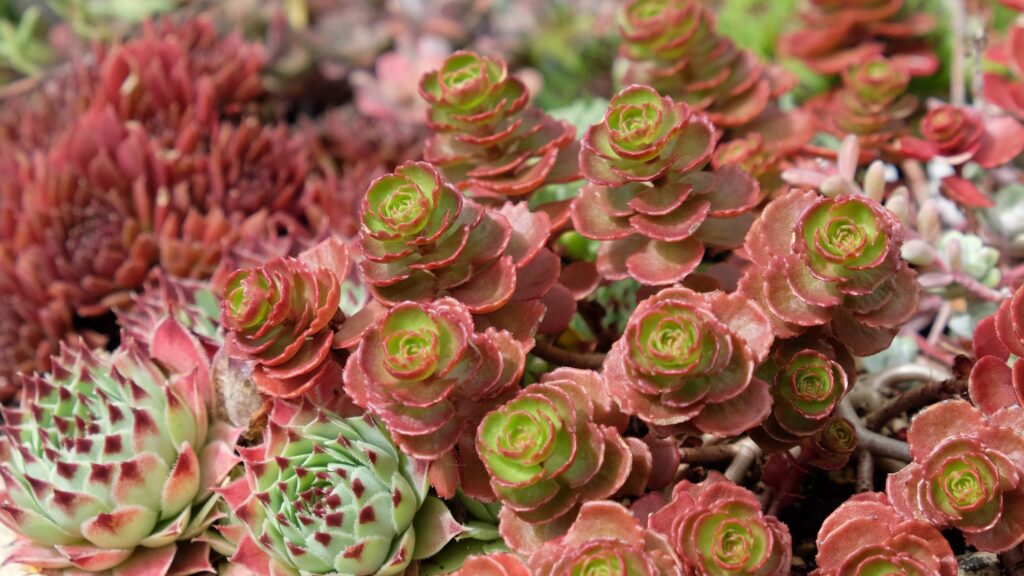
Dragon’s Blood Stonecrop is a low-growing, succulent ground cover with rich, reddish-purple foliage that deepens in color during the fall. In late summer to early fall, it produces small clusters of pinkish-red flowers, adding extra visual interest. It’s perfect for rock gardens, borders, or as a filler between stones.

Care Tips:

  • Sunlight: Full sun to partial shade.
  • Water: Drought-tolerant; requires minimal watering once established.
  • Soil: Thrives in well-drained, sandy or rocky soil.
  • Why You’ll Love It: This easy-care sedum offers stunning color contrast and is ideal for gardeners looking for low-maintenance, drought-tolerant ground cover that adds year-round interest.
dragons blood stonecrop sedum fall perennial

Dragon’s Blood Stonecrop (Sedum)

Helianthus (Perennial Sunflower)

Benefits & Features:
Helianthus, commonly known as perennial sunflower, brightens the garden with cheerful yellow blooms that can last from late summer through fall. These tall, sun-loving plants provide a striking vertical element to your garden and are excellent for attracting pollinators like bees and butterflies.

Care Tips:

  • Sunlight: Full sun.
  • Water: Drought-tolerant but prefers regular watering for optimal blooms.
  • Soil: Well-drained soil; tolerates poor soil conditions.
  • Why You’ll Love It: Helianthus adds bold, sunny color to your fall garden and requires minimal care once established, making it a low-maintenance, high-impact choice.
helianthus perennial sunflower

Helianthus (Perennial Sunflower)

Dendranthema (Perennial Mum)

Benefits & Features:
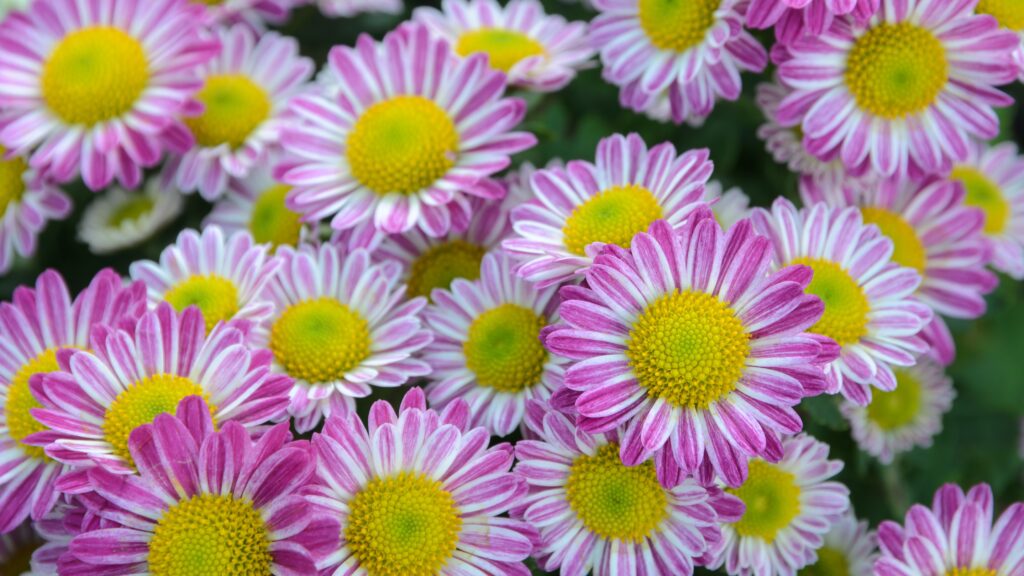
Often overlooked in favor of the more common annual mums, Dendranthema (the true perennial mum) is a garden gem that deserves more attention. These hardy perennials come back year after year, offering rich, dense mounds of flowers in classic mum shades—perfect for your fall garden.

Care Tips:

  • Sunlight: Full sun.
  • Water: Regular watering, especially during dry spells.
  • Soil: Well-draining soil is essential; avoid soggy conditions.
  • Why You’ll Love It: Unlike the potted mums often sold in fall, Dendranthema will return reliably every year with vibrant flowers, making it a long-term investment in fall color.
Dedranthema FALL PERENNIAL

Dedranthema (Perennial Mum)


These five perennials are your go-to plants for adding stunning color to your fall garden. Whether you want to attract pollinators, create beautiful arrangements, or simply enjoy the autumn season in your garden, these plants will keep your space vibrant and lively long after summer fades.

And once breezy autumn starts to turn into chilly winter, why not leave your perennials untouched for our animal friends?  Check out our blog post on the eco-friendly reason you should leave your perennials alone at the end of fall!  Less work for you and great for our environment, win win!


Happy planting!


Fall Planting Made Easy: Double the Blooms with Lasagna Gardening!

As the intense summer heat fades, there’s a refreshing shift in the air—it’s time to start thinking about fall planting! Cooler temperatures and the crispness of autumn offer the perfect opportunity to refresh your garden. And here’s the best part: with a simple and clever technique called Lasagna Gardening, you can plant for two seasons in one go. Imagine enjoying vibrant fall blooms now and seeing your garden burst into color again next spring—without having to replant. It’s a win-win!


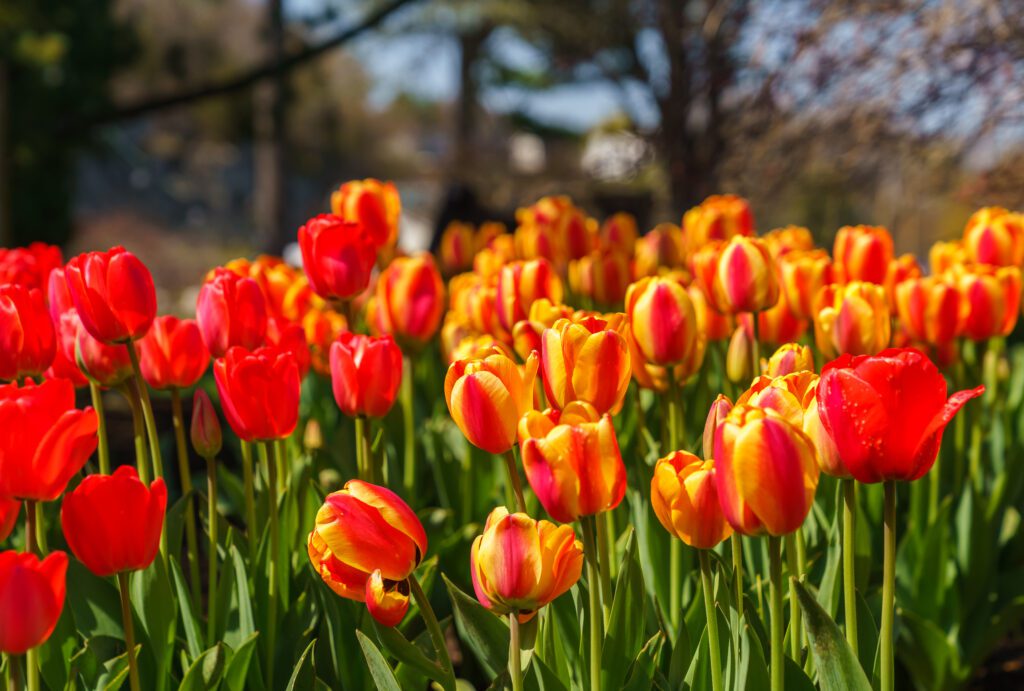
tulips at mahoney's garden center in winchester, ma


What is Lasagna Gardening?

Lasagna Gardening isn’t just a catchy name—it’s an easy planting method that layers your garden with flowers for different seasons, all in the same spot. Just like layering lasagna in a baking dish, you stack your plants by planting spring bulbs first, then topping them off with fall flowers. The result? A beautiful garden that will bloom twice: once during the fall season and again in spring when your bulbs push through.

This method is perfect for anyone who wants to make the most of their garden space and enjoy continuous color throughout the changing seasons.


Three Simple Steps for a Gorgeous Garden from Fall to Spring

Follow these easy steps to make sure your garden is thriving both now and when spring arrives:

  1. Clear Out Summer Annuals

As the summer garden starts to wind down, it’s time to remove any faded or spent annuals. These summer plants have likely given their all during the heat, and clearing them out opens up room for your new fall and spring plantings. By tidying up, you’ll create a clean slate for your next project, making sure your fall flowers have plenty of space to take root and bloom.

  1. Plant Spring-Blooming Bulbs

Now for the foundation of your Lasagna Garden—plant spring bulbs like tulips, daffodils, hyacinths, and crocuses. These bulbs thrive in cooler soil and need the cold winter months to prepare for their spectacular spring display. The key is to plant them at the correct depth (usually around 6-8 inches for most bulbs), ensuring they’ll have time to settle in over winter and be ready to bloom as soon as the ground warms in spring. After you plant, cover them with soil, but don’t stop there—there’s one more step to complete your layered masterpiece!

Layering bulbs, also known as “bulb lasagna,” takes the concept of Lasagna Gardening a step further by stacking bulbs that bloom at different times, creating a continuous wave of color throughout the spring. By planting early-blooming bulbs like crocuses at the top, followed by mid-season tulips, and then late-blooming daffodils at the deepest layer, you can enjoy a succession of flowers without having to replant. This method not only maximizes your garden’s impact but also ensures your flower beds stay vibrant and full for an extended period. It’s a beautiful and efficient way to make the most of your garden!

Check out a sample of our bulb selection here.

  1. Add Fall Flowers on Top

Here’s where Lasagna Gardening truly shines. Instead of leaving your freshly planted bulbs covered with just dirt, top the soil with fall-blooming plants like pansies or mums. These cool-weather flowers thrive in autumn’s crisp air and will give your garden a beautiful pop of color that lasts well into the fall season. As winter approaches, your fall flowers will naturally finish their life cycle, leaving space for your bulbs to push through the soil when spring comes around.

The combination of spring bulbs below and fall flowers on top means you’re setting up your garden for a stunning show, twice!


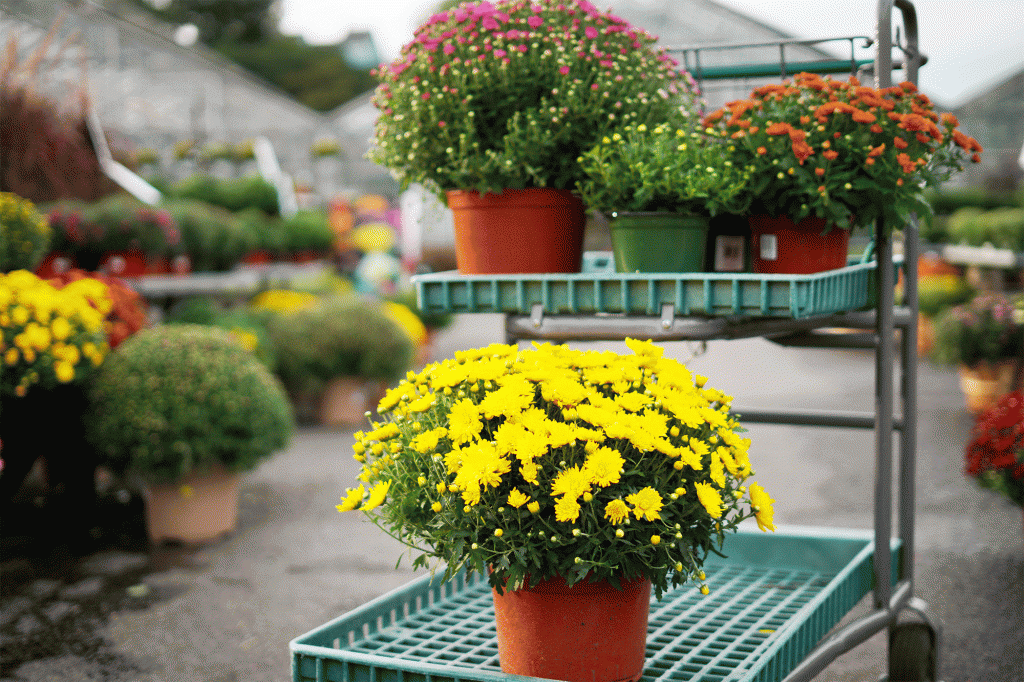
mums on a cart at mahoney's garden center in winchester, ma


Why Choose Lasagna Gardening?

There are plenty of reasons to give Lasagna Gardening a try, especially if you’re looking for a low-maintenance way to enjoy your garden through multiple seasons:

  • Maximized garden space: Instead of planting separately for fall and spring, you can use the same garden bed to cover both seasons. This saves time and energy while also making the most of your space.
  • Continuous color: Fall doesn’t have to mean the end of your garden’s beauty. With this method, you’ll enjoy vibrant fall flowers and can look forward to a gorgeous spring display.
  • Easy maintenance: By layering your plantings, you’re taking care of two seasons in one go. It’s efficient and ensures your garden will always have something beautiful to offer, with less effort required throughout the year.
  • Great for all gardeners: Whether you’re a gardening pro or just getting started, Lasagna Gardening is a foolproof technique. It doesn’t require any special tools or advanced knowledge, making it perfect for gardeners at any level.


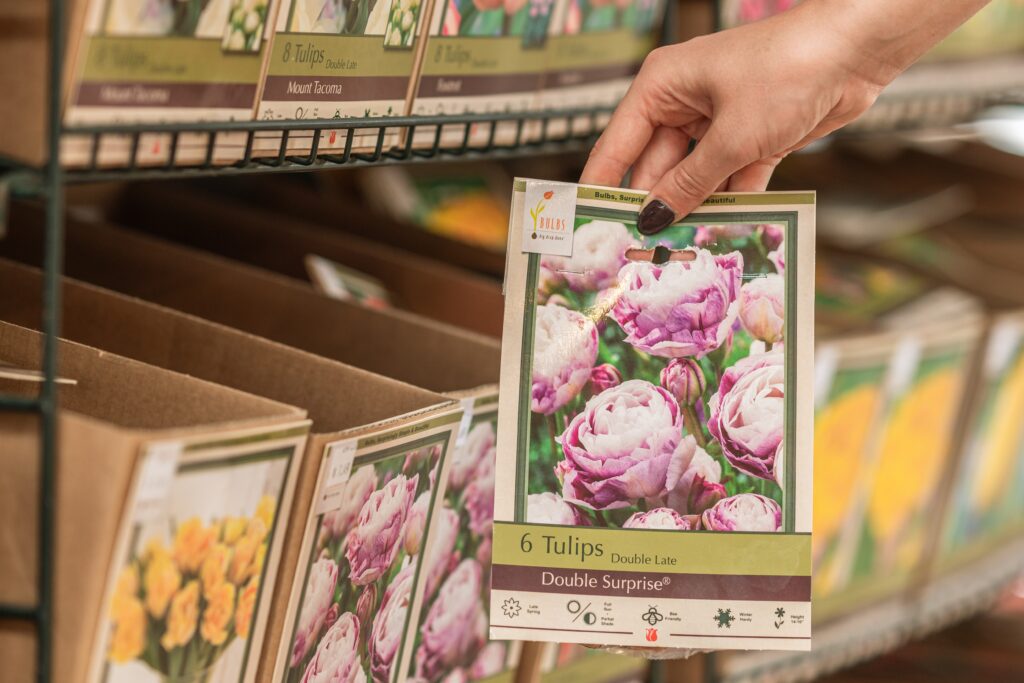
hand holding tulip bulb at mahoney's garden centers


What Should You Plant?

Here’s a quick list of plant recommendations to get the most out of your Lasagna Garden:

  • Spring-blooming bulbs: Daffodils, tulips, crocuses, hyacinths, alliums, and snowdrops.
  • Fall-blooming flowers: Pansies, mums, asters, and violas.

Mixing different colors, heights, and varieties will add depth and dimension to your garden. Plus, it’s always exciting to experiment with different combinations to see what works best in your space.


foot on bulb planter in new england


Tips for Success
  • Timing is key: Plant your bulbs in early to mid-fall when the soil is still workable, but before the ground freezes. This gives your bulbs enough time to establish roots before winter sets in.
  • Water thoroughly: After planting, water your garden beds to help settle the soil around your bulbs and fall flowers. This encourages strong root development.
  • Mulch for protection: If you live in a colder region, consider adding a layer of mulch over your garden beds to protect your bulbs from extreme winter temperatures.

If you need some advice on how to get started on planting bulbs, check out our blog post that’ll guide you from picking out the best bulbs for you to getting them in the ground.

With Lasagna Gardening, you can enjoy twice the garden beauty with just one planting effort. It’s a fantastic way to maximize your gardening experience, creating a stunning fall show and setting the stage for a breathtaking spring bloom. So why wait? Dig in and start layering your garden today—you’ll be rewarded with a colorful garden that lasts through two seasons!


Plant once, enjoy twice! Stack your spring bulbs and fall flowers to enjoy a garden that blooms now and again when the snow melts.


Ready to elevate your fall bulb planting? Watch our video below with our resident bulb expert Luc Van Dam to show you how Lasagna Gardening layers bulbs for stunning spring blooms! Products included in this video from Netherland Bulb Company, Espoma, and Bonide!


Love Your Lawn This Fall: Aeration, Seeding, and Soil Care

As summer fades and fall approaches, it’s the perfect time to restore your lawn from the stresses it endured over the hot months. Whether your grass suffered from high heat, drought, or just general wear and tear, the cooler temperatures of early fall create ideal conditions for lawn repair. Let’s dive into some key steps to help your lawn bounce back stronger than ever.


a lawn


Why Fall is the Best Time to Repair Your Lawn

Fall is a sweet spot for lawn care because the soil is still warm, but the cooler air encourages strong root growth without the intense stress of summer heat. With the right care now, you’ll not only enjoy a healthier lawn this year but save yourself time and effort next spring. One of the most important steps you can take is aeration.

Step 1: Aeration – Give Your Lawn Room to Breathe

Aerating your lawn helps loosen compacted soil and allows essential nutrients, water, and oxygen to reach the roots. For the best results, use a core aerator that removes plugs of soil, leaving small holes behind. The benefits? The plugs break down over time, enhancing soil health by feeding beneficial microbes that break down thatch, reduce compaction, and promote deeper root growth.

It’s a bit of a workout to aerate, but you can either rent a machine or hire a service. Aerating every other year for cool-season grasses is a great long-term practice that significantly improves lawn health.

Step 2: Overseeding – Fill in the Gaps

Once your lawn is aerated, it’s time to overseed. This involves spreading new grass seed over your existing lawn to fill in thin or bare spots. But don’t just grab any seed! Be sure to choose a high-quality seed mix appropriate for your region and sun exposure. For example, if your lawn is a mix of sun and shade, go for a blend that includes fescue and rye. If you’re dealing with a lot of shade, avoid bluegrass, which doesn’t thrive in low-light areas.

Introducing newer grass varieties also helps to reduce the risk of diseases. Modern seed blends are often more disease-resistant, which means fewer outbreaks and less need for chemicals.

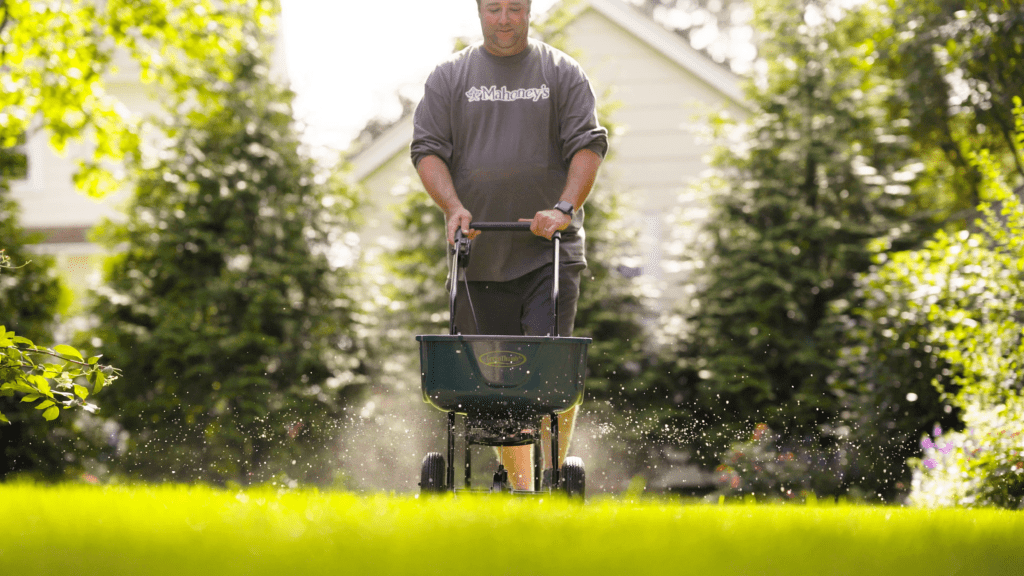
seeding a lawn

Step 3: Fertilize and Water

After overseeding, it’s time to fertilize. Use a starter fertilizer, which is rich in phosphorus (the middle number on the fertilizer label). Phosphorus is crucial for root development, helping those new seeds establish strong roots. Make sure to water regularly but not excessively. The goal is to provide enough water for germination but avoid creating soggy conditions. A good rule of thumb is to aim for one to one-and-a-half inches of water per week, measured using a simple tool like a tuna can.

Step 4: Mind the Mowing

Once you’ve overseeded, be mindful of your mowing routine. Give your new grass at least two weeks to germinate before cutting. When you do mow, avoid cutting it too short. You want to protect those new seedlings and give them a chance to grow strong.


Soil Amendments – The Secret Sauce for Success

Aeration and overseeding are just the beginning. To truly boost your lawn’s health, consider adding soil amendments. Lime is a common recommendation, especially for lawns in New England, where soil tends to be more acidic. A fast-acting lime or a product like Love Your Soil helps balance the pH, making nutrients more available to your grass.

If you haven’t tested your soil recently, now’s a great time to do it. A soil test will tell you exactly what your lawn needs, saving you time and money on unnecessary products. Think of it like a check-up for your lawn, ensuring you’re giving it the right nutrients for long-term health.

The Long-Term Benefits

By taking these steps now, you’re setting your lawn up for success—not just for the rest of this year, but for next spring and beyond. A thick, healthy lawn naturally resists weeds, reducing your need for herbicides. Plus, fewer weeds and less stress mean less work and fewer chemicals next year. Who doesn’t love the idea of doing less work while enjoying a greener, healthier lawn?

Get Started Now for a Healthier Lawn Next Year

The best time to take action is now. The temperatures are perfect for germination, and the work you put in now will pay off next year. Whether you’re filling in bare spots, thickening your lawn, or starting fresh with soil amendments, fall is the ideal time to get your lawn in shape. By the time spring rolls around, you’ll have a lush, healthy lawn that’s ready to withstand whatever the season brings.

So, what are you waiting for? Grab your aerator, seed, and fertilizer, and let’s get started on building a lawn you can enjoy with less effort next year!


This information was shared from the Paul Parent Garden Club Radio Show, a trusted resource for gardening advice in New England for over 30 years. Originally hosted by Paul Parent, a veteran expert in the gardening industry, the show is now led by his son, Patrick Parent, Lawn and Garden Care Product Line Manager here at Mahoney’s. Patrick continues to share his father’s passion for helping gardeners thrive, offering expert tips to keep your lawn and garden healthy year-round.  Listen live here every Saturday morning from 9am-11am, or you can listen on apple podcasts or spotify!


Intention Gardening: Grow Your Dreams, One Plant at a Time

Have you ever considered that your garden could be more than just a pretty space, but also a place where you grow your intentions and manifest your dreams? Welcome to the world of intention gardening and horticultural spell jars! 🌿✨ 

Intention gardening is a mindful and spiritual practice where plants are chosen and nurtured based on the energies and meanings they represent. Whether you want to bring more peace, love, or personal power into your life, the plants in your garden (or your home) can become living symbols of those desires. Plus, who doesn’t love the idea of getting closer to nature while also setting powerful intentions? 

Let’s dig into some plants that are perfect for this type of magical gardening and learn how you can incorporate them into horticultural spell jars or other intention-setting rituals. 

Plants for Intention Gardening 

Every plant has its own unique energy, and by choosing the right ones, you can align your garden with the goals and intentions you’re working towards. Here are a few standout plants that bring powerful vibes into any space: 

  1. Red Chili 🌶️ – Resistance

Red chili peppers are fiery in more ways than one. These spicy little wonders are perfect for building up resistance and personal strength. If you’re facing challenges or obstacles, red chili can serve as a reminder of your inner fire and determination to push through. 

Intention Tip: Plant a red chili in your garden or keep dried ones in a jar to ignite your resistance to negativity or difficult circumstances. 


  1. Dandelion Seeds and Flower Heads 🌼 – Resilience & Heartfelt Wishes

Dandelions are the ultimate symbol of resilience—they’re tough, adaptable, and can thrive in all kinds of conditions. Their seeds, when carried by the wind, represent heartfelt wishes, hopes, and dreams. 

Intention Tip: When blowing dandelion seeds, visualize your dreams taking flight. You can also include dried dandelion flowers in spell jars to help cultivate resilience during tough times. 

  1. Butterfly Pea Flower 🦋 – Evoking Your Highest Self

This beautiful blue flower is known for its transformative properties, helping you connect with your highest self and inner wisdom. Butterfly pea flowers are perfect for those moments when you need clarity and inspiration. 

Intention Tip: Use butterfly pea flowers in teas, spells, or intention jars when you’re seeking personal growth or self-discovery. 

  1. Dragon’s Blood Stonecrop 🐉 – Personal Power & Bravery

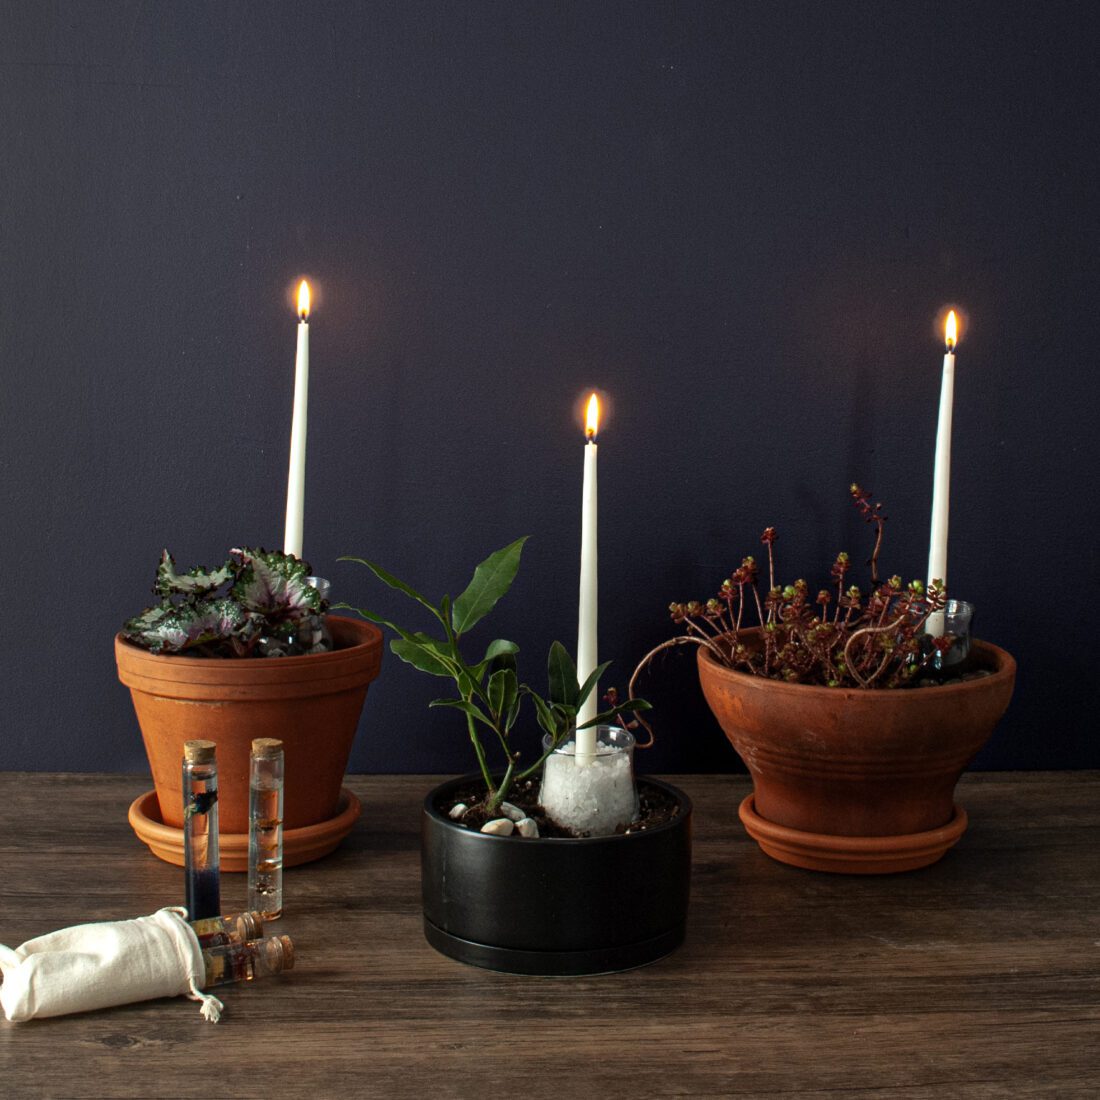
This striking succulent has an otherworldly energy that is all about personal empowerment. It’s connected to the heart and root chakras, radiating bravery and protection. Dragon’s Blood Stonecrop also acts as a shield against negativity, helping you maintain your peace. 

Intention Tip: Plant this stonecrop in areas where you want to feel empowered and safe. Or, place its leaves in a spell jar to protect your energy from external forces. 


dragons blood stonecrop sedum for botanical spell jar intention gardening


  1. Rex Begonia 🌿 – Peaceful Resolution

Rex begonias are beautiful and full of good vibes. They bring peaceful energy to conflicts and help everyone involved see things clearly, making them a great plant for fostering harmony. 

Intention Tip: Keep a Rex begonia near areas where conversations happen—like your living room or kitchen—so its peaceful energy can encourage calm and productive communication. 

  1. Laurel 🌱 – Victory & Self-Love

Laurel, also known as bay leaves, has long been a symbol of victory and personal achievement. It’s the perfect plant for moments when you want to celebrate your wins and remind yourself of your strengths. Plus, it promotes self-love and self-acceptance. 

Intention Tip: Write your goals or victories on a dried bay leaf and burn it as a way to honor your achievements. You can also add laurel leaves to spell jars for a boost of pride and motivation. 

  1. Gardenia 🌸 – Love & Pure Emotions

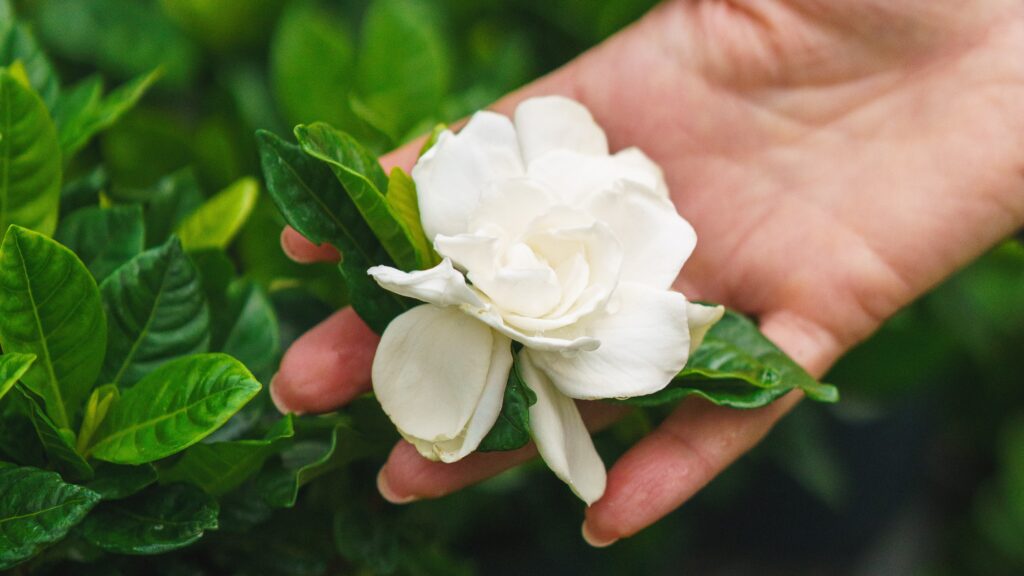
Known for its fragrant blossoms, gardenia is all about love—pure, unconditional, and accepting. It’s connected to the divine feminine but emits a universal energy that transcends gender, making it a wonderful plant for opening your heart to love in all its forms. 

Intention Tip: Grow gardenia near your home to invite love and emotional openness into your space. You can also dry the petals for bringing a peaceful, loving energy into a spell jar.  

gardenia for intention gardening horticultural spell jar

Creating a Horticultural Spell Jar 

Now that you know some of the amazing plants you can work with, let’s talk about how to create a horticultural spell jar. This is a simple yet powerful way to set your intentions using the energy of plants. Here’s how to do it: 

What You’ll Need: 

  • A small container or pot 
  • Plant materials (like flowers, seeds, or leaves) that match your intention 
  • A small piece of paper and pen 
  • Optional: crystals, small charms, or essential oils for added energy 

Steps: 

  1. Set Your Intention: Before you start, take a moment to clearly define what you want to manifest. Whether it’s love, protection, or personal growth, be specific with your intention. 
  1. Choose Your Plants: Pick plants that align with your intention. For example, if you’re seeking resilience, you might use dandelion seeds. If it’s loving energy, you could add gardenia. 
  1. Assemble the Jar: Plant your chosen plants into the container one by one, focusing on your intention as you do so. You can also add crystals or other items that hold meaning for you. 
  1. Seal the Spell: On a small piece of paper, write your intention (something like “I am protected” or “I welcome love into my life”). Fold the paper and place it in the soil. 
  1. Activate It: Hold the container in your hands and visualize your intention becoming reality. You can also say a few words aloud, like an affirmation or a blessing. 
  1. Place It: Keep your container in a special place where you’ll see it often. Every time you look at it, remember the energy you’ve infused into it. 


crystals for intention gardening and horticultural spell jars


The Power of Nature in Your Hands 

Intention gardening is a beautiful way to connect with nature while also working on your inner self. Whether you’re planting a chili for resistance or creating a spell jar with gardenia petals for love, you’re nurturing more than just a plant—you’re nurturing your dreams and desires. So get your hands dirty, lean into the magic of the garden, and watch as the seeds of your intentions bloom into reality! 🌱✨ 

Happy planting and manifesting! 


A Note on Cultural Respect and Sacred Plants 

As we explore intention gardening and spiritual practices, it’s important to do so with respect and mindfulness, especially when it comes to using sacred plants. Many plants like white sage, palo santo, sweetgrass, and ceremonial tobacco hold deep spiritual and cultural significance for Indigenous communities. These plants are used in sacred ceremonies and have been a vital part of their traditions for centuries. 

Unfortunately, these plants have been overharvested and commercialized, often without proper understanding or respect for their cultural importance. To avoid appropriation, it’s best to honor Indigenous knowledge by refraining from using sacred plants unless you’re invited to participate in those practices by someone from that culture. Instead, explore alternatives that align with your intentions but don’t infringe upon sacred traditions—like rosemary, lavender, or locally sourced herbs. 

Being mindful and respectful of where our practices come from helps us connect more deeply to the spirit of intention gardening while honoring the cultures that have nurtured these practices for generations. 🌱💚 


fall ornamental peppers in massachusetts

Step Up Your Fall Garden Game with These Mum Alternatives

When fall rolls around, chrysanthemums (or “mums”) are usually the go-to plant to add a burst of color. But what if you’re looking to break the mold a bit this year? Fortunately, there are so many other vibrant and unique plants that thrive in the cooler weather and can bring a fresh look to your autumn garden. Here’s a roundup of some fantastic mum alternatives that’ll add texture, color, and personality to your fall display! 


celosia cock's comb in new england


Celosia: The Showstopper

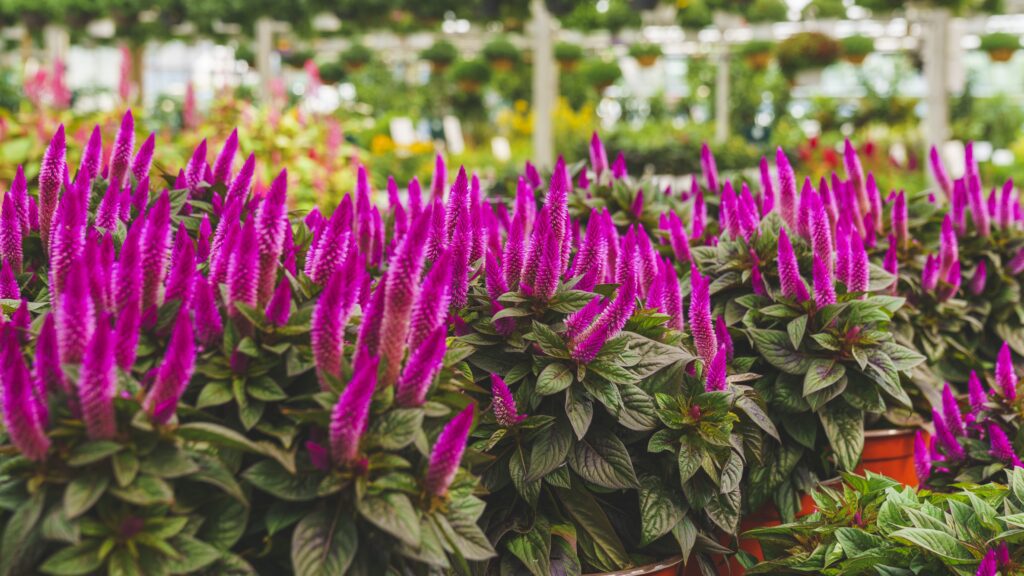
If you’re looking for a plant that will turn heads, celosia is a stunning option. This eye-catching beauty comes in bold, vibrant colors, with unique flower shapes that almost look like flames. Three standout varieties to consider for fall are: 

  • Intenz: Known for its striking purple-pink spikes that add height and drama. 
  • Kelo Fire: This variety bursts with fiery reds and oranges, a perfect autumn palette. 
  • Twisted: True to its name, this variety has a quirky, spiral flower shape that will add texture and whimsy to your garden. 

Celosia loves full sun and is fairly low-maintenance, making it an excellent choice for brightening up your fall containers or garden beds. 


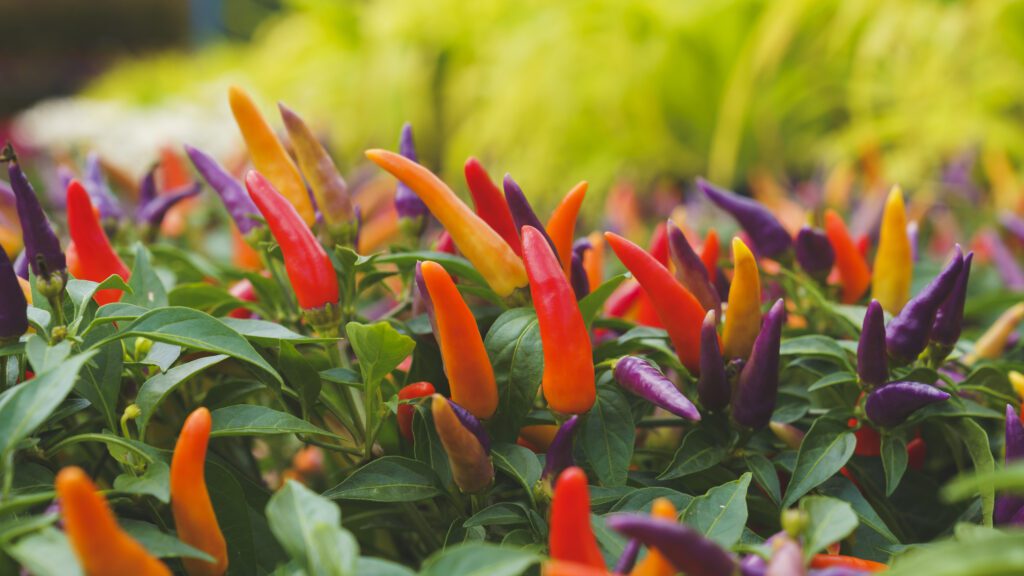
fall ornamental peppers in massachusetts


Ornamental Peppers (Capsicum annuum): A Splash of Color and Spice

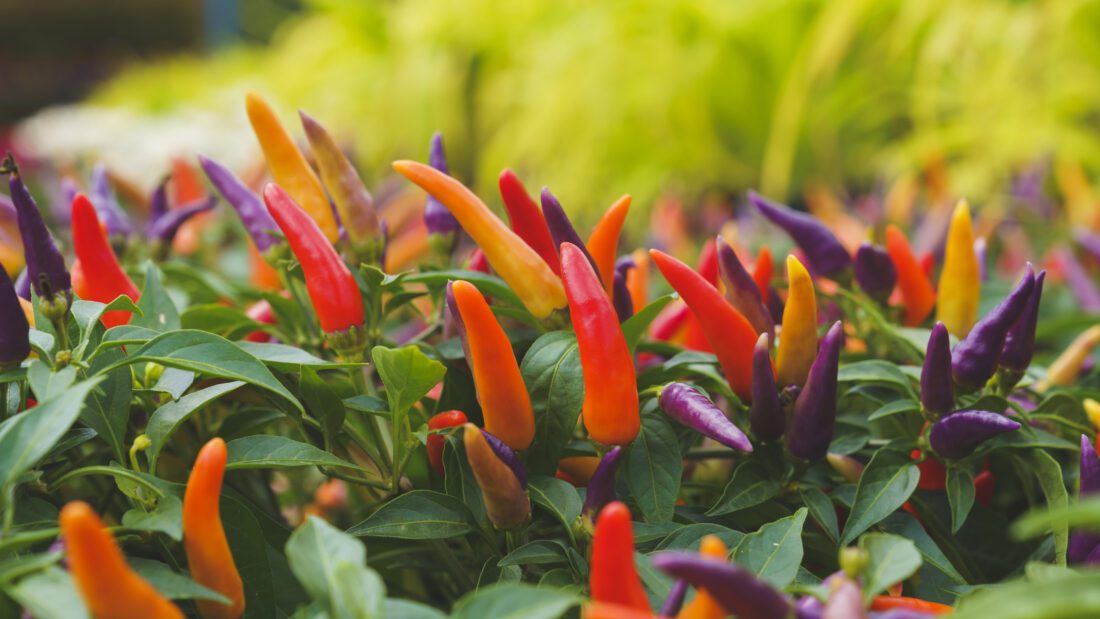
Ornamental peppers are a fantastic option if you want to mix some unique shapes and bright pops of color into your fall décor. These peppers come in shades of purple, red, orange, and yellow, often appearing all at once on the same plant. Their compact size makes them great for both garden beds and containers. 

Just note: While they look tempting, ornamental peppers aren’t meant for eating (they can be quite spicy or bitter), but they sure are pretty to look at! 


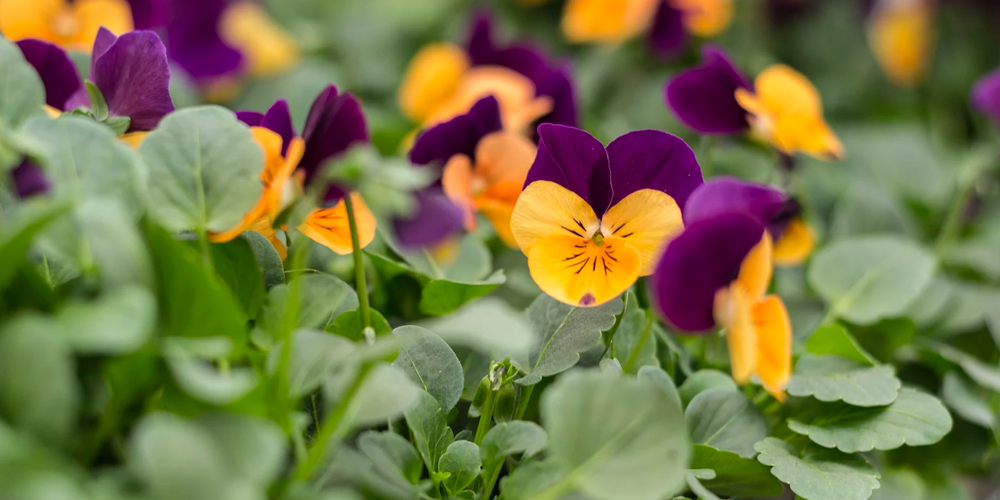
pansies in winchester ma


Pansies and Violas (Viola tricolor var. hortensis): Cool-Weather Champions

Pansies and violas are classics for fall planting, and for good reason! These cool-weather flowers come in a huge variety of colors and patterns, allowing for endless design possibilities. 

  • Pansies (Clear vs. Blotched): Clear pansies have solid, vibrant colors, while the blotched varieties feature dark, dramatic centers, creating a “face” on the flower. Both are excellent for fall gardens. 
  • Violas: With their smaller, daintier flowers, violas tend to be more resilient than pansies and can handle colder weather. They come in almost every color imaginable, from soft pastels to deep, rich hues. 

Both pansies and violas love cooler temperatures and can survive light frosts, making them a perfect choice for fall. 


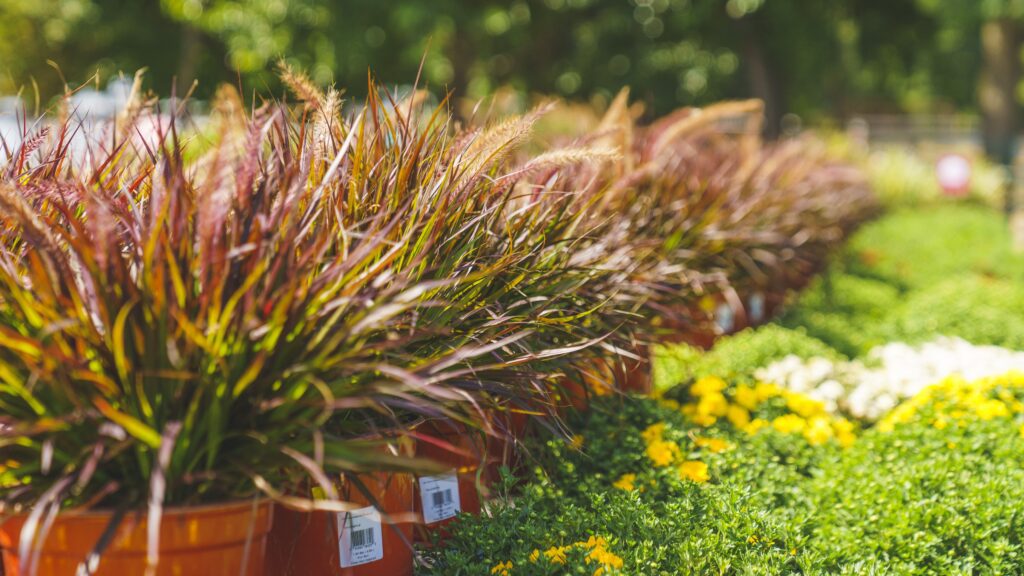
ornamental grass at garden center in new england


Ornamental Grasses: Texture and Movement

For a more natural, flowing look, ornamental grasses like Fountain Grass (Pennisetum rubrum) and Fireworks (Pennisetum setaceum) are fantastic options. They add height, texture, and movement to your fall garden with their wispy plumes and rich colors. 

  • Fountain Grass: This grass has stunning deep red-purple foliage and feathery plumes that look amazing when the sunlight hits them. 
  • Fireworks: As its name suggests, this variety has explosive red, pink, and cream tones, adding a bold statement to your fall garden. 

These grasses look stunning when paired with flowering plants and provide a striking contrast in texture. 


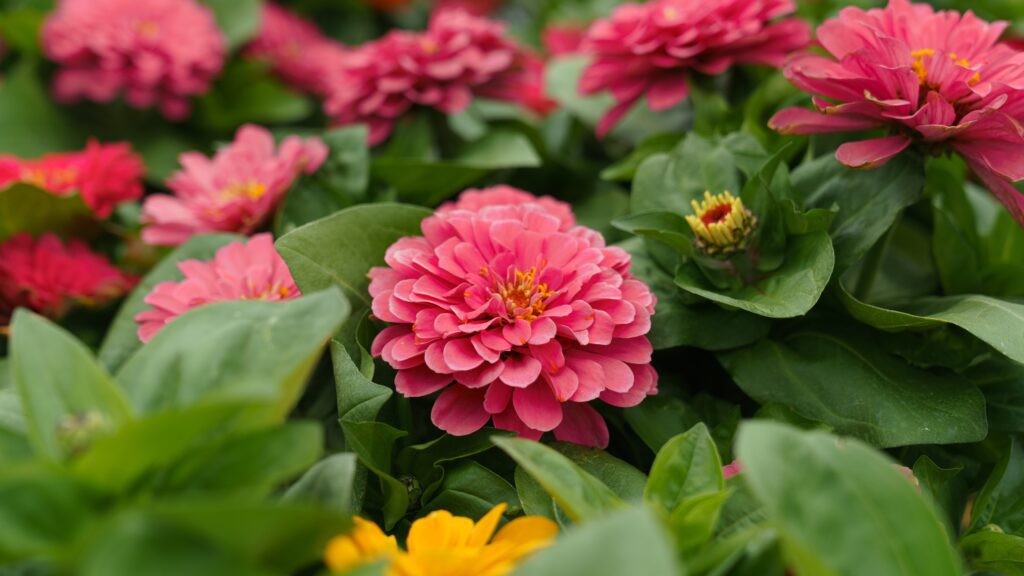
zinnia in woburn ma


Zinnias: Bold, Bright, and Beautiful

Zinnias are known for their bright colors and cheerful blooms, and while they’re typically associated with summer, they can continue to thrive into early fall. Varieties like mixed zinnias and bicolor zinnias (which feature two-tone petals) can add an unexpected splash of color to your fall garden. 

Zinnias are easy to grow and come in a wide range of colors, including yellows, oranges, and reds—perfect for autumn! 


ornamental kale and cabbage in massachusetts


Cabbage and Kale (Brassica oleracea): Bold and Textured

Ornamental cabbage and kale are fantastic foliage plants that are often overlooked. With their bold, rosette shapes and cool tones of purple, green, and white, they bring a whole new texture to fall displays. Plus, they’re incredibly hardy and can withstand cooler temperatures, even after frosts. 

These plants pair beautifully with flowering varieties, providing a leafy contrast that brings depth and interest to your garden. 


petunias calibrachoa new england


Fall-Colored Petunias and Million Bells (Calibrachoa)

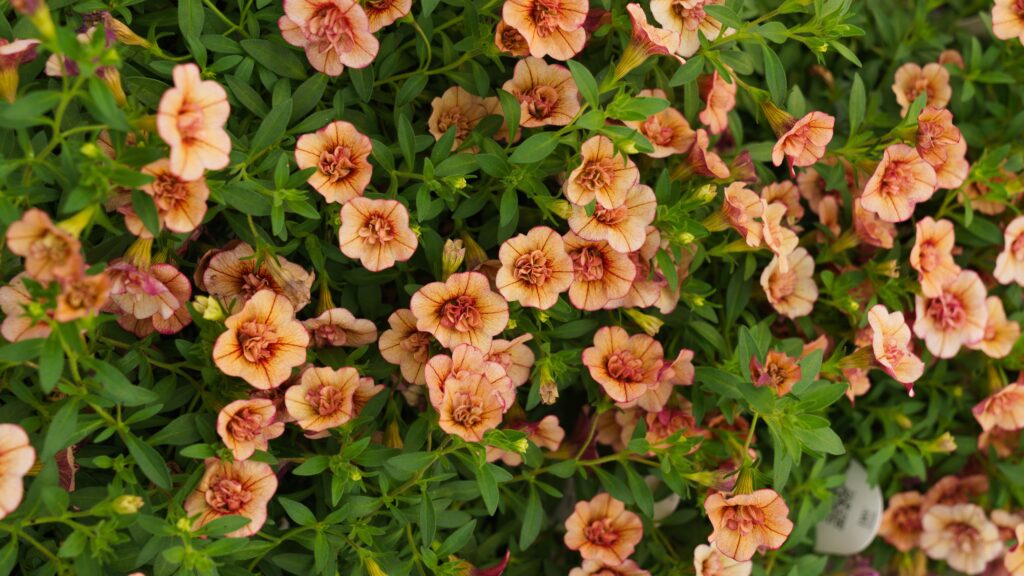
Petunias are often associated with summer, but there are fall-colored varieties that bloom in shades perfect for autumn, like warm oranges, rich reds, and deep purples. The Super Cal series is especially hardy and can withstand cooler weather, giving your garden a splash of color late into the season. 

Million Bells (or Calibrachoa) also come in beautiful fall colors like gold, burnt orange, and burgundy. These plants are prolific bloomers and can spill gracefully over the edges of containers, adding a cascading effect that looks beautiful in fall arrangements. 


Montauk nippon daisies in new england garden center


Montauk Daisy: The Late Bloomer

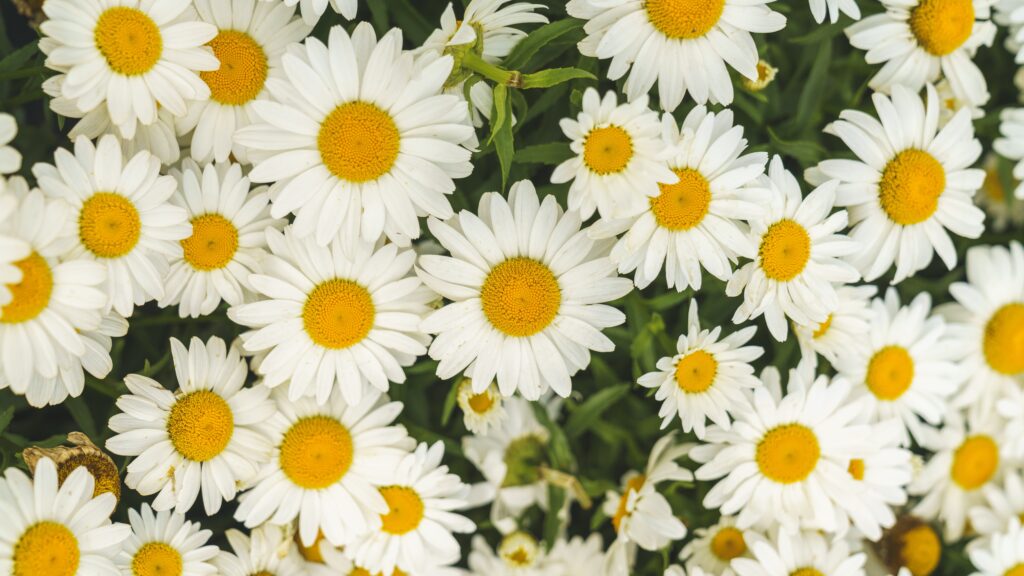
If you’re looking for a plant that will bloom well into the fall, the Montauk daisy is a great option. This sturdy, sun-loving plant produces classic white daisy blooms that contrast nicely with the deeper fall colors around it. Montauk daisies are low-maintenance and perfect for adding some late-season cheer to your garden. 


Helenium: Rich Hues of Autumn

Helenium, also known as sneezeweed, is another fall bloomer that offers warm, rich colors like red, orange, and yellow. Its daisy-like flowers with bold centers are perfect for adding depth and a true fall feel to your garden. 


fall windowbox ideas


While mums are certainly a fall favorite, these alternatives offer a range of colors, textures, and shapes that can bring new life and creativity to your autumn garden. Whether you’re drawn to the bold spikes of celosia, the vibrant hues of ornamental peppers, or the soft, cool tones of ornamental cabbages and kales, there’s an endless variety of plants that can elevate your fall garden game. So go ahead—experiment, mix, and match! Your fall display will be anything but ordinary. 


Looking for some inspiration?  Check out Nancy and Julia making some beautiful containers and window boxes (like the one above) with these mum alternatives!


Come visit us at any one of our 7 locations to see what we have in stock to make your fall more colorful! 


Green Giants of New England: Caring for Arborvitae and Western Red Cedar

If you’re looking to add some green charm to your New England garden, Arborvitae and Western Red Cedar is a great choice! These evergreen trees and shrubs not only add year-round beauty but also privacy and character to your landscape. In this guide, we’ll explore everything you need to know about caring for these popular plants in New England.


Choosing the Right Variety

Before you dive into planting Arborvitae or Western Red Cedar, it’s essential to choose the right variety that suits your landscape and environmental conditions. Consider factors like light requirements, mature size, foliage color, and growth rate.

For Full Sun to Light Shade: American Arborvitae (Thuja occidentalis)

  • Emerald Green (‘Smaragd’)
  • Dark American (‘Nigra’)
  • Degroot’s Spire
  • American Pillar
  • Golden Globe

For Full Sun to Shade: Western Red Cedar (Thuja plicata)

  • Green Giant
  • Steeplechase
  • Whipcord
  • Forever Goldy


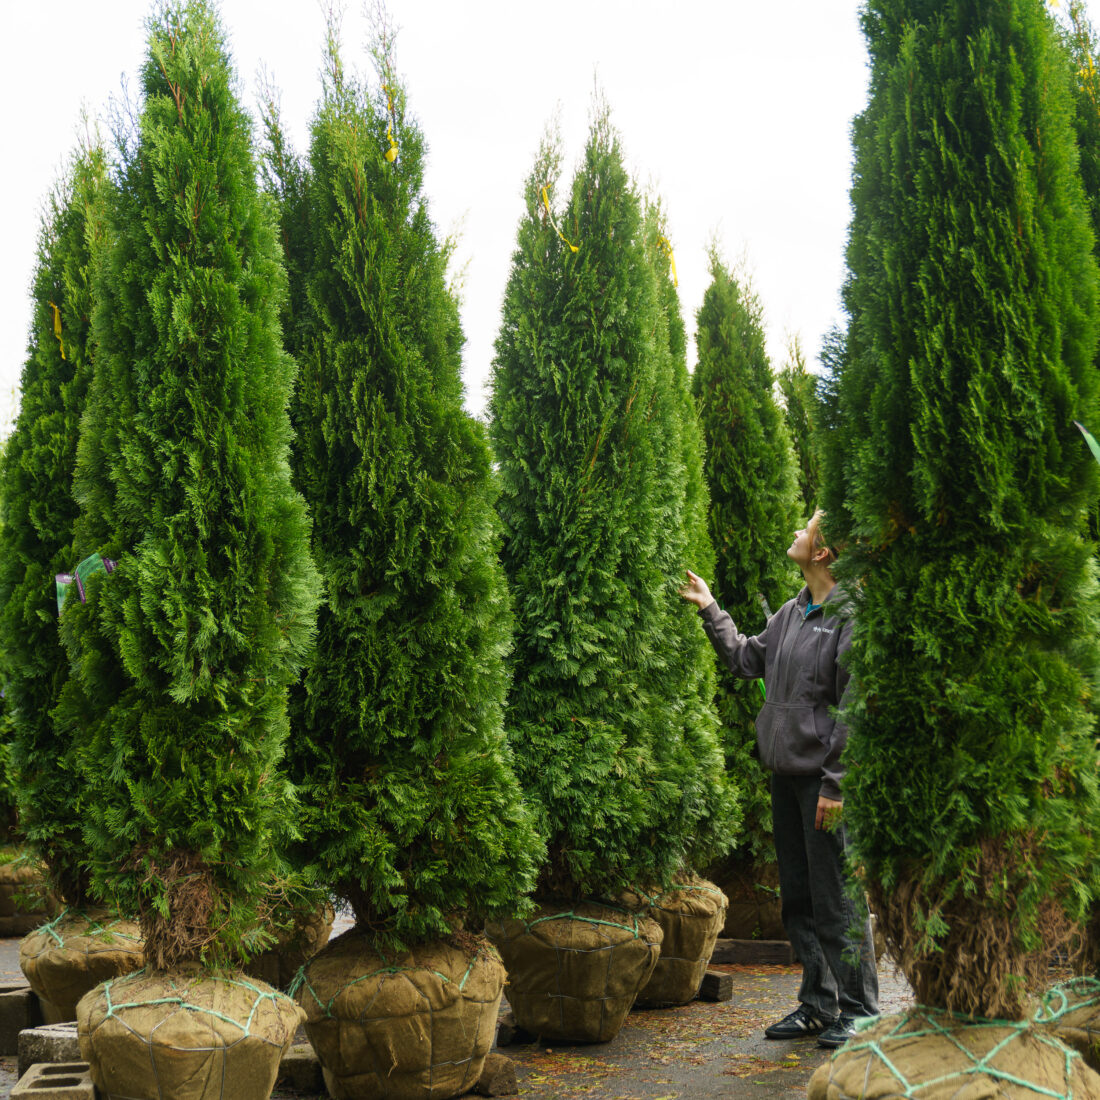
Western Red Cedars at Mahoney's in Winchester

Western Red Cedars at Mahoney’s in Winchester

Planting Tips

Follow these guidelines for successful Arborvitae and Western Red Cedar transplantation:

Soil Requirements: Ensure your soil drains well. Amend heavy clay soils with organic matter and gypsum. These plants have broad root systems, so dig a hole at least twice as wide as the root ball to encourage root spread.

Care in the First Two Years: Pay special attention during the first two years after planting. Adequate watering, especially during dry spells, is critical.
Fertilizing: Apply all-purpose slow-release fertilizer in early spring before new growth fully emerges. Fall fertilizing at half the spring amount helps establish healthy root systems.

Pruning: Arborvitae typically don’t require much pruning, but if needed, shear the outermost growth in late spring to shape or manage size. Start early to avoid overgrowth.


For a handy, printable version of this information, check out our Arborvitae and Western Red Cedar care guide!


Printable Care Guide


You can also watch our Proper Planting video with Patrick on the basics of planting a tree or shrub!

Common Problems and Solutions

Heat Stress: Hot, dry weather can induce heat stress and invite spider mite infestations. Ensure regular, deep watering to boost plant vigor and natural defenses.

Bagworm Moths: While not typically destructive, bagworms can cause unsightly defoliation. Hand removal is often sufficient or use organic pesticides like Neem Oil for larger infestations.

Deer Damage: In areas with high deer populations, consider planting Western Red Cedar (Thuja plicata) as it’s less favored by deer compared to Eastern Arborvitae (Thuja occidentalis).


Seasonal Needle Drop

Don’t panic if your Arborvitae turns brown inside during fall; it’s a natural process called seasonal needle drop. Fresh growth in spring will fill in any gaps left by this process.


Fall Watering

Keep your Arborvitae and other evergreens well-hydrated in autumn, as it prepares them for the harsh winter conditions common in New England. Water regularly from September through early December to reduce winter stress. For more information on establishment watering for newly planted trees, see our printable Planting Guide. 


Varieties

Here are some popular Arborvitae cultivars carried at Mahoney’s Garden Centers:

American Arborvitae (Thuja occidentalis)

  • Emerald Green ‘Smaragd’
  • Dark American ‘Nigra’
  • Degroot’s Spire
  • American Pillar
  • Golden Globe

Western Red Cedar (Thuja plicata)

  • Green Giant
  • Steeplechase
  • Whipcord
  • Forever Goldy


Please note that actual plant characteristics may vary depending on soil, sunlight, and water conditions.


Incorporating Arborvitae and Western Red Cedar into your New England or Boston garden can be a delightful addition, providing year-round beauty, privacy, and resilience. These versatile plants, with proper care and maintenance, will thrive in your outdoor space, enhancing its charm for years to come.


Shop a wide selection of Arborvitae and Wester Red Cedar in-store and select varieties online.

Shop Online


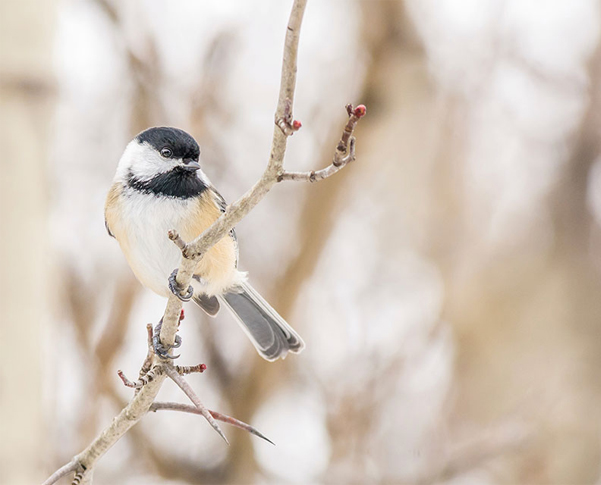
Chickadee perched on a fall tree in New England

Fall Birding in Massachusetts: Best Time for Birdwatching

It’s that time of year! Birds are on the move, making Fall a prime time for birdwatching in Massachusetts. Experienced birders can tell anyone just starting out that, fall birding offers an exciting opportunity to witness the beauty and diversity of bird species as they migrate south for the winter.

Why Fall is the Best Time for Birdwatching

Fall is migration season, meaning many bird species are making their way to warmer climates. This gives birders the chance to observe a wide variety of birds that may not be seen at other times of the year. Species such as warblers, hawks, and various waterfowl and shorebirds, are active during the fall. Migrating birds stop to rest and refuel, making it an ideal time for both novice and seasoned birders to catch a glimpse of these feathered travelers.

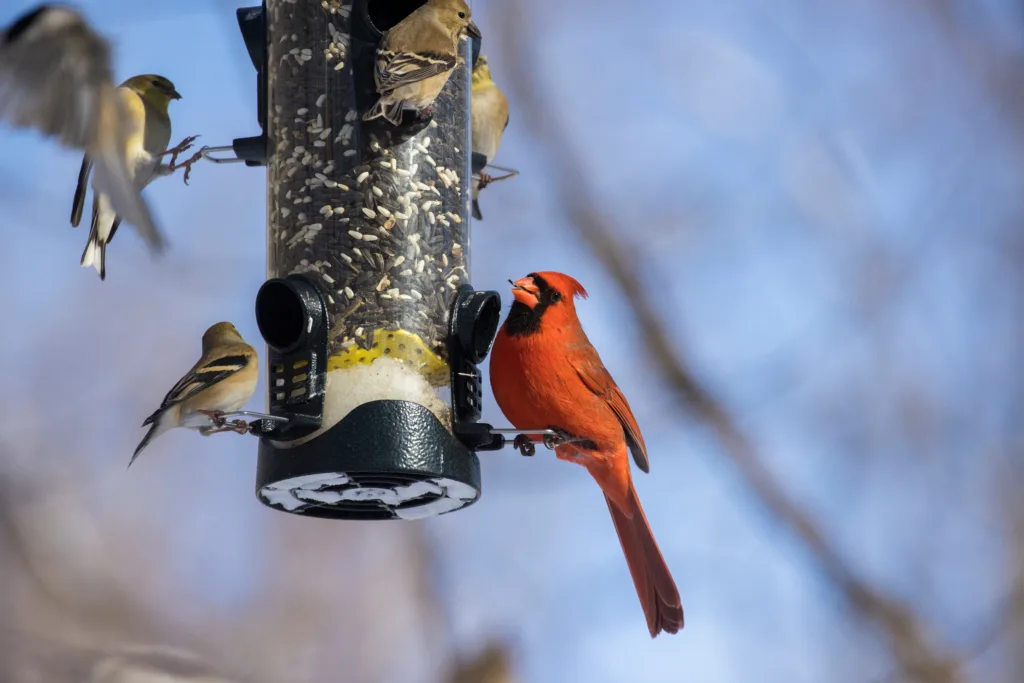
A colorful cardinal snacking in New England

What Birds to Look for During Fall Migration

In the fall, you’ll see a range of bird species that are either preparing to migrate or passing through Massachusetts on their way south. Keep an eye out for:

  • Warblers: These small, colorful birds are common during fall migration. Species like the yellow-rumped warbler (Setophaga coronata) and black-throated blue warbler (Setophaga caerulescens) are often seen during this time.
  • Hawks: Fall is prime time for raptor migration, with species such as red-tailed hawks (Buteo jamaicensis) and sharp-shinned hawks (Accipiter striatus) moving through the area.
  • Waterfowl and Shorebirds: Ducks, geese, and shorebirds like sandpipers can be spotted in wetlands and coastal areas as they travel south.

Attracting Fall Birds to Your Yard

Fall is also a great time to attract migrating birds to your yard. With the right food and plants, you can provide a much-needed pit stop for birds to rest and refuel. Set up bird feeders with high-energy foods such as suet, sunflower seeds, and peanuts to help birds build up the energy they need for their long journeys. Additionally, planting native shrubs and trees that bear fruit in the fall will offer natural food sources for visiting birds.  If you’re looking how to make your yard more bird friendly this fall, check out this blog post!

Some plants that can attract birds in the fall include:

  • Holly bushes
  • Crabapple trees
  • Elderberry shrubs

Best Locations for Fall Birding in Massachusetts

Massachusetts is home to some fantastic birding spots during the fall. Whether you prefer coastal areas, wetlands, or open fields, you’re sure to find a great place to enjoy the seasonal migration. Some top birdwatching locations include:

Fall Birding Tips for Beginners

If you’re new to birdwatching, fall is the perfect time to get started. The crisp, cooler weather makes birding more enjoyable, and the quiet calm of autumn days makes it easier to hear and spot birds. Here are a few tips to help you get the most out of your fall birding experience:

  1. Bring binoculars: A good pair of binoculars will help you see birds up close and identify different species.
  2. Listen for calls: With the leaves falling and foliage thinning, it’s easier to hear bird calls and songs, making it simpler to locate birds.
  3. Be patient: Birdwatching requires patience, but the rewards are worth it. Take your time, and you’ll be amazed at what you can see.

woman with binoculars bird watching at a New England lake

Enjoy the Magic of Fall Birding

Fall birding in Massachusetts is a rewarding experience that allows you to connect with nature and witness the seasonal migration of some of the most beautiful bird species. Whether you visit local birding hotspots or attract birds to your yard, fall is the perfect time to enjoy this beloved pastime.

Stop by Mahoney’s or check out our online store to find everything you need for fall birding, including bird feeders, suet, and native plants to attract birds to your garden.