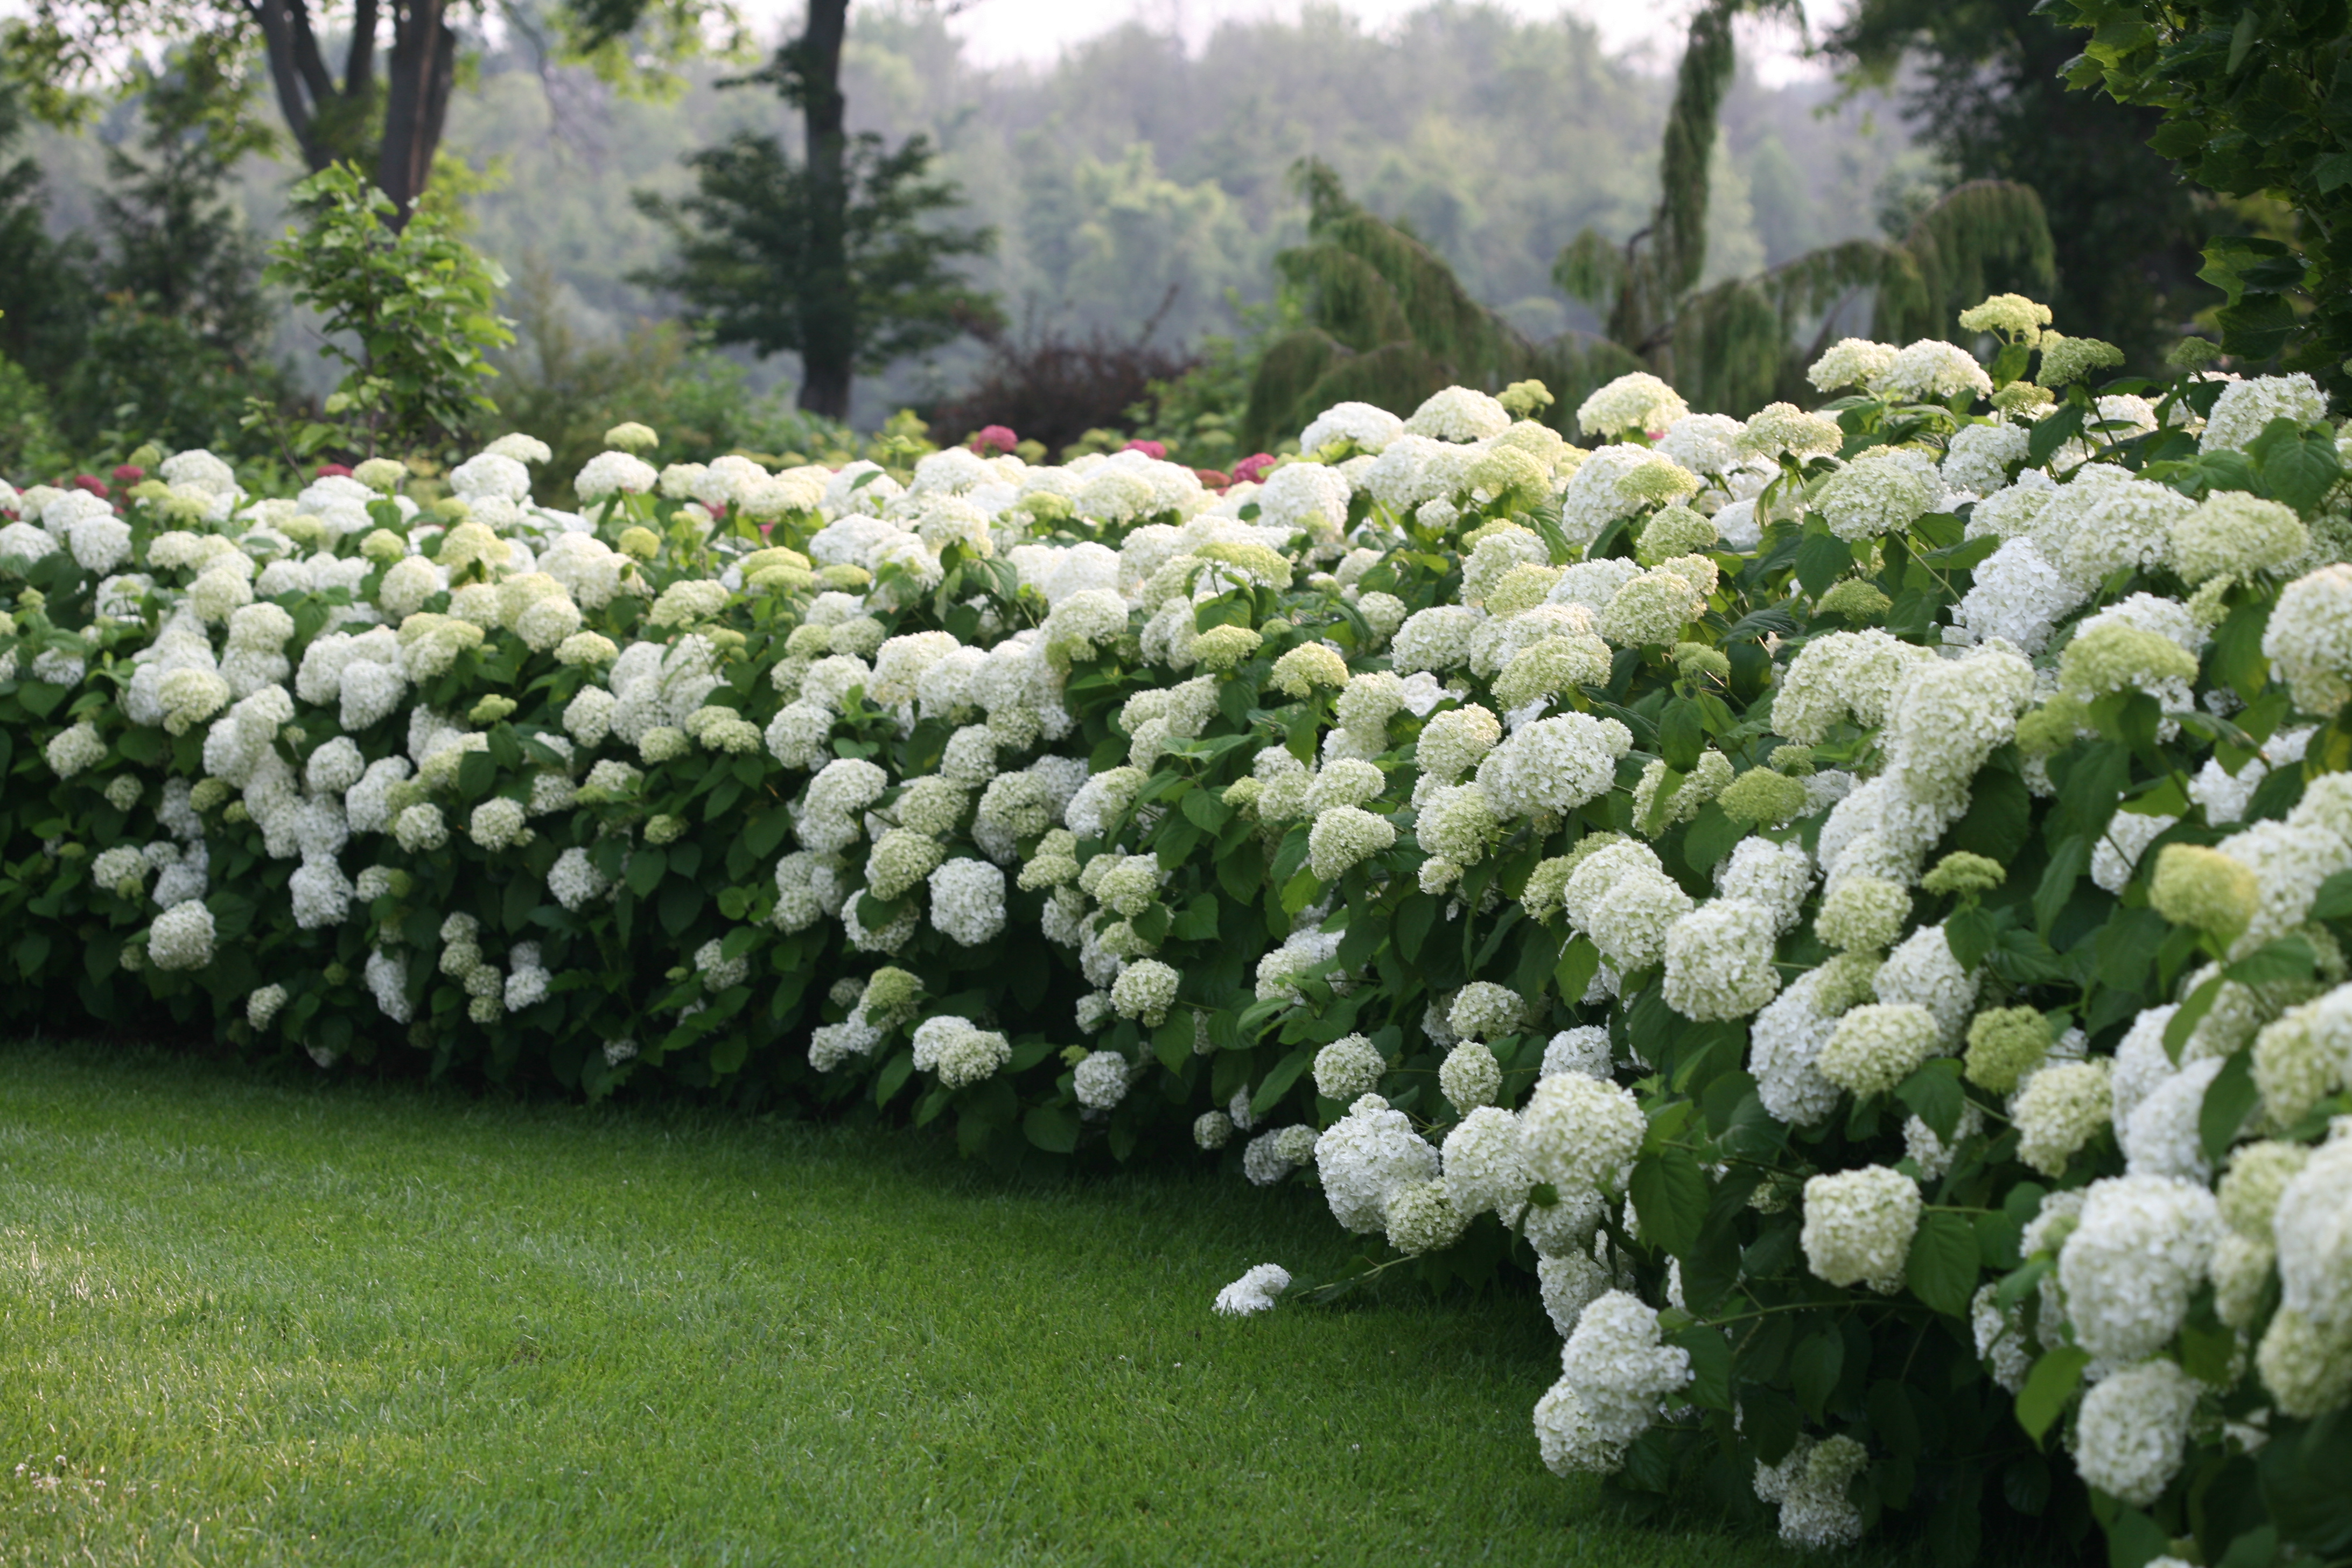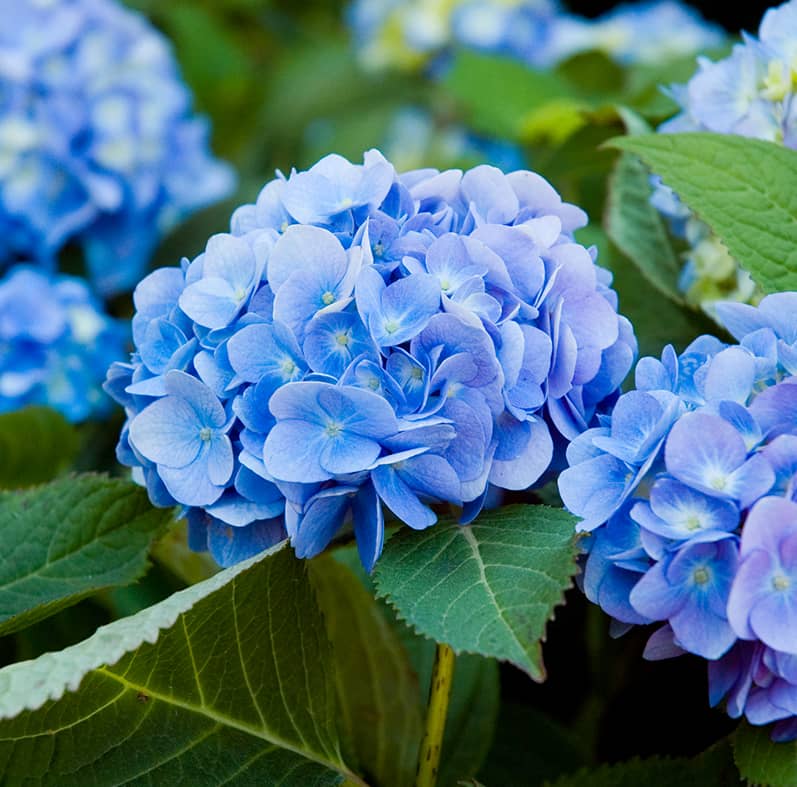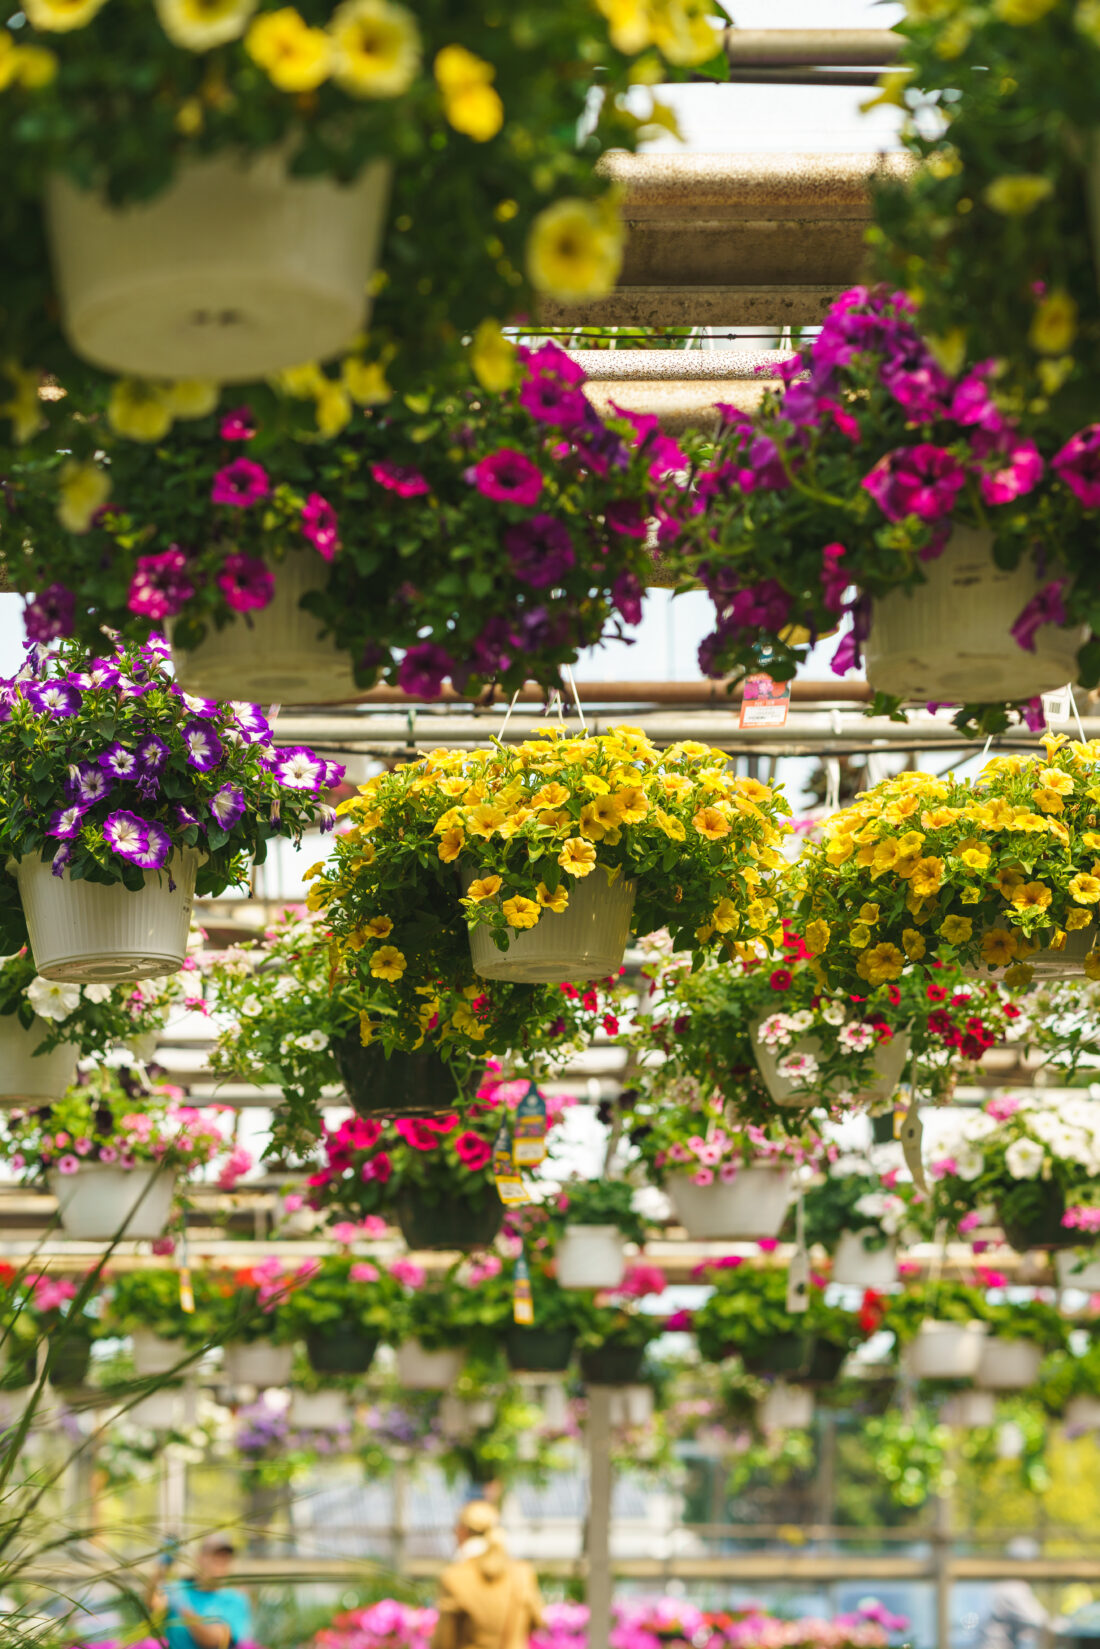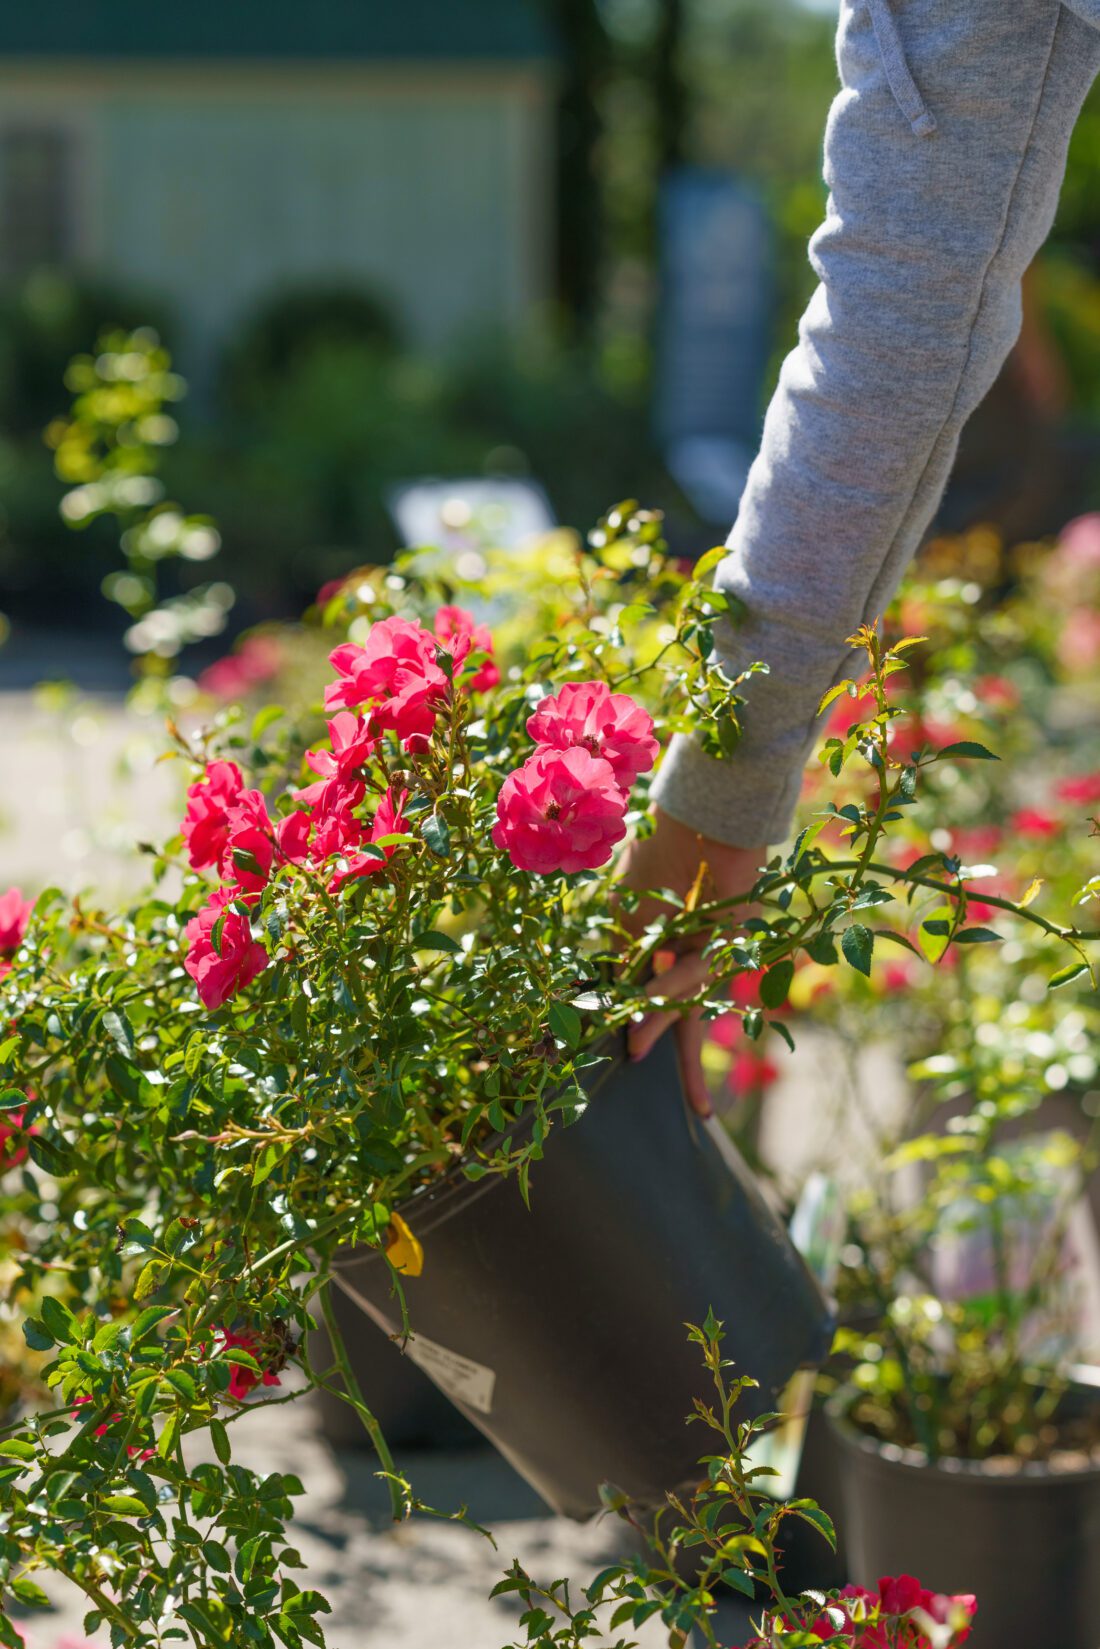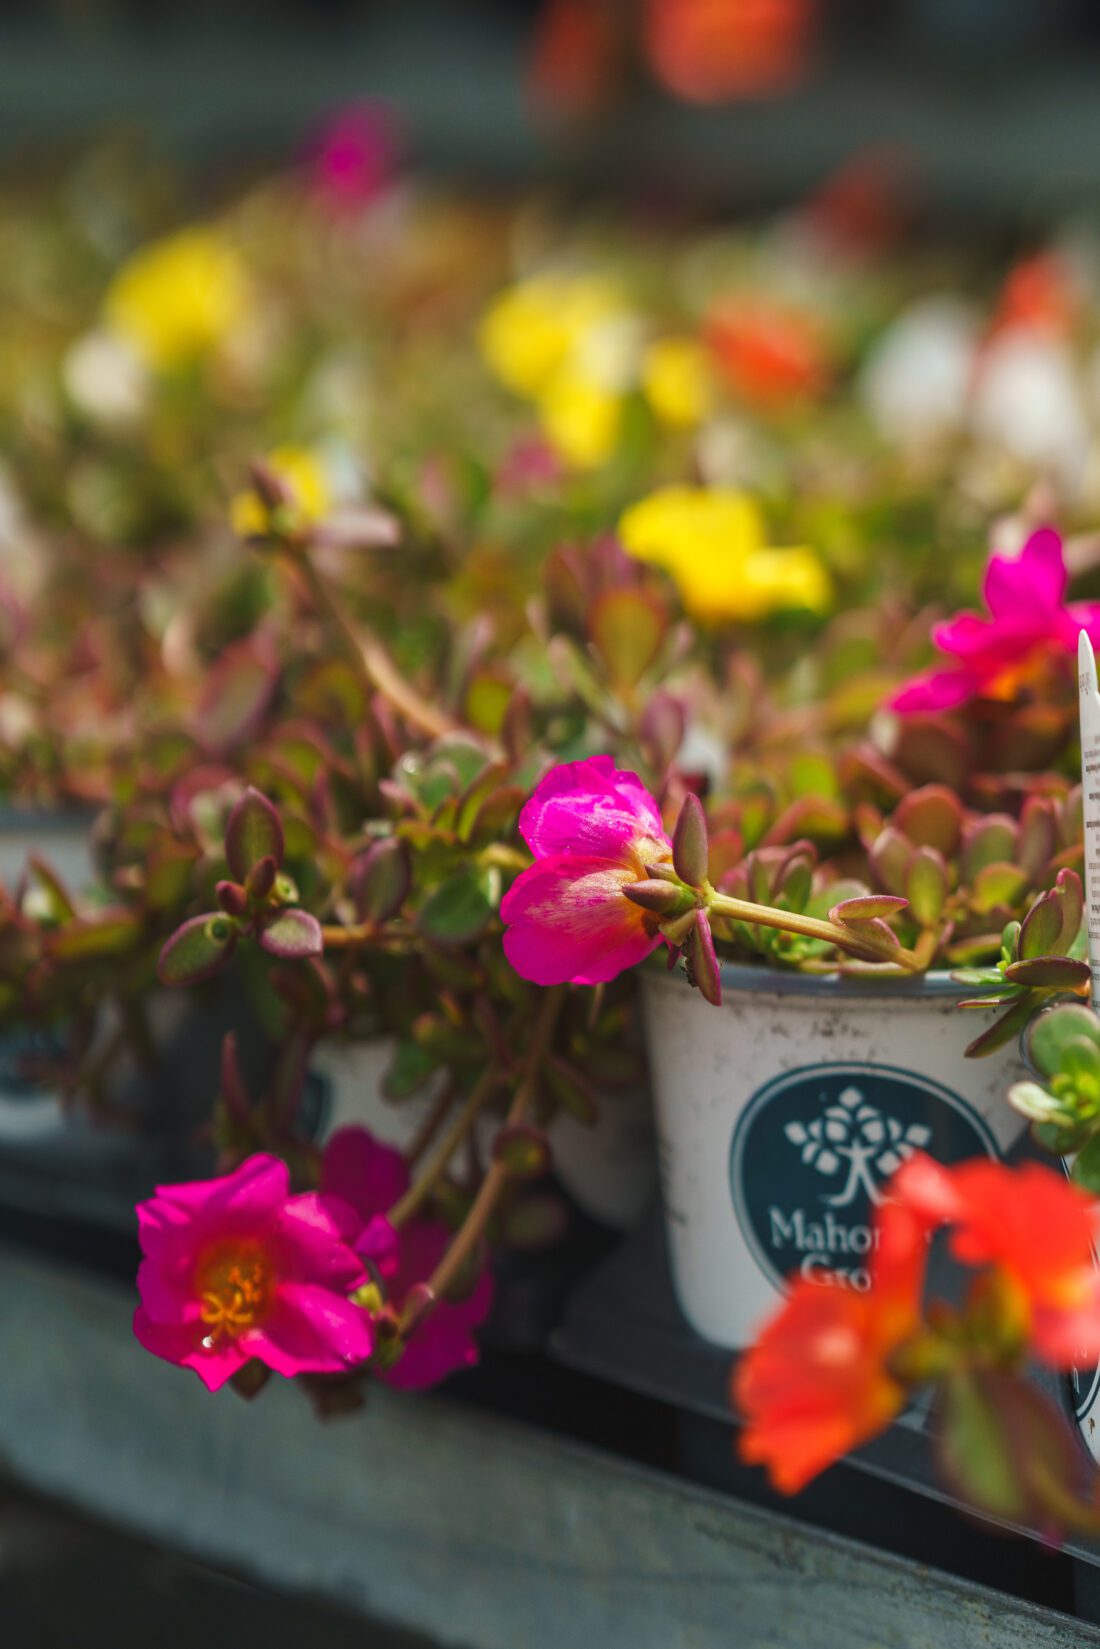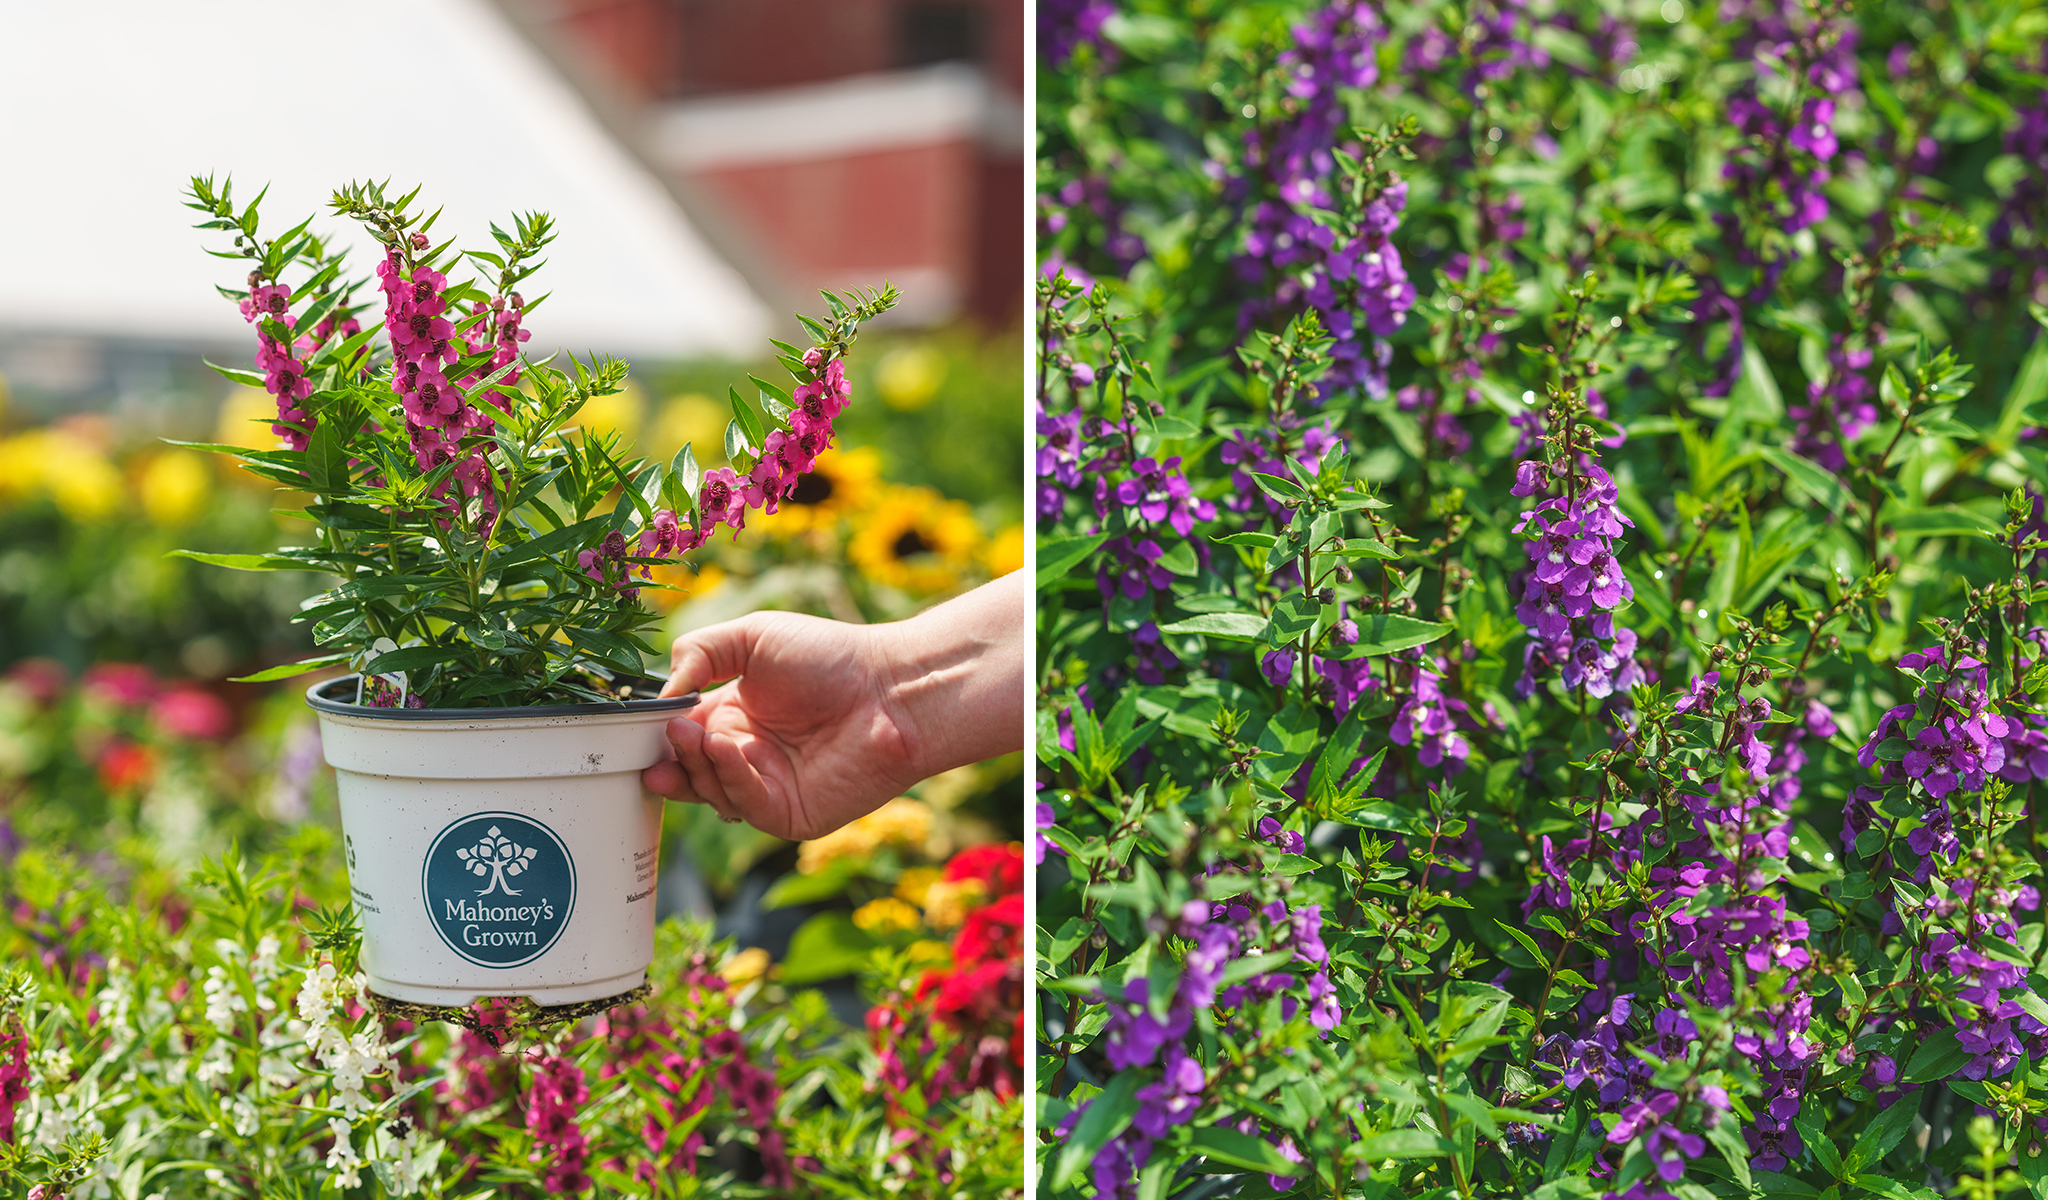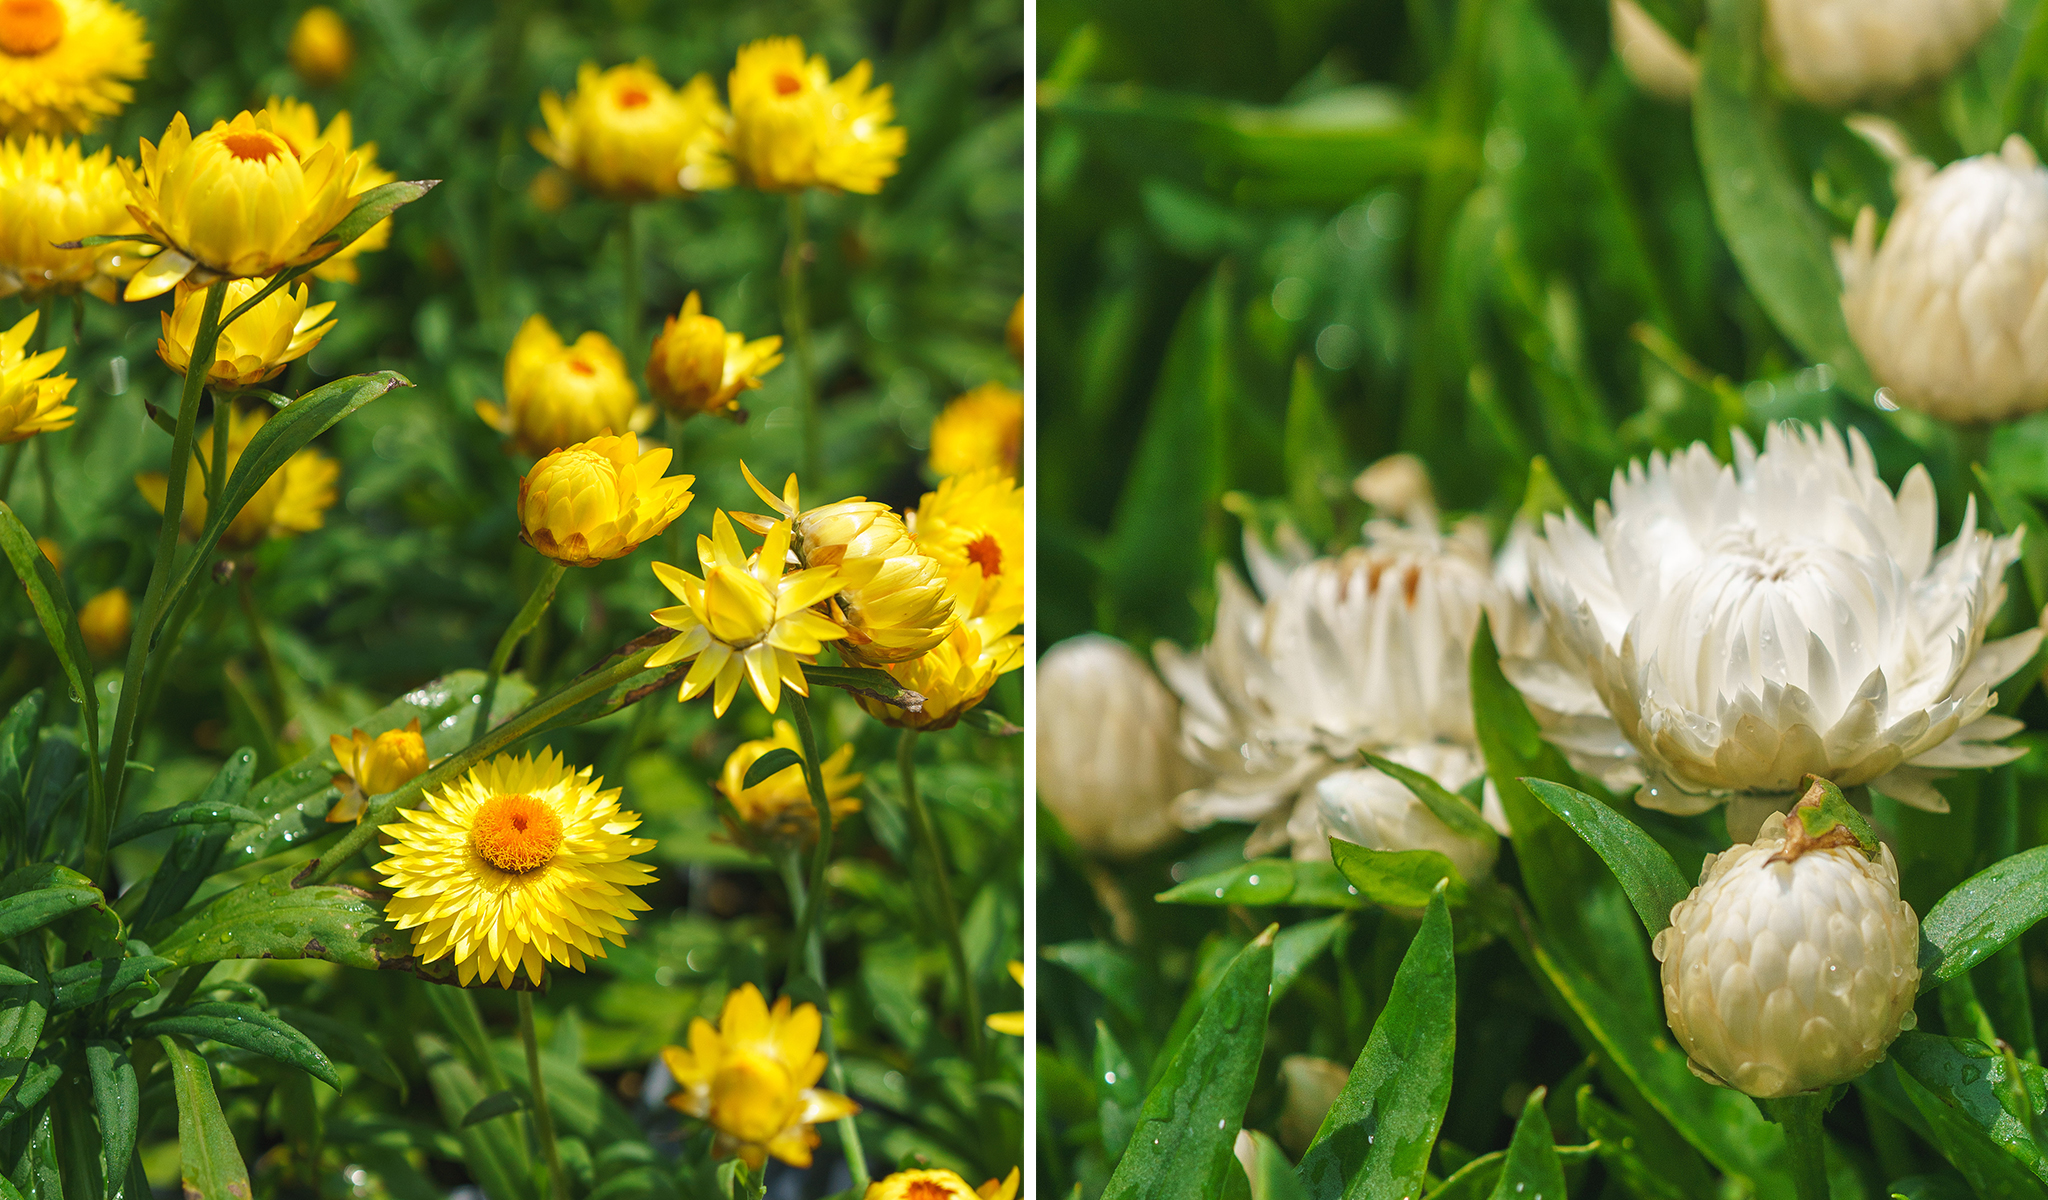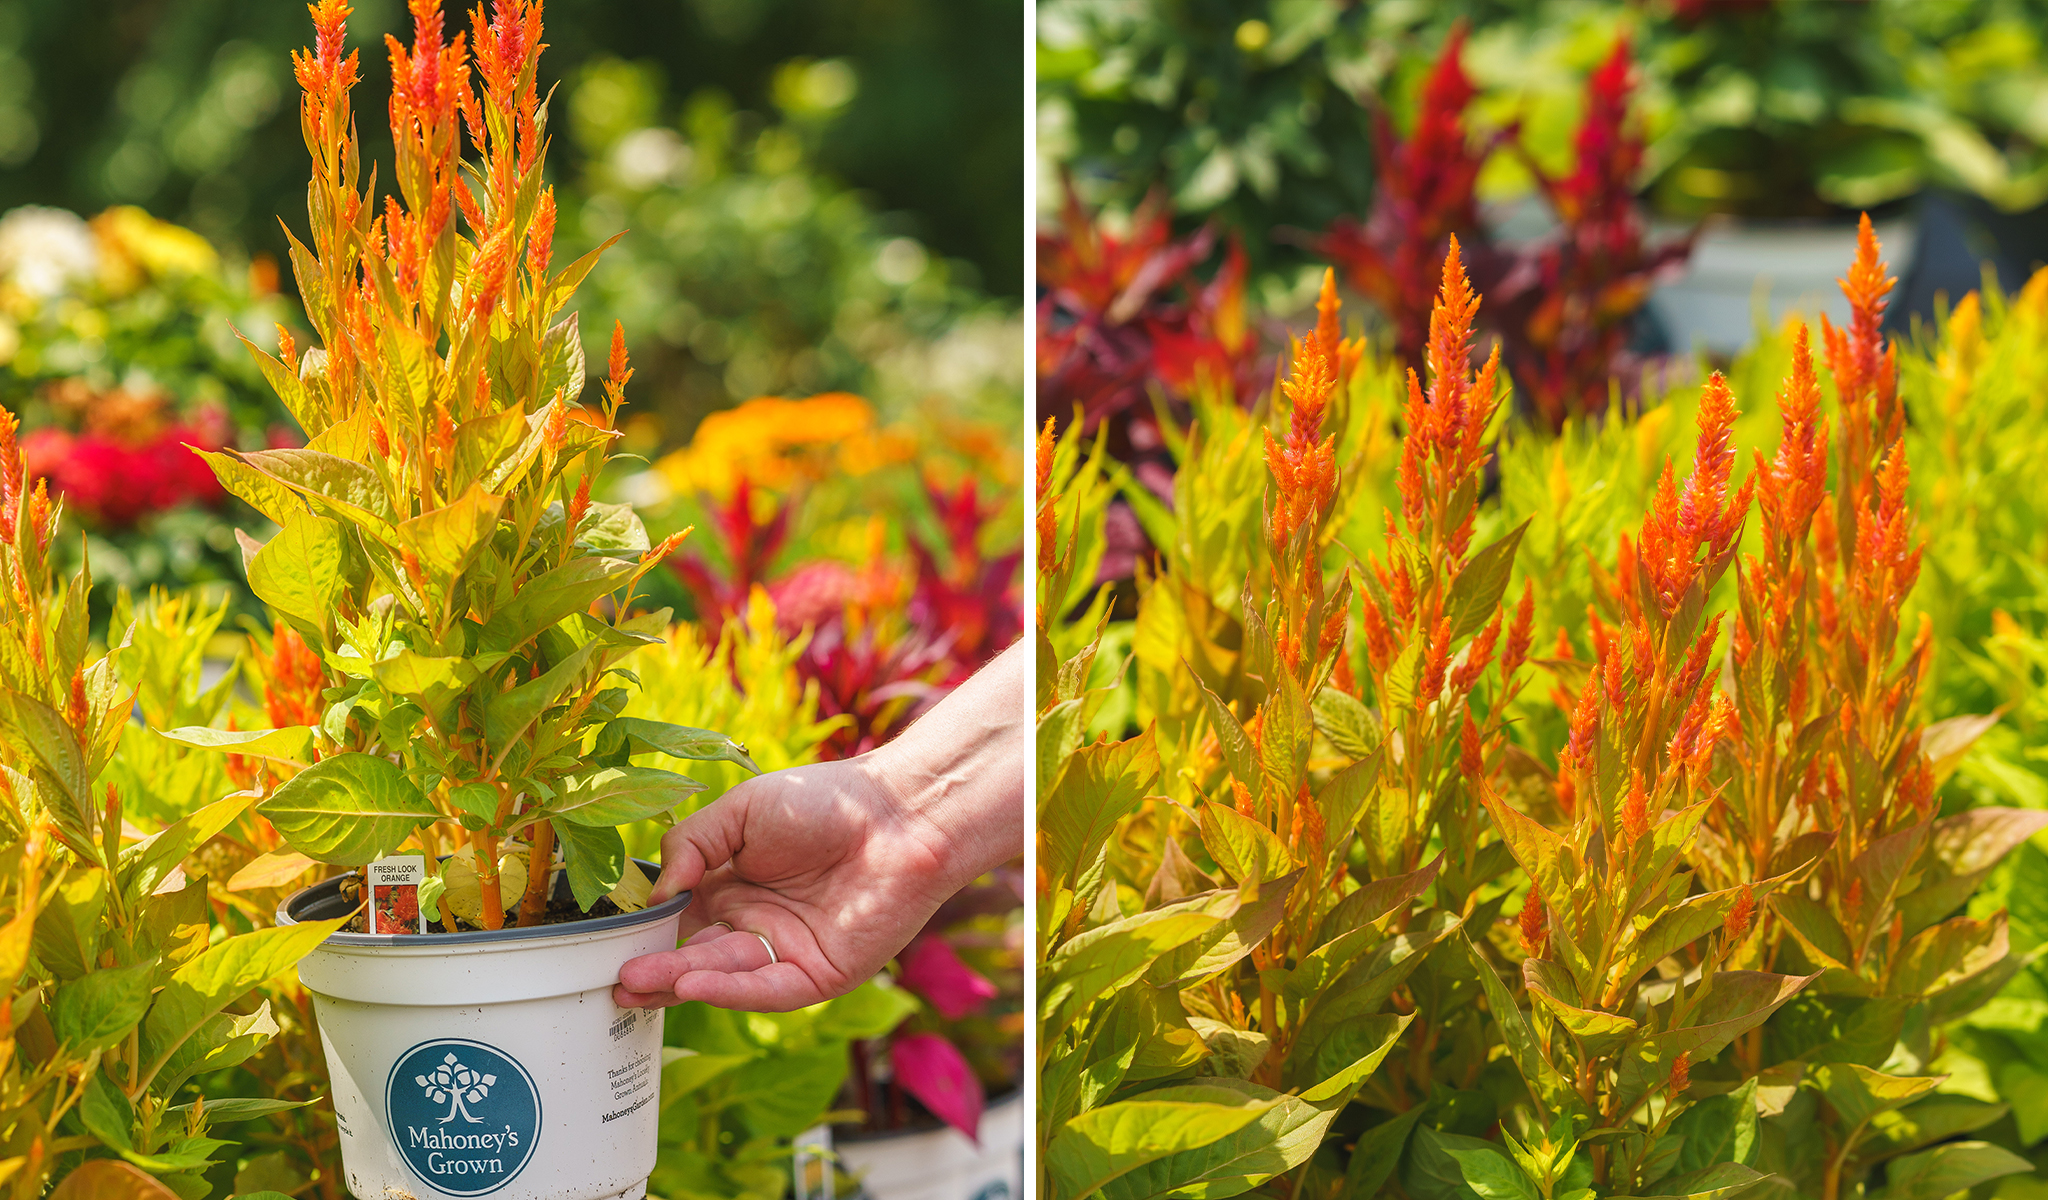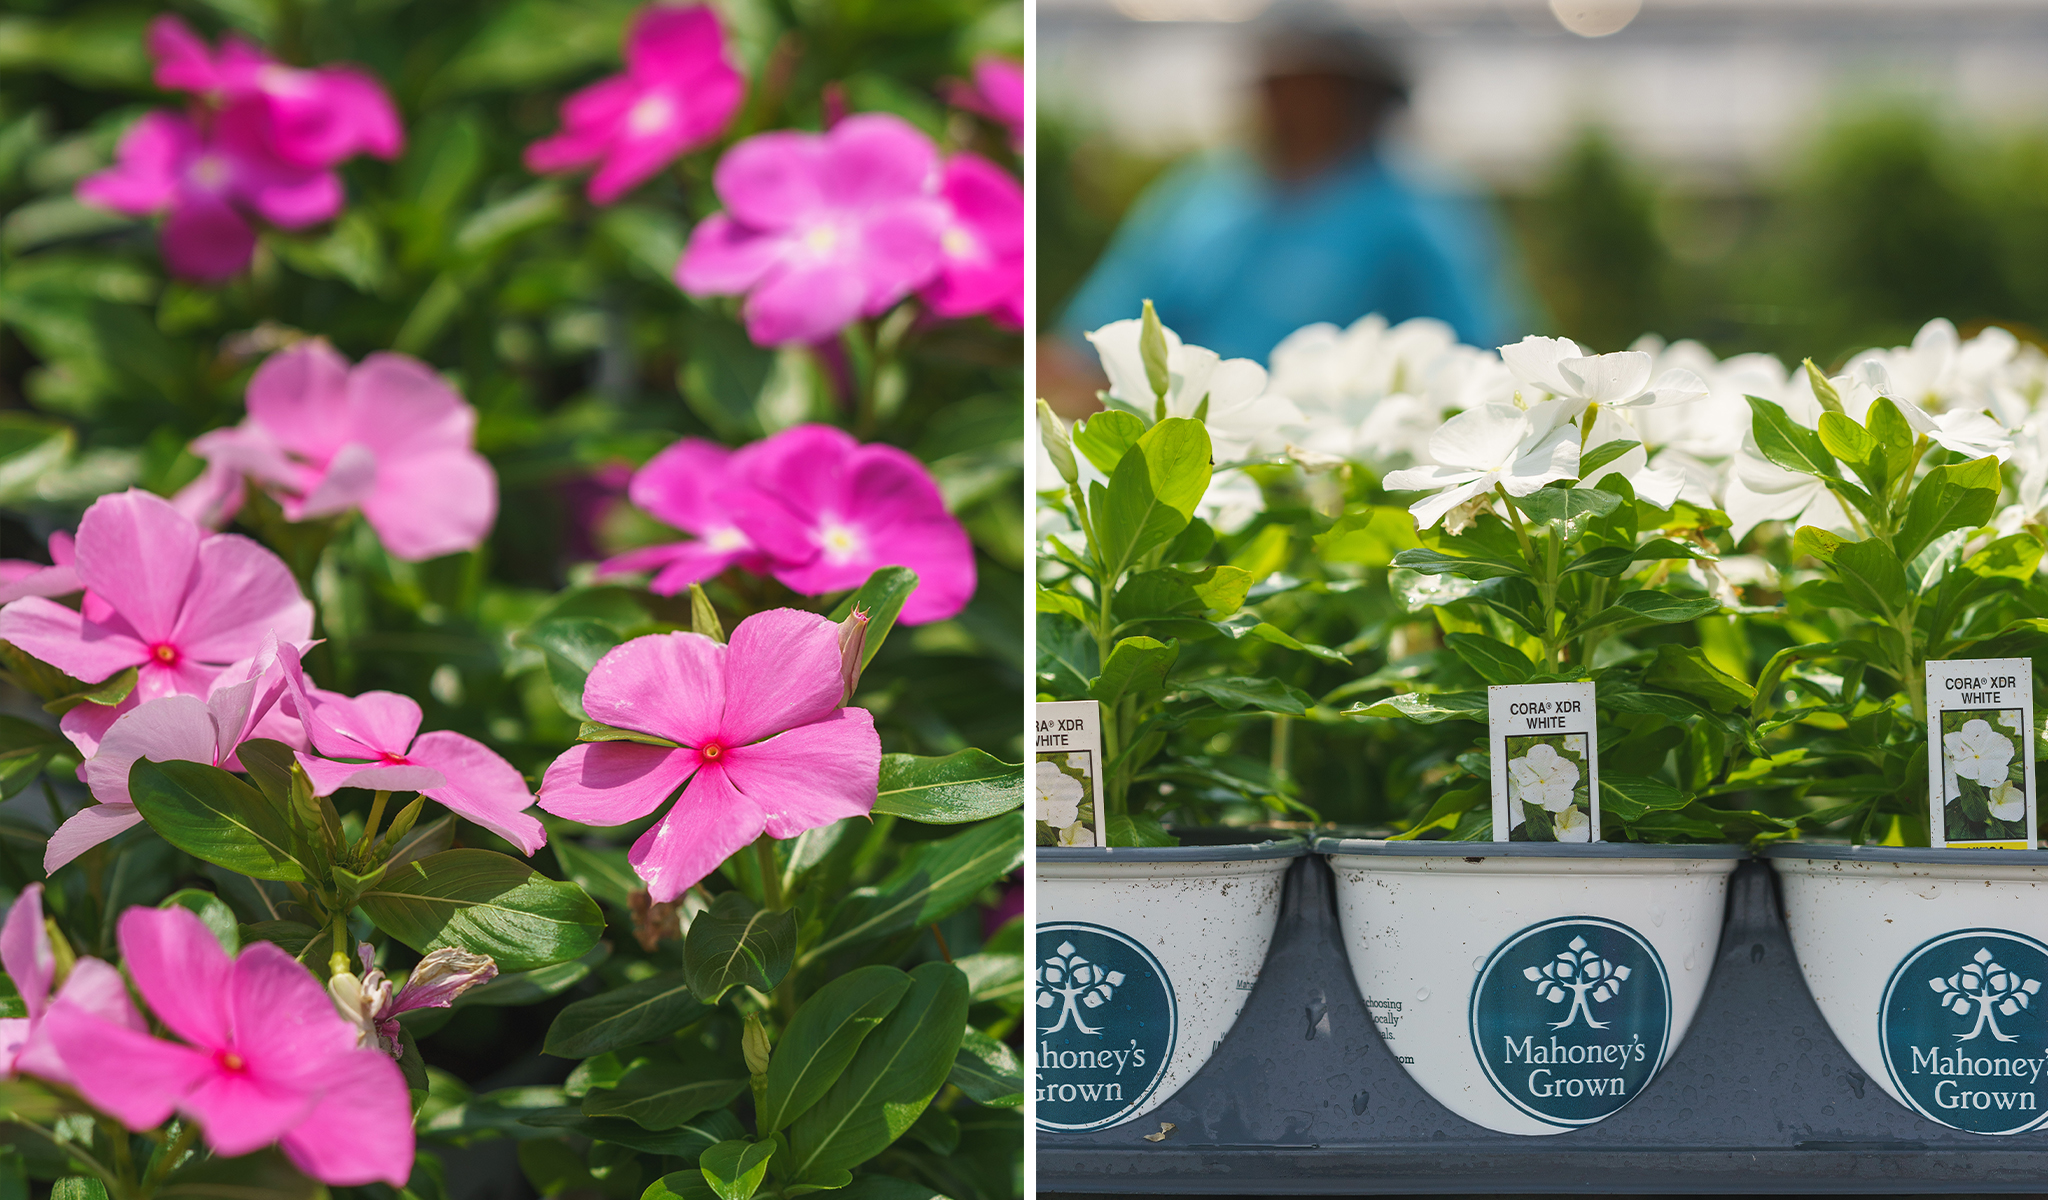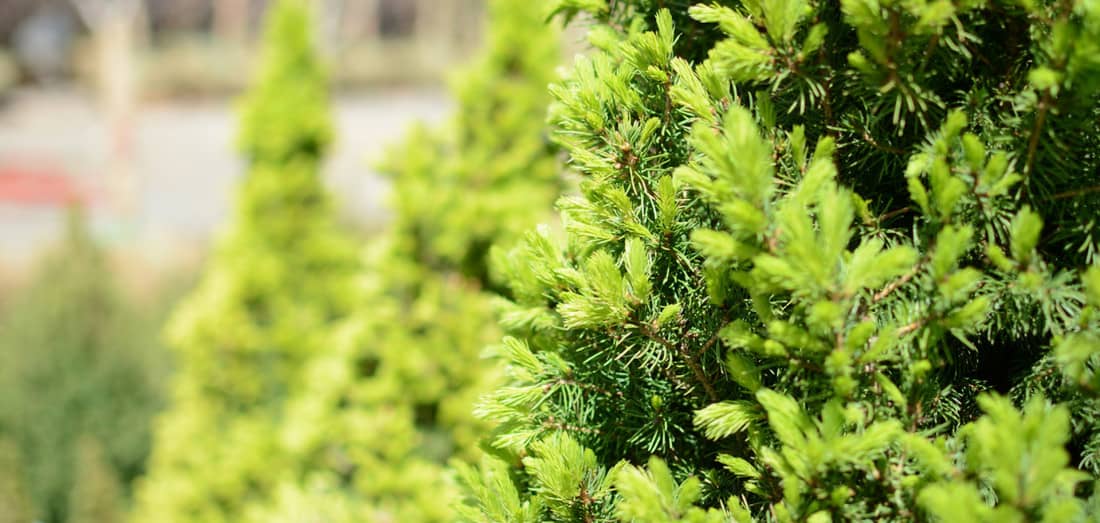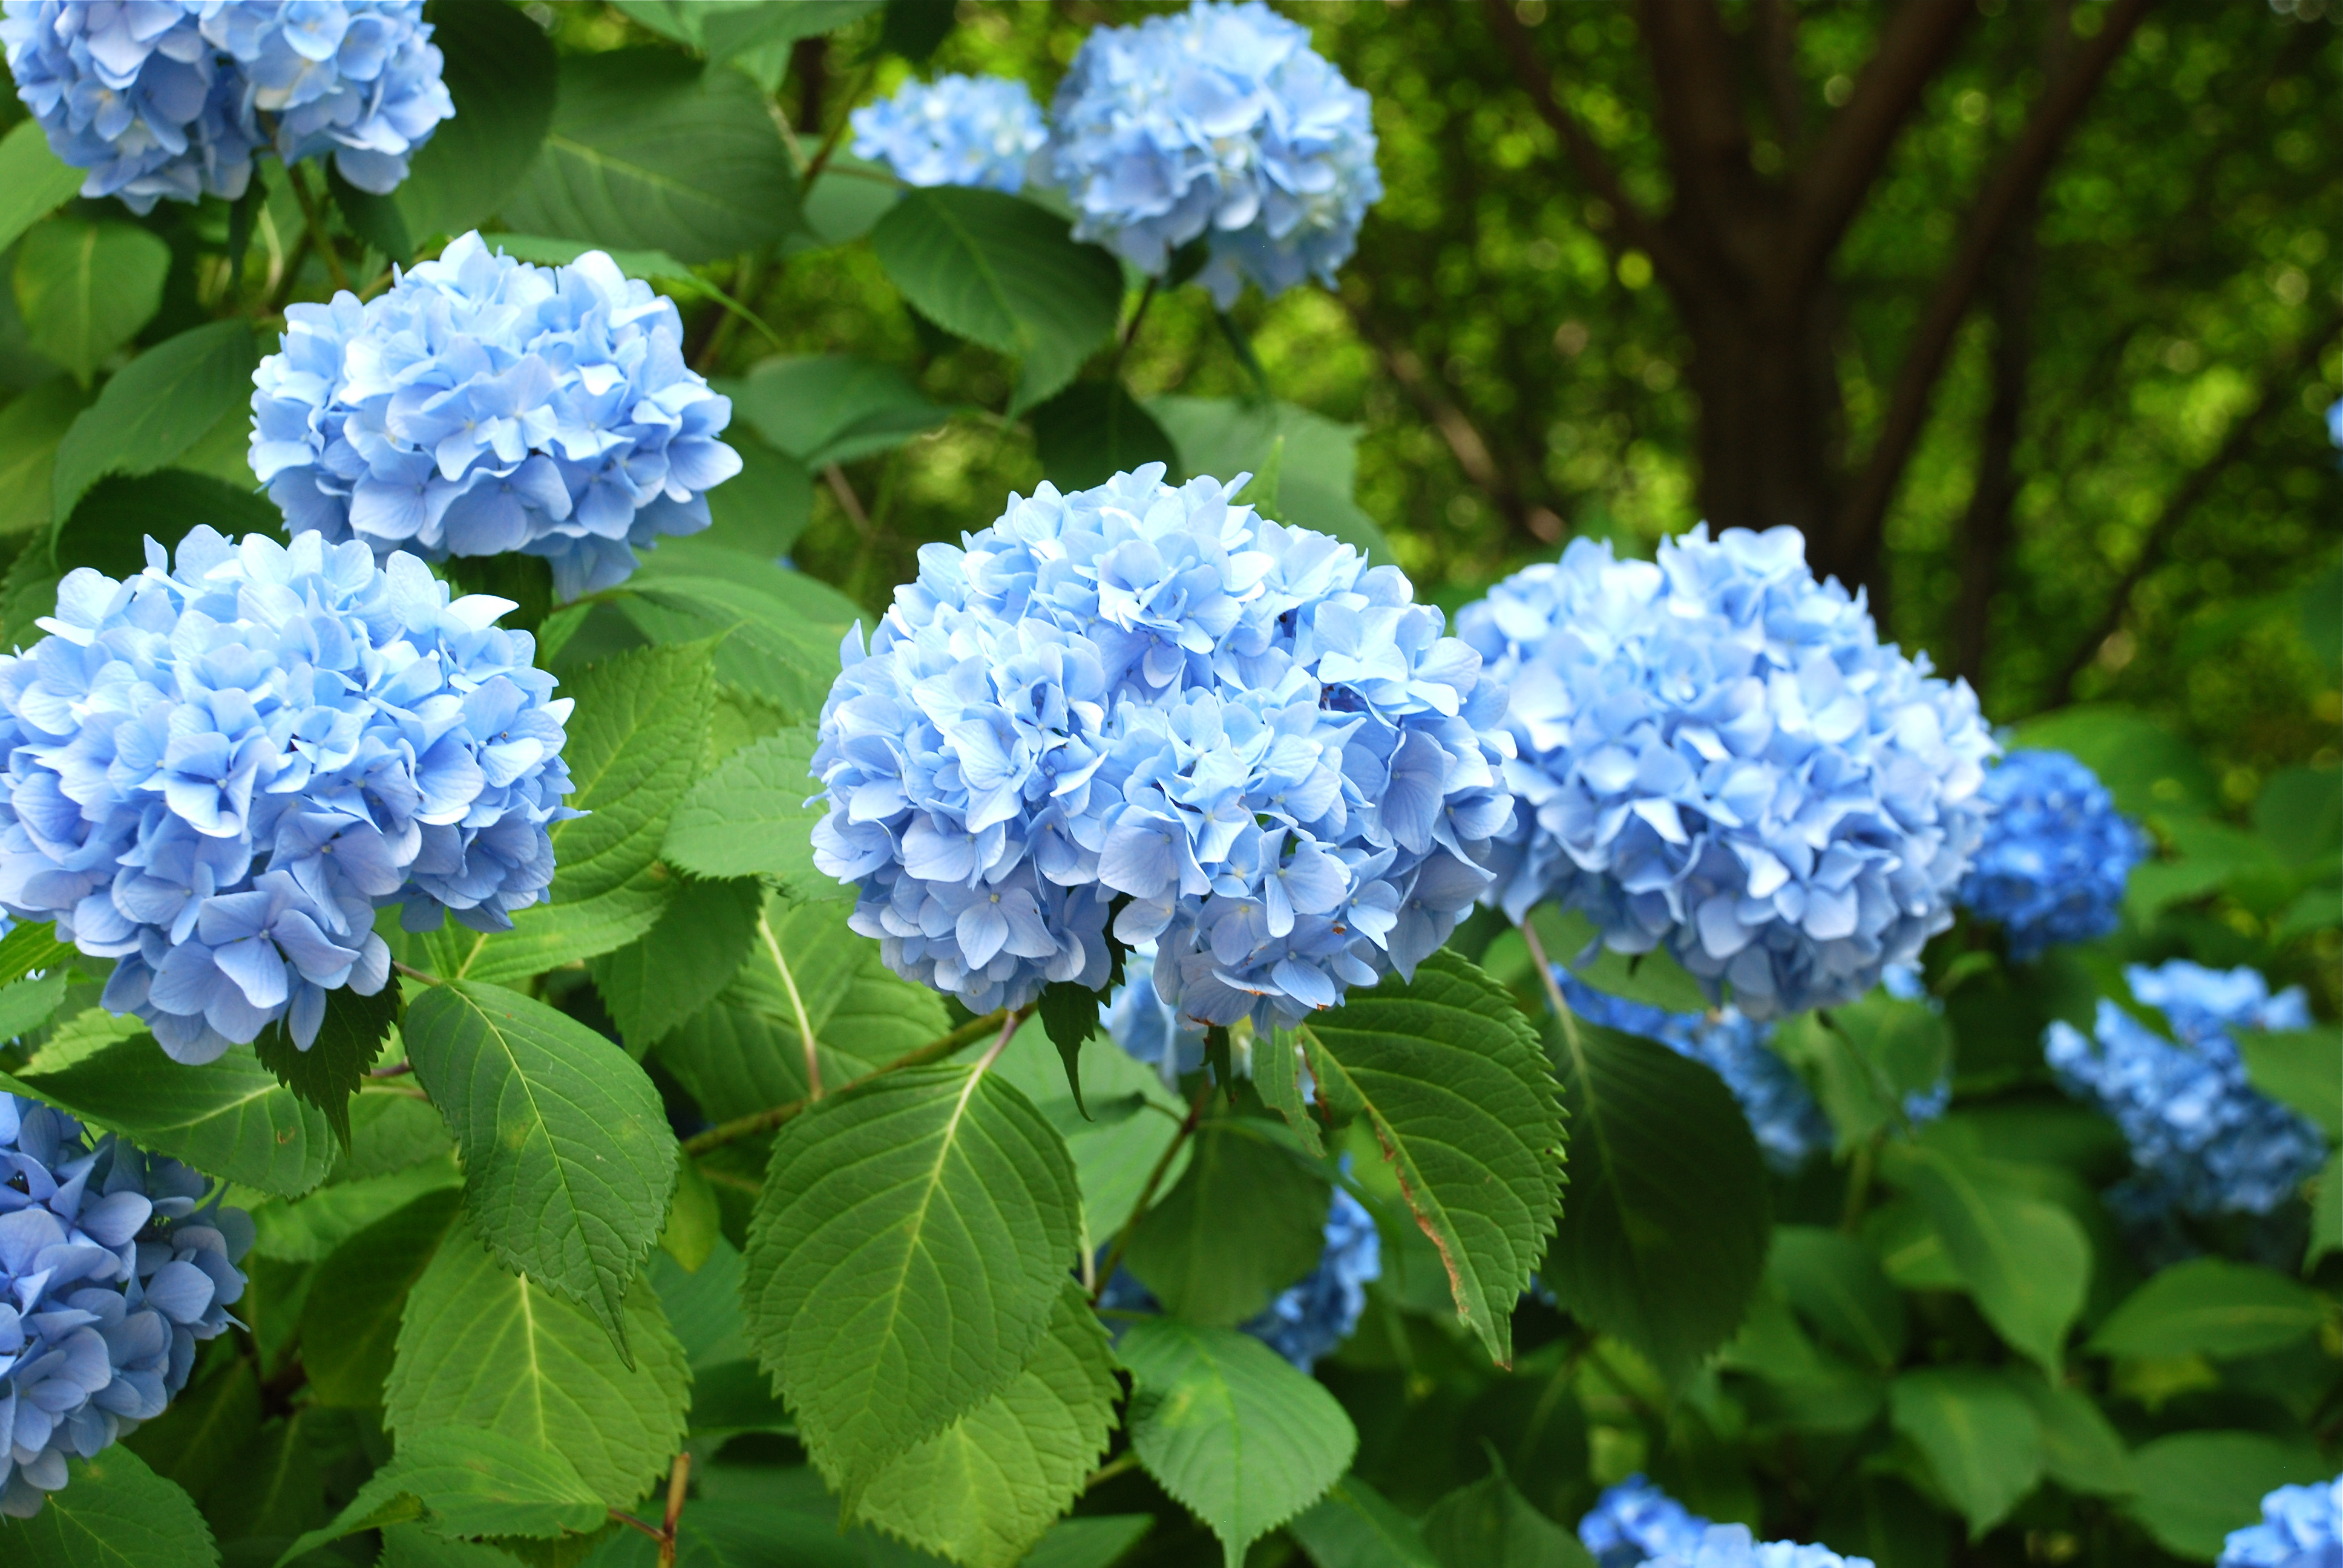
Assorted spring and summer trees and shrubs on sale for 33% off

33% off select trees + shrubs

All spring and summer trees and shrubs are 33% off! Whether you’re refreshing your landscape or planning ahead, fall is the ideal moment to plant for a vibrant garden. Excludes all Purple tagged items. While Supplies Last.


Image of Pickling in jars

How to Make Easy Homemade Refrigerator Pickles: A Fun and Delicious DIY Project

Ready to try your hand at making these easy refrigerator pickles? Download the printable recipe and enjoy the delicious results of your DIY kitchen project!

Making homemade pickles is a rewarding and delicious way to enjoy your garden’s bounty or your favorite purchased vegetables all year round. With our easy-to-follow recipe for refrigerator pickles, you can create a variety of tangy, crunchy treats that are perfect for snacking, adding to sandwiches, or sharing with friends and family. Best of all, these pickles don’t require any complicated canning process and stay fresh in the refrigerator for up to two weeks!

This activity is brought to you in partnership with KidsGardening, an organization dedicated to encouraging children and families to engage with gardening through fun, educational projects. Together, we hope to inspire a love for fresh, homemade foods and the joys of gardening.

Why Make Your Own Refrigerator Pickles?

Refrigerator pickles are a fantastic way to preserve vegetables quickly and easily. Unlike traditional canning, which can be time-consuming and requires special equipment, refrigerator pickles are straightforward to make and don’t require any special skills. Whether you’re using homegrown veggies or those from your local farmer’s market, this recipe lets you enjoy the fresh flavors of summer all year long.

Get Creative with Your Pickles

One of the best parts about making your own refrigerator pickles is that you can get creative with flavors. Try adding garlic, fresh herbs like dill, or even a little honey for a sweet twist. Each batch can be a new culinary experiment, allowing you to find the perfect combination that suits your taste.

Ingredients You’ll Need

Here’s what you’ll need to get started:

  • 3 cups apple cider vinegar (or distilled white vinegar)
  • 3 cups water
  • 2 tablespoons kosher salt (regular iodized salt works too, though it might slightly discolor the pickles)
  • 2 tablespoons sugar
  • 2 tablespoons (or more) pickling spices (You can buy a pre-made mix or make your own with spices like allspice, dill seed, mustard seed, and more)
  • 3 to 4 pint-sized canning jars with tight-fitting lids
  • Non-reactive saucepan (stainless steel or glass; avoid aluminum)
  • Vegetables: Almost any vegetable can be pickled! Try cooked beets, carrots, cauliflower, green beans, radishes, cucumbers, onions, or peppers.

Step-by-Step Instructions

Follow these simple steps to create your refrigerator pickles:

  1. Prepare Your Vegetables: Start by washing your vegetables thoroughly. Then, cut them into slices, chunks, or spears, making sure they’ll fit comfortably into your canning jars.
  2. Fill the Jars: Place the cut vegetables into your clean, sturdy jars. Since you’ll be pouring hot liquid over them, you need jars that can handle the heat without breaking.
  3. Make the Brine: In a large non-reactive saucepan, combine the water, vinegar, salt, and sugar. Bring the mixture to a boil, then reduce the heat and simmer for a minute or two, stirring to ensure the sugar and salt dissolve completely. Add your pickling spices and simmer for a few more minutes before turning off the heat.
  4. Pour the Brine: Carefully pour the hot brine over the vegetables in the jars, ensuring they are completely submerged.
  5. Cool and Refrigerate: Let the jars cool to room temperature. Once cool, cover them and place them in the refrigerator for a few days to allow the flavors to develop.


After a few days of marinating in the brine, your pickles will be ready to enjoy! These homemade refrigerator pickles are perfect for adding a zesty crunch to your meals or giving as a thoughtful, homemade gift. Just be sure to eat them within two weeks for the best flavor and texture.


Looking for another fun activity for the kids ? Check out our Garden Scavenger Hunt activity 


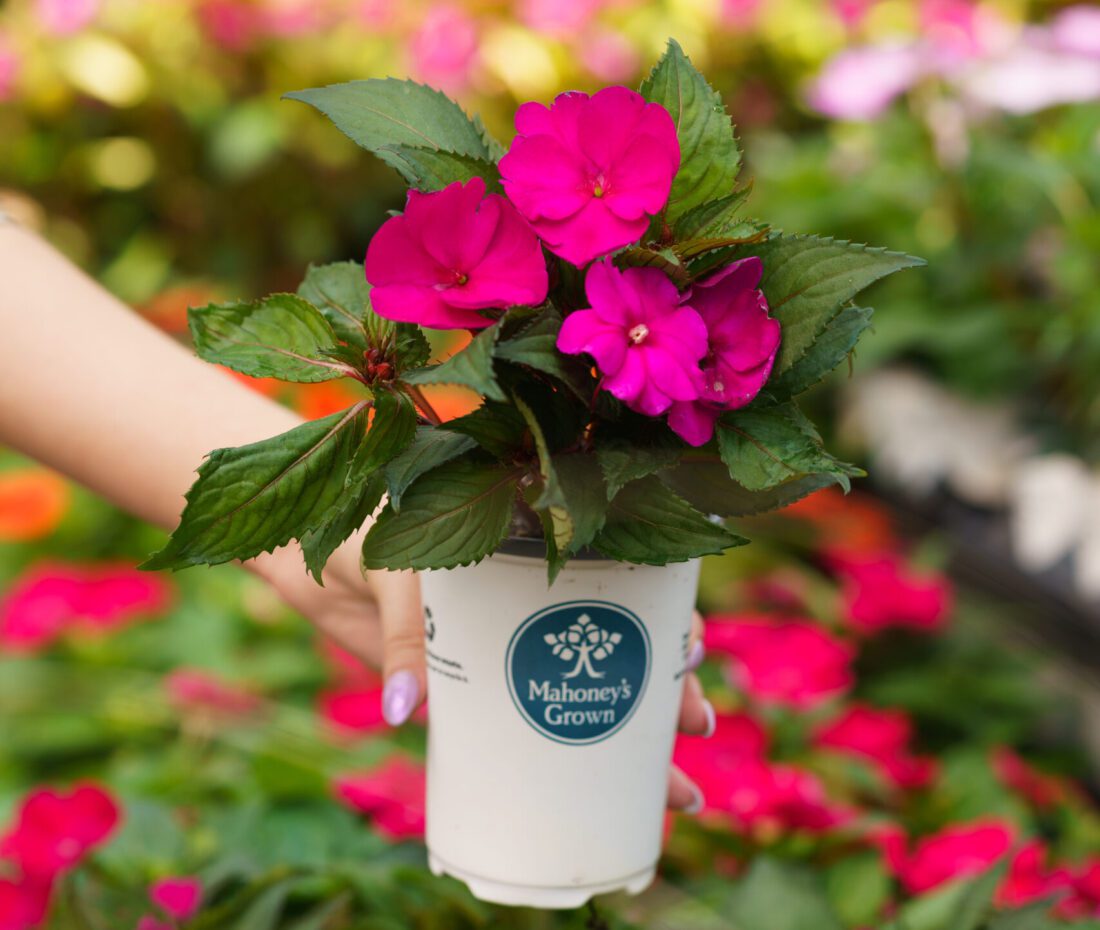
Image of A person holding a sunpatien

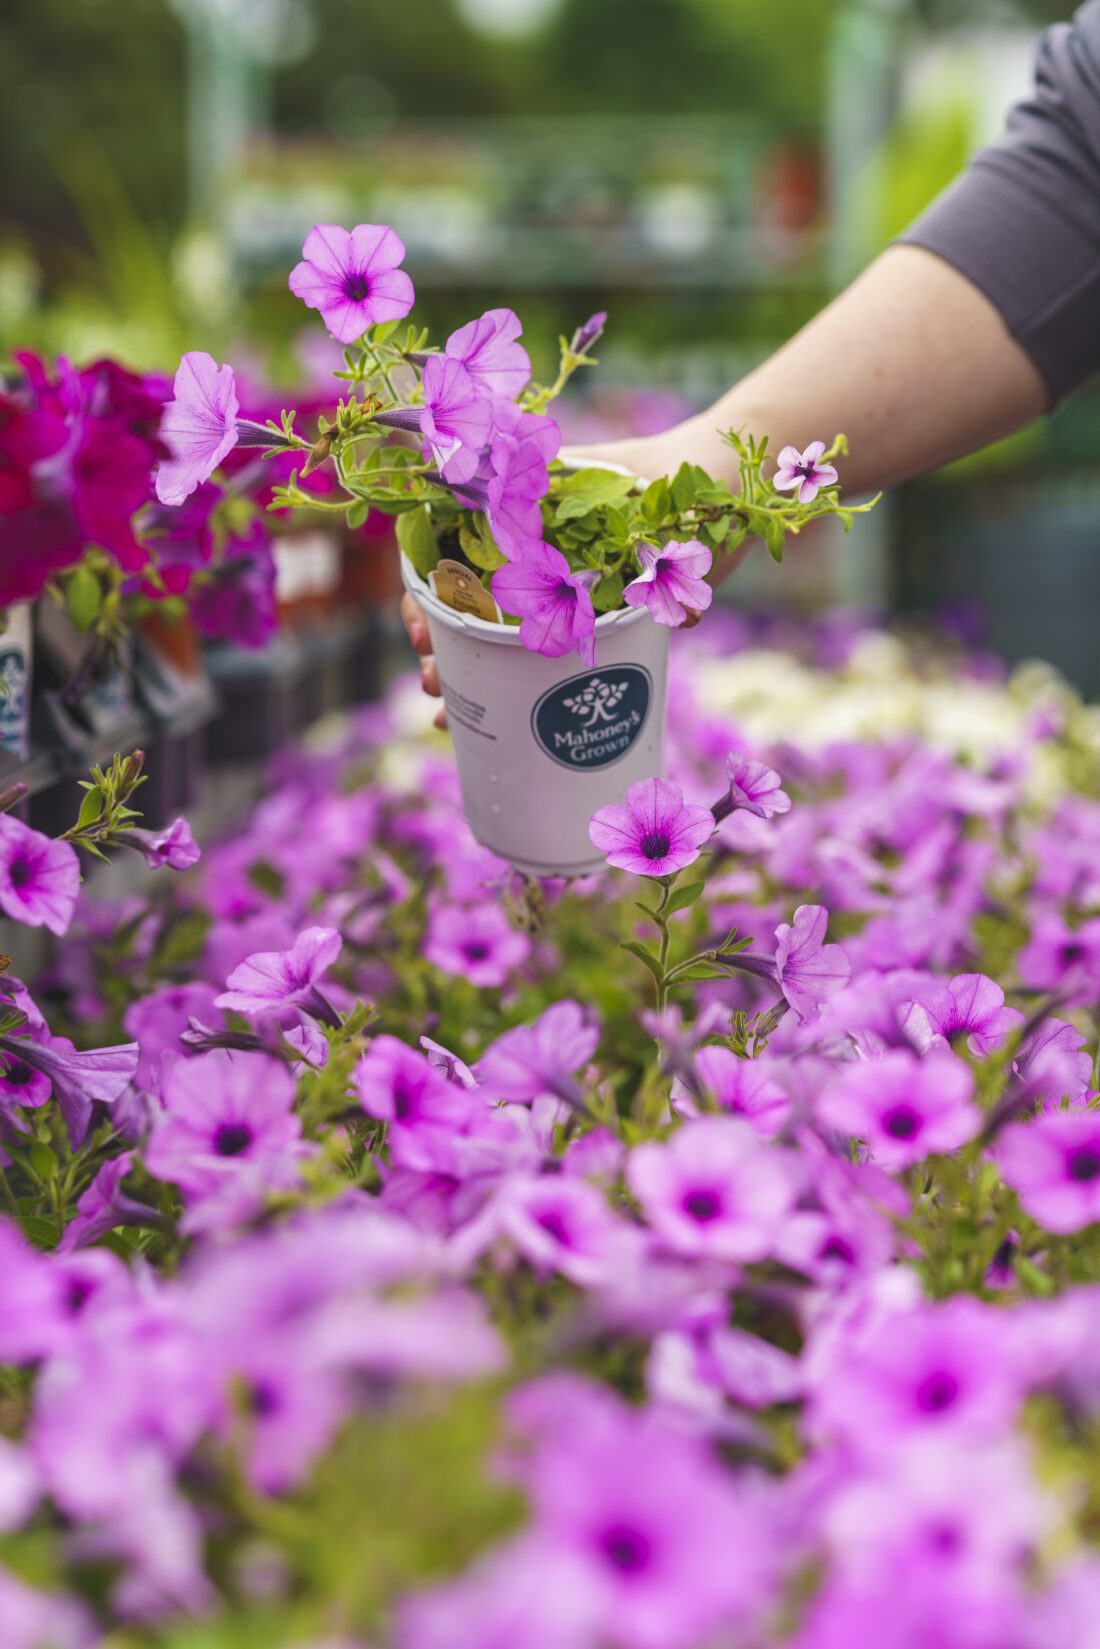
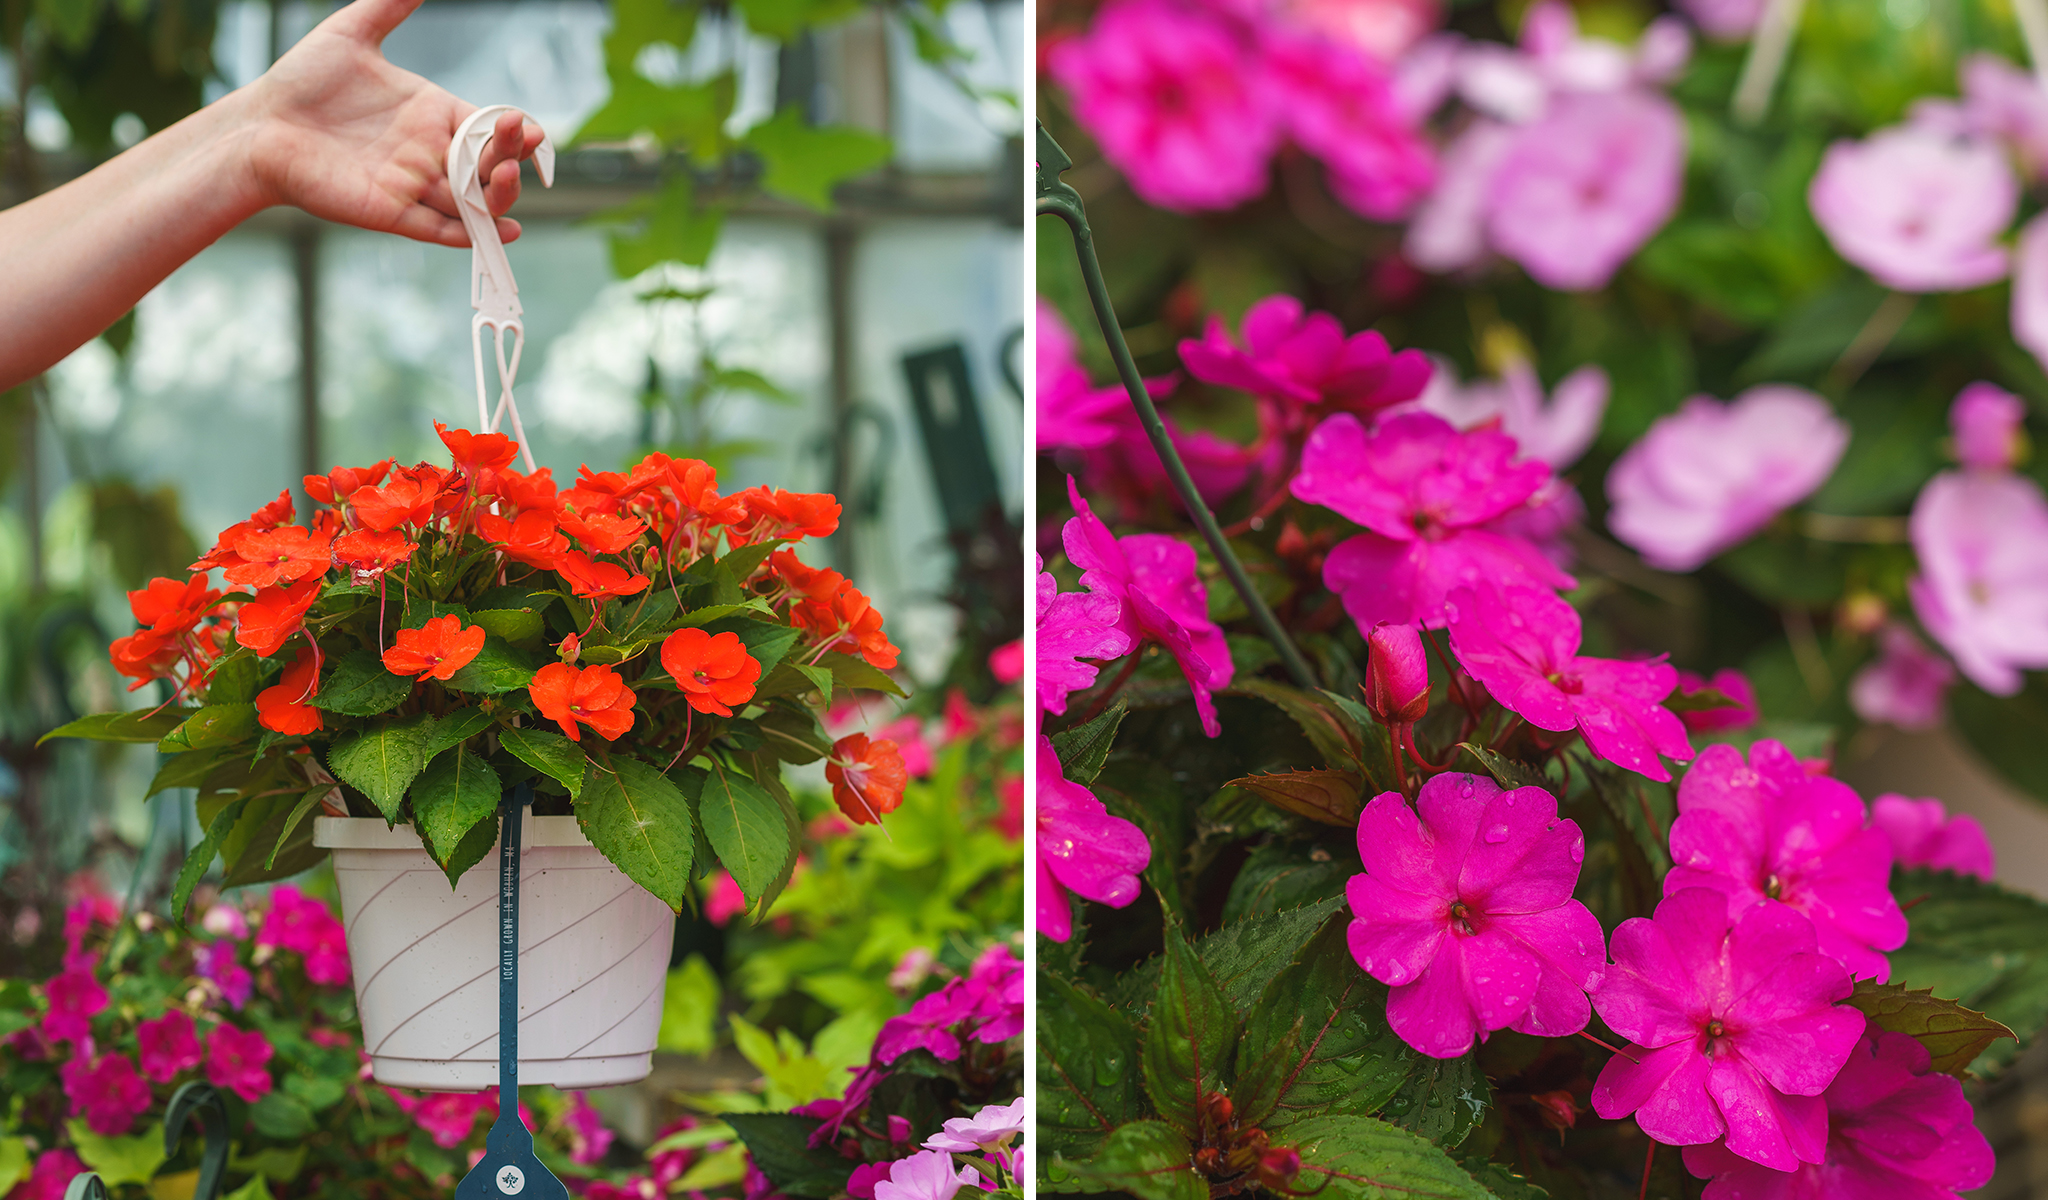
33% Off Woburn Grown Sunpatiens + New Guinea Impatiens!

Enjoy a fantastic deal on two of our favorite summer blooms! Mahoney’s Grown SunPatiens and New Guinea Impatiens, cultivated locally in our greenhouses, are now 33% off! These vibrant, resilient flowers are perfect for adding a splash of color to your garden. For more information on SunPatiens, including their history, care tips, and unique qualities, check out our blog!


Image of colorful pottery in garden center

50% Off Pottery Priced at $49.99 or More!

Save big on select pottery! All pottery pieces regularly priced at $49.99 or more are 50% off. This means huge savings on large, beautiful pottery to enhance your garden and home. Visit any of our seven locations this weekend and take advantage of these fantastic savings. Your perfect pottery piece is waiting for you!

Excludes Terra cotta. Excludes pottery at the Brighton location. Valid through 9/18/2024.


Child exploring flowers with a magnifying glass outdoors.

Garden Scavenger Hunt: A Fun and Educational Activity for Kids

Ready to get started? Download our Garden Scavenger Hunt printable activity and watch as your child discovers the joys of the garden. Whether you’re looking for a weekend project or a way to make the most of a sunny afternoon, this activity is sure to be a hit with the whole family.


Engaging children in outdoor activities is a fantastic way to nurture their curiosity and foster a love for nature. Our latest printable activity, in partnership with KidsGardening, is a Garden Scavenger Hunt—a simple yet exciting way to get young ones exploring and observing the natural world around them.

Why a Garden Scavenger Hunt?

Gardens are full of wonders waiting to be discovered, from the tiniest insects to the most colorful flowers. However, young gardeners might sometimes need a little guidance to focus their attention and make the most of their time outside. A scavenger hunt offers the perfect balance of structure and freedom, allowing kids to explore while honing their observation skills.

How to Get Started

Materials Needed:

  • Scavenger hunt list (download our printable version or create your own)
  • Clipboard
  • Pencil or crayon


Instructions:

  1. Prepare Your List: Start by creating a list of items commonly found in gardens or nature. For younger children, consider using pictures instead of words. You can keep it simple with items like “bird” or “flower,” or challenge older kids with more specific items like “ladybug” or “oak leaf.”
  2. Gather Your Materials: Attach your scavenger hunt list to a clipboard and grab a pencil or crayon. This will make it easy for your little explorers to mark off items as they find them.
  3. Explore and Discover: Head out to your garden, a nearby park, or any green space. Encourage children to use their senses to find each item on the list. They can hunt with their eyes, ears, and even their sense of touch or smell.


Creative Variations to Try

  • Nature Bracelet: In a safe, private space, kids can collect small, non-living items and stick them to a bracelet made of masking tape (sticky side out). This turns the hunt into a craft activity, resulting in a unique keepsake.
  • Sensory Hunts: Instead of focusing solely on visual items, create a hunt based on sounds, textures, or smells. For example, children could listen for a bird’s song or feel the different textures of leaves and rocks.
  • Timed Challenge: Add an element of competition by timing how long it takes to complete the scavenger hunt. Kids can try to beat their previous times or compete for fun prizes.


rudbeckia black eyed susan heat loving perennial

Hot Weather Heroes: 5 Plants That Flourish in New England’s Summer Heat

Gardening in New England can be a challenge. With cold winters and sometimes scorching summer days, finding the right plants that can handle the heat without wilting can feel like a tricky task. But don’t worry! We’ve got you covered with some amazing heat-tolerant plants that are not only tough but also beautiful and easy to care for. Let’s dive into the top 5 perennials that will keep your garden looking fabulous, even during the hottest New England summer days.  Annuals more your speed?  Check out our blog on heat loving annuals here!


  1. Sedum (Stonecrop)

Looking for a plant that’s as tough as it is beautiful? Sedum, also known as Stonecrop, is a succulent that can take the heat and keep on thriving. These plants love the sun and can handle drought like a champ. Plus, they’re cold-hardy, which means they’ll survive New England’s winter chill too. Consider adding varieties like ‘Autumn Joy,’ ‘Rock N’ Around,’ or the vibrant ‘Angelina’ to your garden for a pop of color that lasts all season long.


green sedum heat loving perennial

Mahoney’s Grown Sedum at Mahoney’s in Winchester, MA


  1. Echinacea (Coneflower)

Echinacea, commonly known as Coneflower, is a perennial favorite among gardeners, and for good reason. These plants are not only heat-tolerant but also drought-resistant. They’re perfect for adding a splash of color to your garden while requiring minimal upkeep. Plus, they attract butterflies, which adds a touch of magic to your outdoor space. Try out varieties like ‘Magnus,’ ‘PowWow Wild Berry,’ or the colorful ‘Cheyenne Spirit’ for a garden that’s both vibrant and resilient.


echinacea heat proof perennial coneflower

Pink Echinacea in New England


  1. Lavandula (Lavender)

If you’re dreaming of a garden filled with soothing fragrance and low-maintenance plants, Lavender is your go-to. This Mediterranean beauty loves the heat and thrives in dry conditions, making it an excellent choice for New England summers. Lavender isn’t just pretty to look at; it’s also incredibly useful. You can use it in sachets, potpourris, or even in cooking! Some top varieties to consider are ‘Munstead,’ ‘Hidcote,’ and the always beautiful ‘Annet.’

Perennial Lavender in New England


  1. Coreopsis (Tickseed)

Coreopsis, also known as Tickseed, is a bright and cheerful perennial that loves the sun. These plants are heat-tolerant and require very little water, making them perfect for those hot summer days. They’re also incredibly easy to grow, so they’re great for both beginner gardeners and seasoned pros. Consider varieties like ‘Moonbeam,’ ‘Zagreb,’ or ‘Crème Caramel’ for a burst of sunny color in your garden.


coreopsis tickseed heat loving perennial

Coreopsis (Tickseed) at Mahoney’s Garden Center in Winchester, MA


  1. Rudbeckia (Black-eyed Susan)

No garden is complete without the classic Black-eyed Susan. Rudbeckia is a hardy, heat-tolerant plant that’s perfect for New England’s summer heat. These vibrant yellow flowers are easy to grow and maintain, making them a favorite for busy gardeners. Plus, they’re butterfly magnets! Try planting varieties like ‘Goldsturm,’ ‘Viette’s Little Suzy,’ or the compact ‘Little Goldstar’ for a garden that’s both beautiful and bustling with life.


rudbeckia black eyed susan heat loving perennial

Rudbeckia (Black-Eyed Susan) At Mahoney’s Garden Centers of New England


Gardening in New England doesn’t have to be a struggle, even during the hottest days of summer. With these heat-tolerant plants, you can create a garden that’s not only stunning but also resilient. Whether you’re a seasoned gardener or just starting out, these plants will make your garden the envy of the neighborhood.  So, grab your gardening gloves, save water by learning best watering practices and start planting! Your heat-proof, beautiful garden awaits.

Stop by Mahoney’s Garden Center to pick up these hardy plants and more and take a look at our planting guides to get you started. We’re here to help you every step of the way!


SHOP PICKUP + DELIVERY HERE


Beautiful roses blooming in summer garden

Planting Roses in Summer and Fall: A Guide for Thriving Blooms


Roses, with their stunning array of colors, shapes, and fragrances, can elevate any garden. While spring is often seen as the ideal planting season, summer and fall offer fantastic opportunities for planting roses, with the added benefit of extended blooming seasons. Here’s how you can achieve a vibrant rose garden during these times, ensuring your plants thrive with just a bit of extra care.

Choosing the Right Roses

Selecting the right type of rose is key to successful summer and fall planting. Consider these hardy varieties:

  • Knock Out Roses: Renowned for their resilience and continuous blooming.
  • Floribunda Roses: Known for abundant flowers and robust growth.
  • Hybrid Tea Roses: Elegant and rewarding with the right care.


Images of 3 different types of roses: Knockout Rose, Floribuna, and Hybrid Tea

From left to right: Pink Double Knockout, Earth Angel Parfuma, and Princess Charlene De Monaco


Preparing Your Garden

  1. Location: Choose a sunny spot with at least 6 hours of daily sunlight. Good air circulation is essential to keep your roses healthy.
  2. Soil: Ensure well-draining soil. Enhance it with compost or well-rotted manure to improve both fertility and drainage.
  3. Spacing: Proper spacing between plants allows for optimal growth and air flow, preventing disease and promoting vitality.

Planting in Summer

Summer planting is a fantastic way to add color to your garden quickly. Follow these steps to ensure your roses flourish:

  1. Watering: Keep the soil consistently moist by watering deeply at least twice a week. Increase frequency during hot, dry periods.
  2. Mulching: Apply a generous layer of mulch around the base of the plants to retain moisture and keep roots cool, also helping to suppress weeds.
  3. Planting Time: Plant in the early morning or late afternoon to avoid peak sun and reduce transplant shock.

Planting in Fall

Fall is an excellent season for planting roses, offering cooler temperatures and natural rainfall that support robust root development:

  1. Timing: Plant at least 6 weeks before the first expected frost to give your roses ample time to establish strong roots.
  2. Watering: Monitor soil moisture, ensuring it stays consistently moist but not waterlogged, taking advantage of the natural increase in rainfall.
  3. Mulching: Insulate the roots and retain moisture by mulching around the roses, preparing them for the cooler months ahead.
  4. Pruning: Lightly trim only dead or damaged parts to reduce stress, allowing the plant to focus on root establishment.


Image of roses being pruned in the fall


Caring for Your Roses

Ongoing care ensures your roses thrive and bloom beautifully:

  1. Feeding: Use a balanced, slow-release fertilizer formulated for roses like Espoma Organic Rose-Tone. Follow the instructions for application to keep your plants nourished.
  2. Pest and Disease Control: Regularly inspect your roses for pests and diseases. Use appropriate treatments as needed and maintain good garden hygiene.
  3. Winter Protection: Be sure to bury the rose bud union deeply! Click below for our printable rose guide with planting depth diagram.


Rose Care Guide + More


Planting roses in summer and fall is an excellent way to enjoy extended blooming seasons and add immediate beauty to your garden. With the right care, your roses will thrive, providing a stunning display of color and fragrance. Visit us today or shop online to choose from our wide selection of roses and start enhancing your garden now!


Mahoney's Grown magenta pink SunPatiens

SunPatiens: The Versatile Garden Marvel

SunPatiens are a fantastic choice for any garden, offering vibrant blooms and incredible versatility. These hardy plants, a hybrid of traditional impatiens and a wild species, are known for their ability to thrive in various conditions. Whether you have a garden bed basking in full sun or a shady corner that needs brightening, SunPatiens can adapt and flourish, making them a perfect addition to any outdoor space.


SunPatiens were developed as a response to the need for impatiens varieties that could tolerate both full sun and warmer temperatures. Traditional impatiens, popular for their shade tolerance, struggled in sunny, hot conditions. In the early 2000s, breeders successfully crossed traditional impatiens (Impatiens walleriana) with a wild species native to New Guinea (Impatiens hawkeri), resulting in the creation of SunPatiens. These hybrids retained the vibrant flowers and foliage of impatiens while gaining enhanced heat and sun tolerance, making them suitable for a broader range of garden conditions.


We are proud to grow SunPatiens locally in our Woburn greenhouse, ensuring they are well-adapted to the local climate and ready to thrive in your garden. By cultivating them locally, we can offer healthy, vibrant plants that are already acclimated to our region’s weather patterns, further enhancing their resilience. Pairing SunPatiens with ornamental grasses or ferns can add texture and contrast to your garden, while combining them with other flowering plants like petunias or marigolds can create a stunning tapestry of color.


Sunpatiens are one of Uncle Mike's favorite plants to add to your garden.

SunPatiens are one of Uncle Mike Mahoney’s favorite plants to grow in our greenhouses in Woburn, MA!

When caring for SunPatiens, it’s important to consider their watering needs based on their placement. In sunny locations, SunPatiens will require more frequent watering to prevent the soil from drying out, ideally keeping the soil consistently moist but not waterlogged. In shaded areas, they need less frequent watering, as the soil retains moisture longer in lower light conditions. Regardless of placement, ensure good drainage to avoid root rot, and consider using mulch to help retain moisture and regulate soil temperature.


Beyond their beauty and resilience, SunPatiens are also beneficial for the garden ecosystem. They attract pollinators such as bees and butterflies, which helps support local biodiversity. Their lush foliage can also provide shelter for small garden creatures. With their low maintenance needs and stunning visual appeal, SunPatiens are a great choice for gardeners of all levels, from beginners to seasoned experts. Whether you’re looking to brighten up a sunny spot, add some color to a shady area, or simply enjoy a low-maintenance yet stunning plant, SunPatiens are a wonderful option.


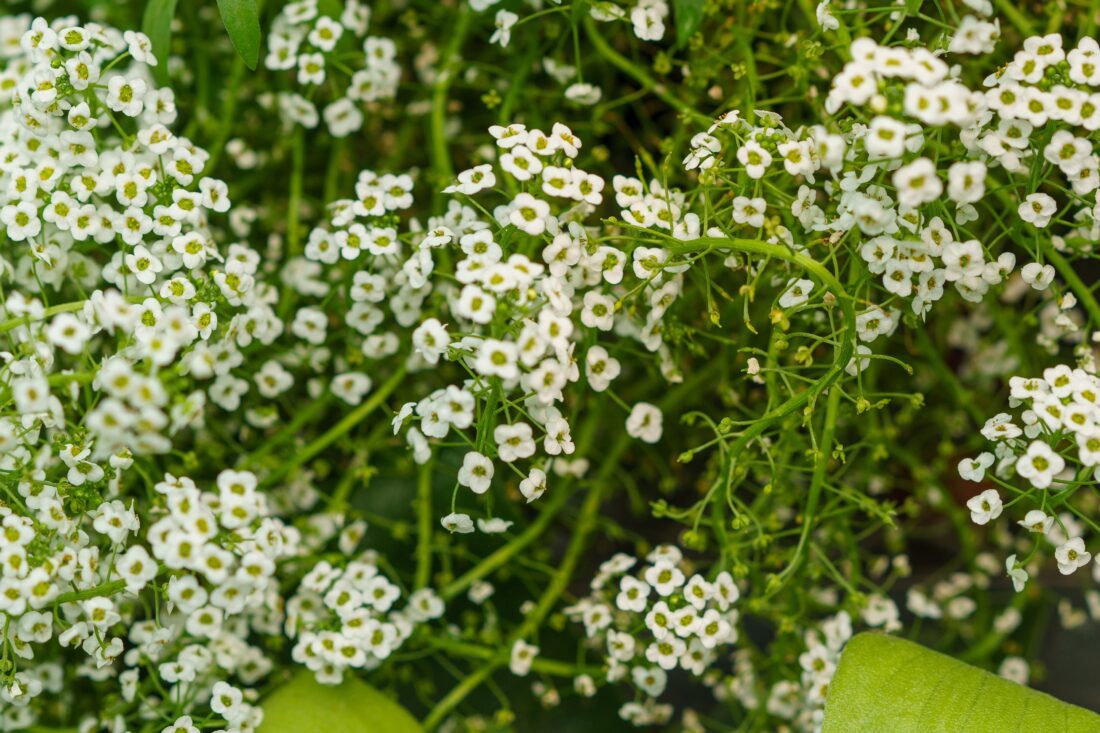
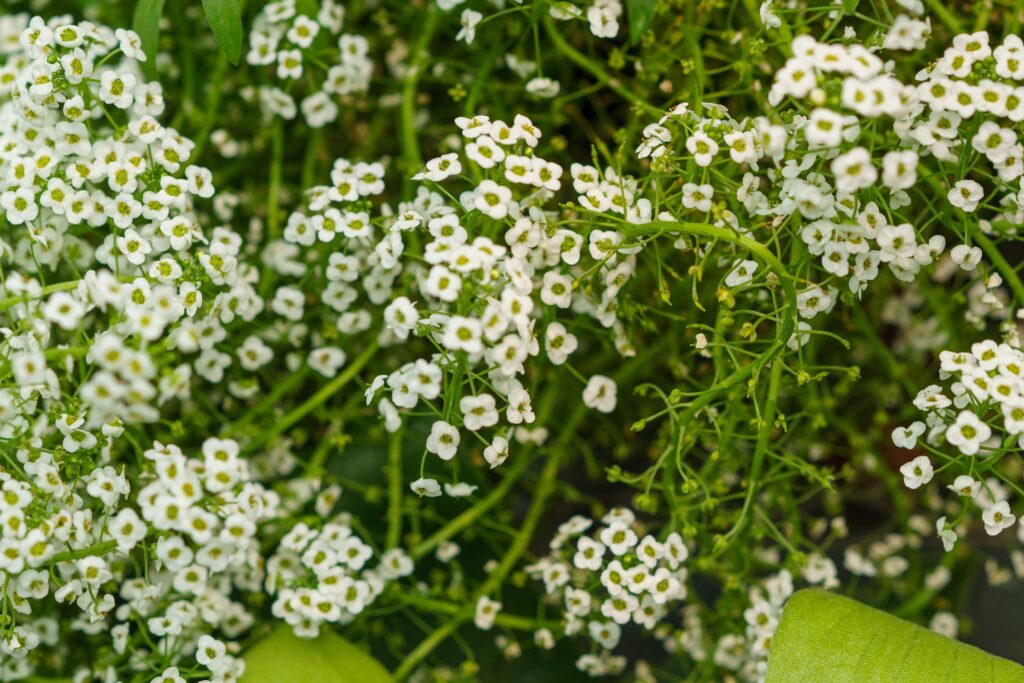
Alyssum Banker Plant in Winchester

Harnessing Nature’s Army: Banker Plants and Beneficial Insects in the Greenhouse

If you’re an avid gardener or just someone who loves to immerse themselves in the beauty of plants, you might have heard of Integrated Pest Management or IPM. IPM is a smart and sustainable way to handle pests. Instead of relying solely on chemicals, IPM uses a combination of techniques like biological control (using beneficial insects as natural predators), crop rotation, diligent and frequent scouting of plants for pests, and traps.  By understanding pest behaviors and the ecosystem, IPM aims to keep pests at manageable levels without harming the environment.  It’s all about smart strategies that protect crops and gardens effectively while being mindful of nature’s balance.

An amazing tool in the IPM tool kit is the incredible duo of banker plants and beneficial insects. But what exactly are they, and how do they work their magic in greenhouse spaces? Let’s dive in!


Banker Plants: The Silent Guardians of Greenhouses

Imagine a bustling metropolis where every citizen has a role to play in maintaining peace and harmony. In the world of greenhouses, banker plants are the unsung heroes playing a similar role. But what exactly are banker plants?

Banker plants are sacrificial plants strategically placed within a greenhouse to attract and sustain populations of beneficial insects. These plants act as a food source, habitat, or breeding ground for these tiny warriors, allowing them to thrive and multiply.


Alyssum Banker Plant in Winchester


Beneficial Insects: Nature’s Pest Control Squad

Now, let’s meet the stars of the show – beneficial insects. While the term “insect” might conjure up images of creepy crawlies, these tiny creatures are the knights in shining armor of the plant kingdom. Beneficial insects are nature’s own pest control squad, preying on harmful pests that threaten the health of greenhouse plants.

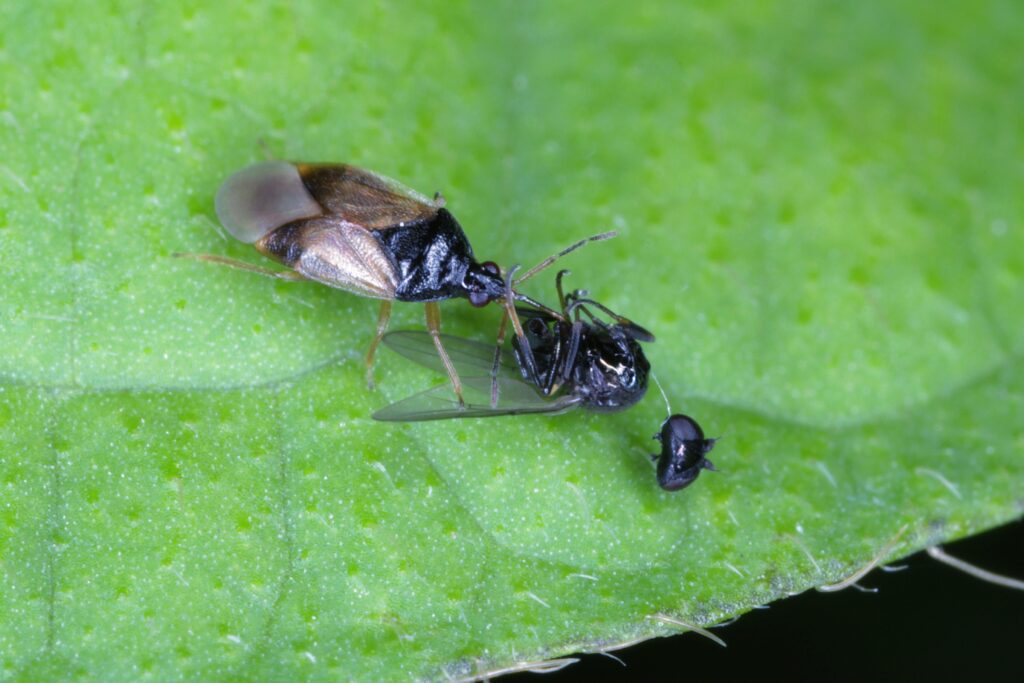
Lacewings, predatory mites, and parasitic wasps are just a few examples of beneficial insects that can be deployed in greenhouse spaces. These tiny warriors patrol the leaves, stems, and soil, seeking out and devouring pests like aphids, mites, thrips and whiteflies, keeping the greenhouse ecosystem in balance.

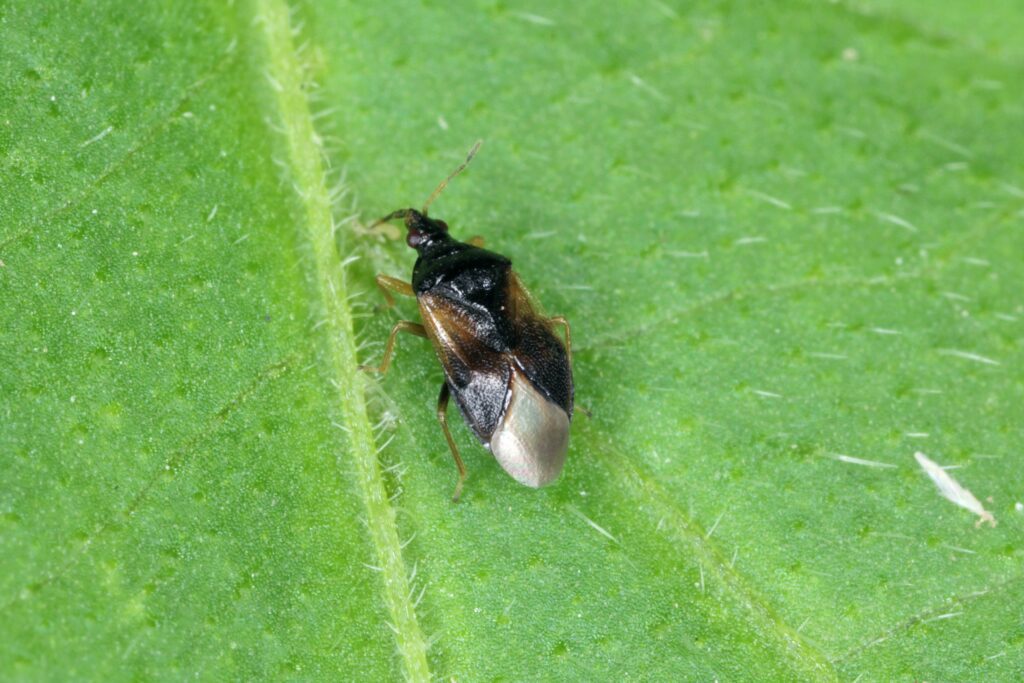
Here at Mahoney’s our tiny warriors are a type of insect known as Orius Insidiosus, also known as Minute Pirate Bug, who feed on smaller insects, spider mites, thrips and other common plant pests.  Interested in learning more about these greenhouse pirates?  Check out Cornell University’s informational page here!


Photo of orius, a beneficial insect


The Greenhouse Harmony: How Banker Plants and Beneficial Insects Work Together

Now that we’ve met our heroes, let’s see how they team up to keep the greenhouse clean and green without the need for harmful chemicals.

  1. Attract and Sustain: Banker plants act as a beacon, luring beneficial insects into the greenhouse with their enticing aroma and nectar-rich flowers. Once inside, these insects find a haven where they can feed, breed, and establish their population.
  2. Hunt and Protect: Beneficial insects, fueled by the resources provided by banker plants, scour the greenhouse in search of prey. When they encounter harmful pests, they unleash their natural predatory instincts, effectively keeping pest populations in check.
  3. Ecosystem Balance: By harnessing the power of nature’s own pest control mechanisms, greenhouses can achieve a delicate balance within their ecosystem. Rather than resorting to chemical pesticides that can harm beneficial insects and disrupt the natural order, they can rely on banker plants and beneficial insects to maintain a harmonious environment.


Beneficial Predatory Insect

The Benefits of Going Green with Banker Plants and Beneficial Insects

Embracing banker plants and beneficial insects offers a plethora of benefits:

  • Environmentally Friendly: By reducing reliance on chemical pesticides, it’s not only safeguarding the health of the plants but also minimizing the ecological footprint.
  • Improved Plant Health: With pests kept in check, plants can thrive without the stress of constant attacks, leading to healthier growth and higher yields.
  • Enhanced Biodiversity: By fostering a diverse ecosystem within greenhouses, it’s more than just growing plants; it’s nurturing a vibrant community of insects and microorganisms that contribute to overall ecosystem health.


Mahoney's Winchester Banker Plants

The banker plants and their insects have been hard at work at our growing greenhouses in Woburn as our Mahoney’s Grown plants mature.  But now that these plants have been sent to any one of our 7 locations, the banker plants have gone with them to keep the plants happy and healthy until you can take them home.

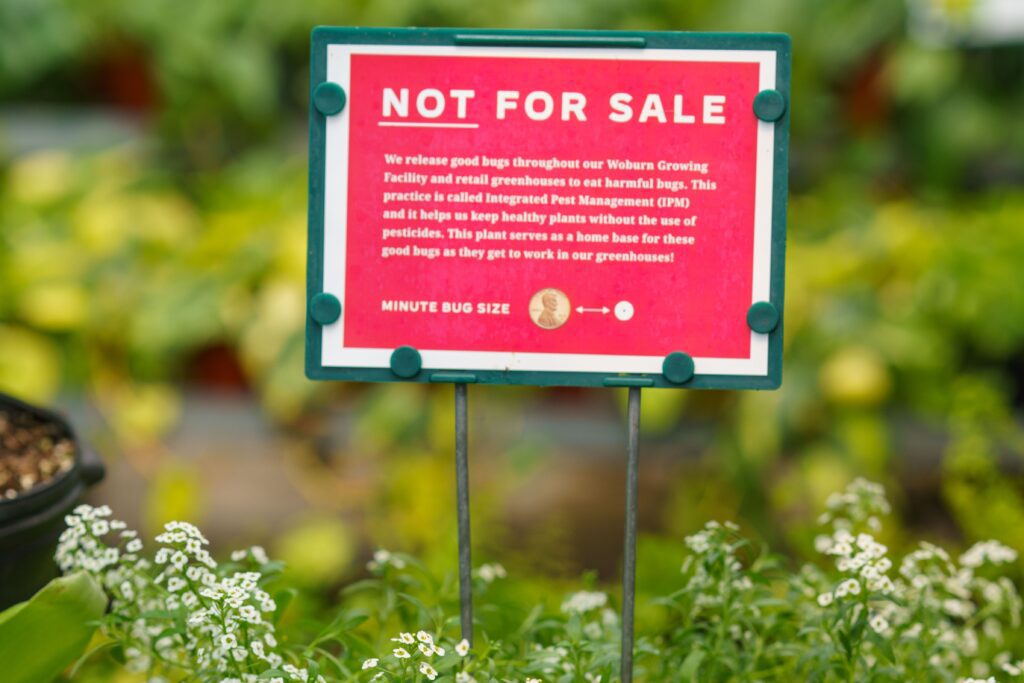
Next time you visit one of our greenhouses you may see a plant with a sign proclaiming ‘Banker Plant’, be sure to stop by and say hello to our tiny warriors!


Want to see some of the plants these pirate bugs are protecting?  Check out our online shop here!