Frost covered branch image

Getting Your Garden Cozy for Winter: A New England Guide


As the temperatures drop and the days grow shorter, it’s essential to prepare your garden for the brisk New England winter. While we may be bidding farewell to our colorful blooms, there’s no reason your garden can’t be a haven of beauty and potential even during the cold season. Proper winterization will help protect your plants, garden structures, and soil, ensuring a healthy and vibrant garden in the coming spring! So, grab your gardening gloves, and let’s get to work on prepping your garden for a cozy New England winter! 


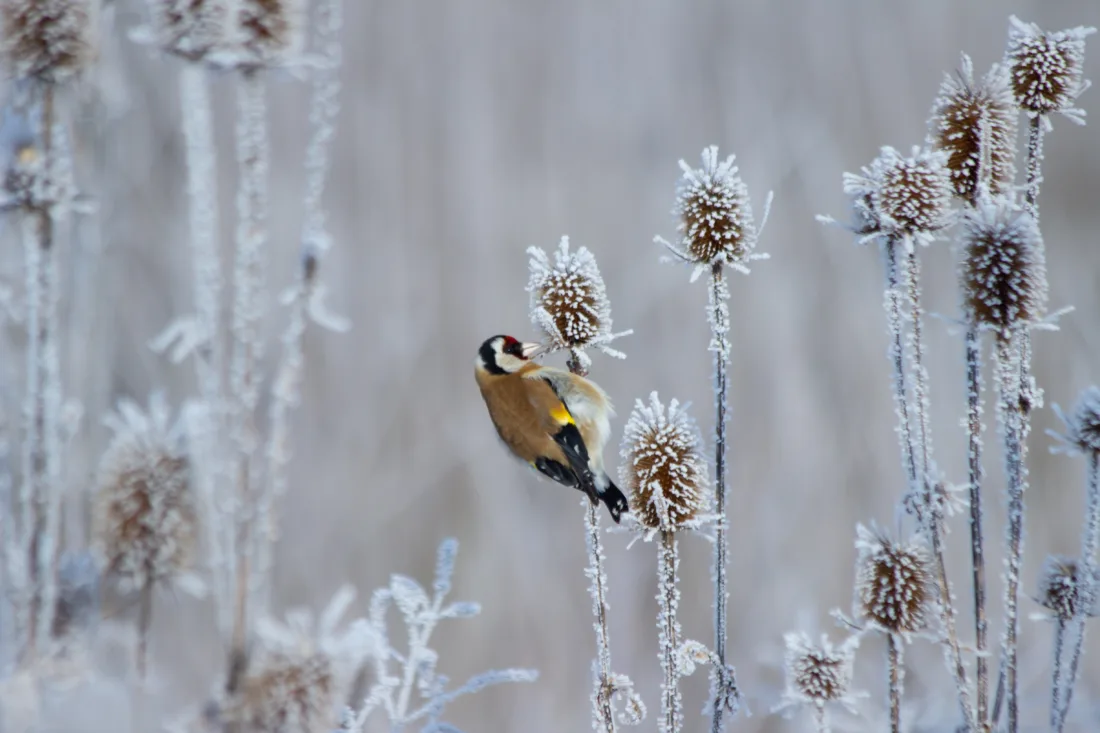
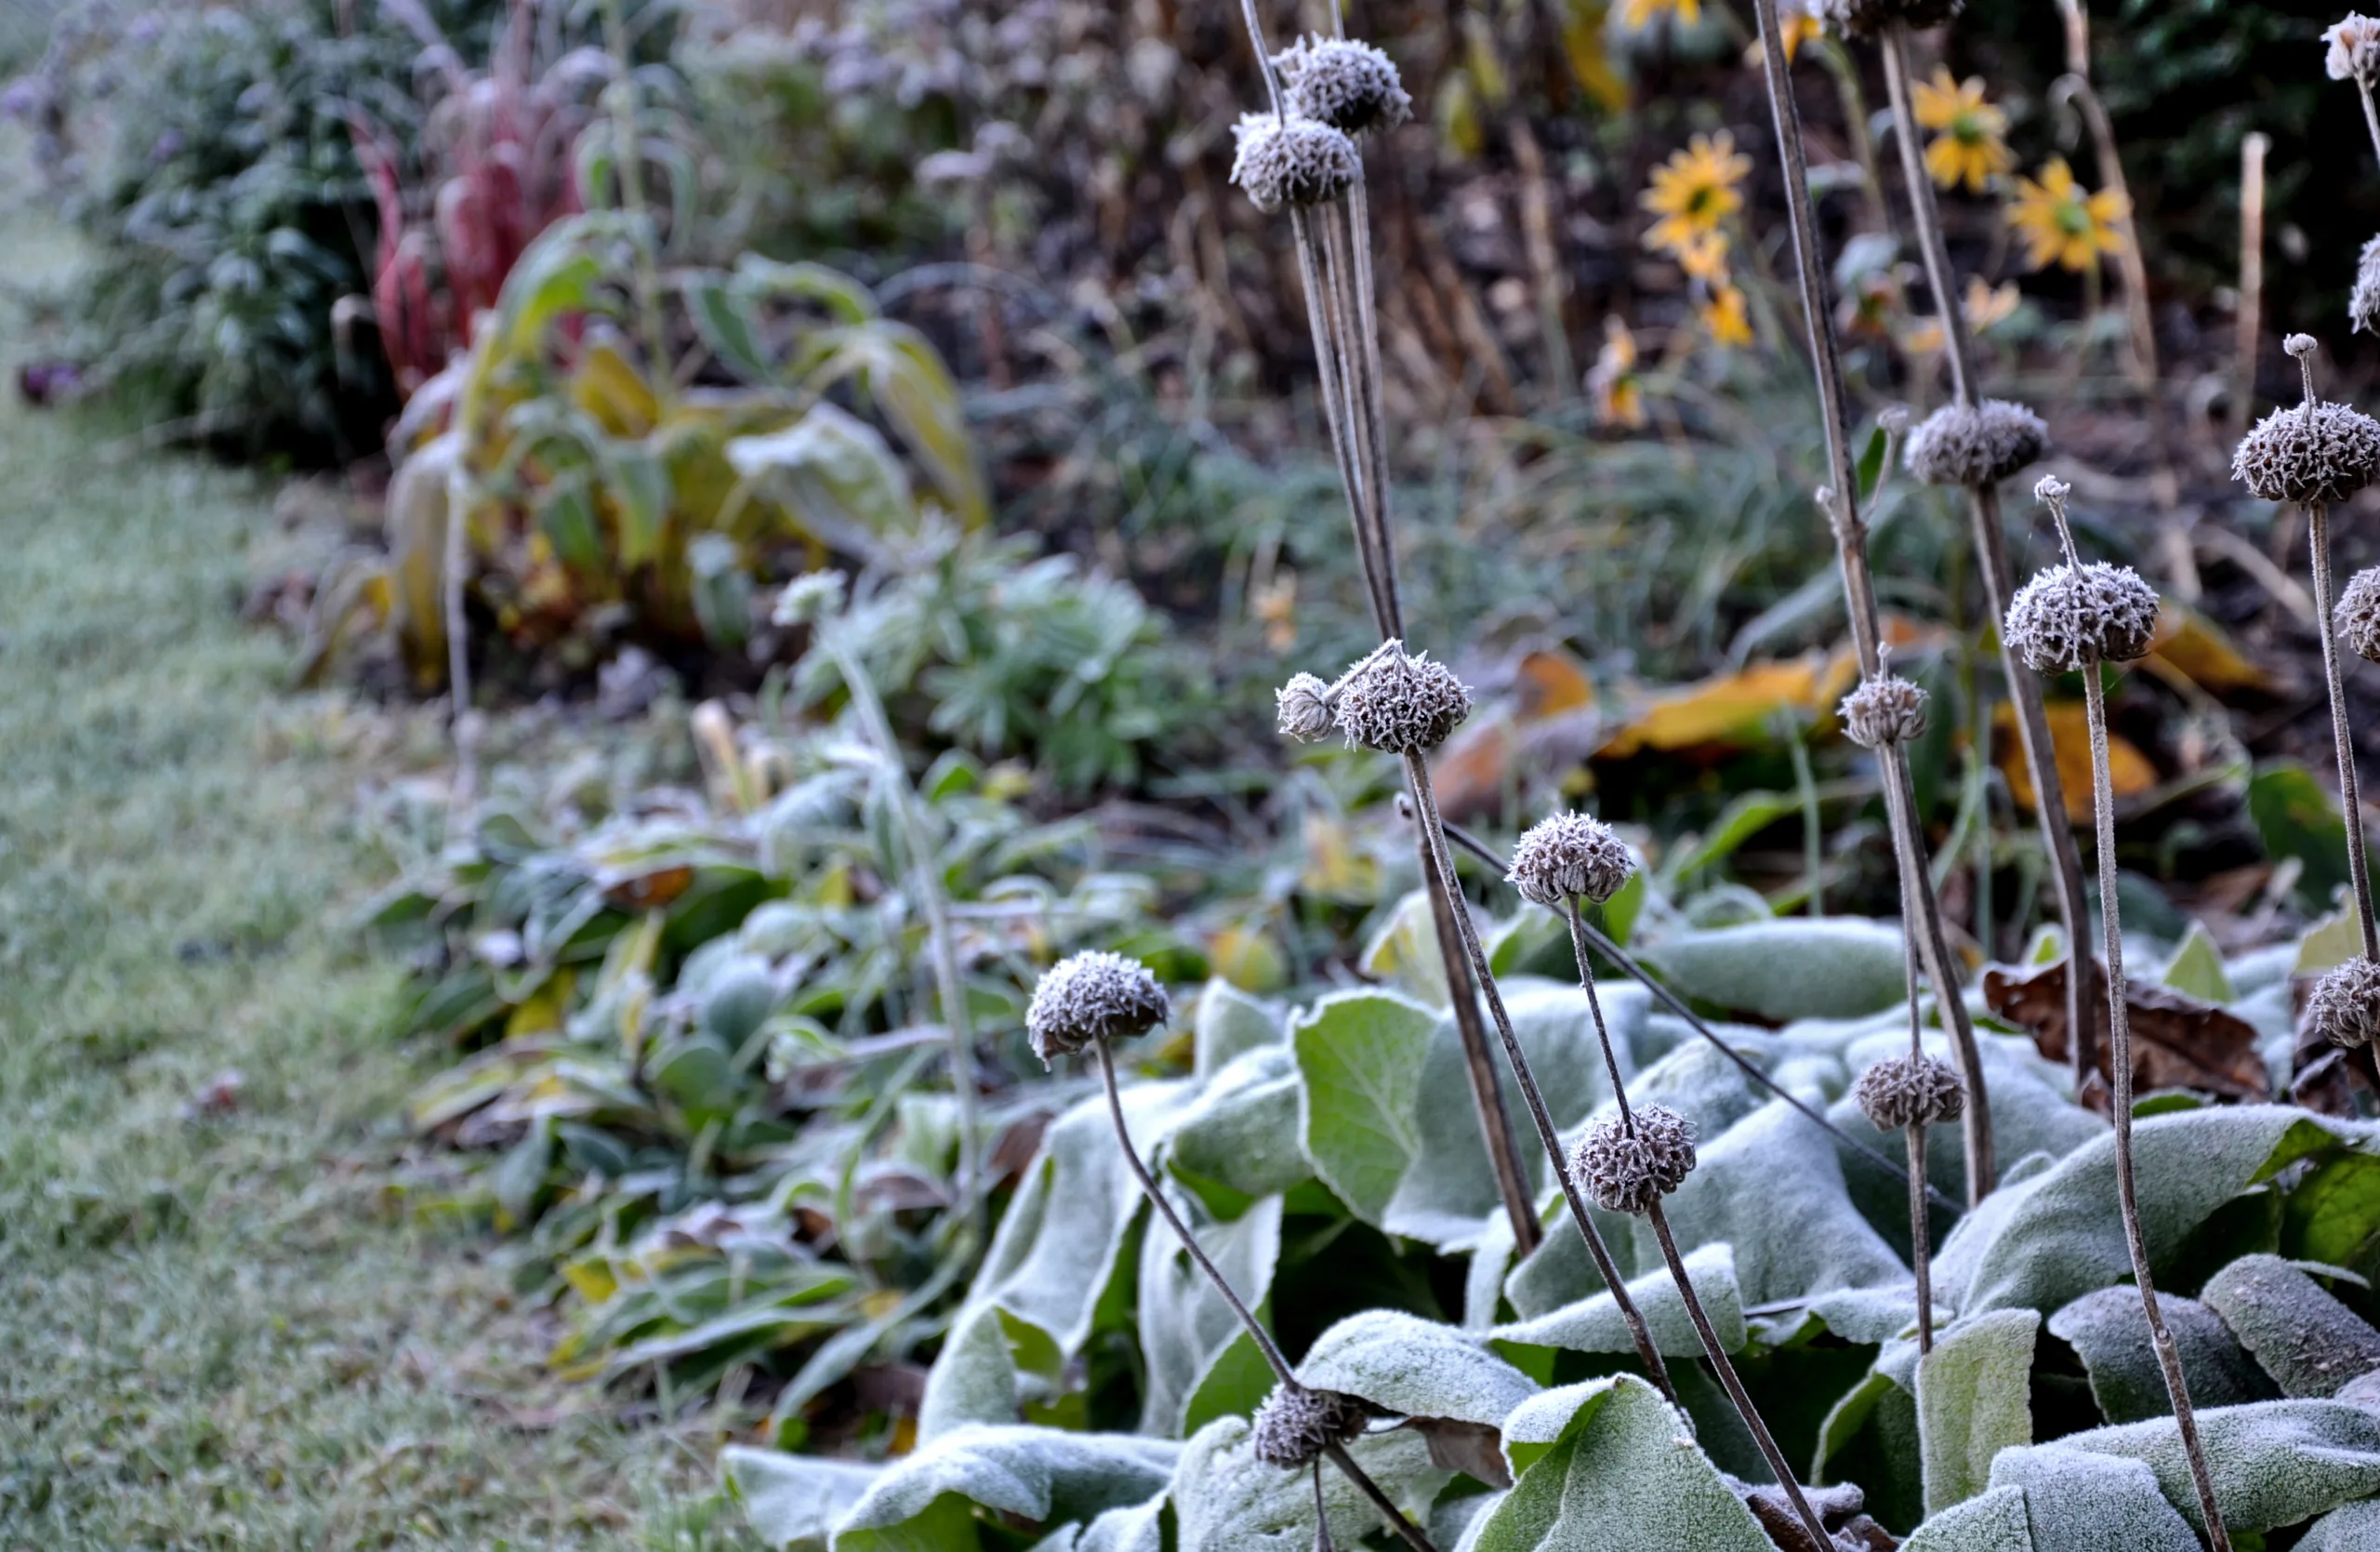
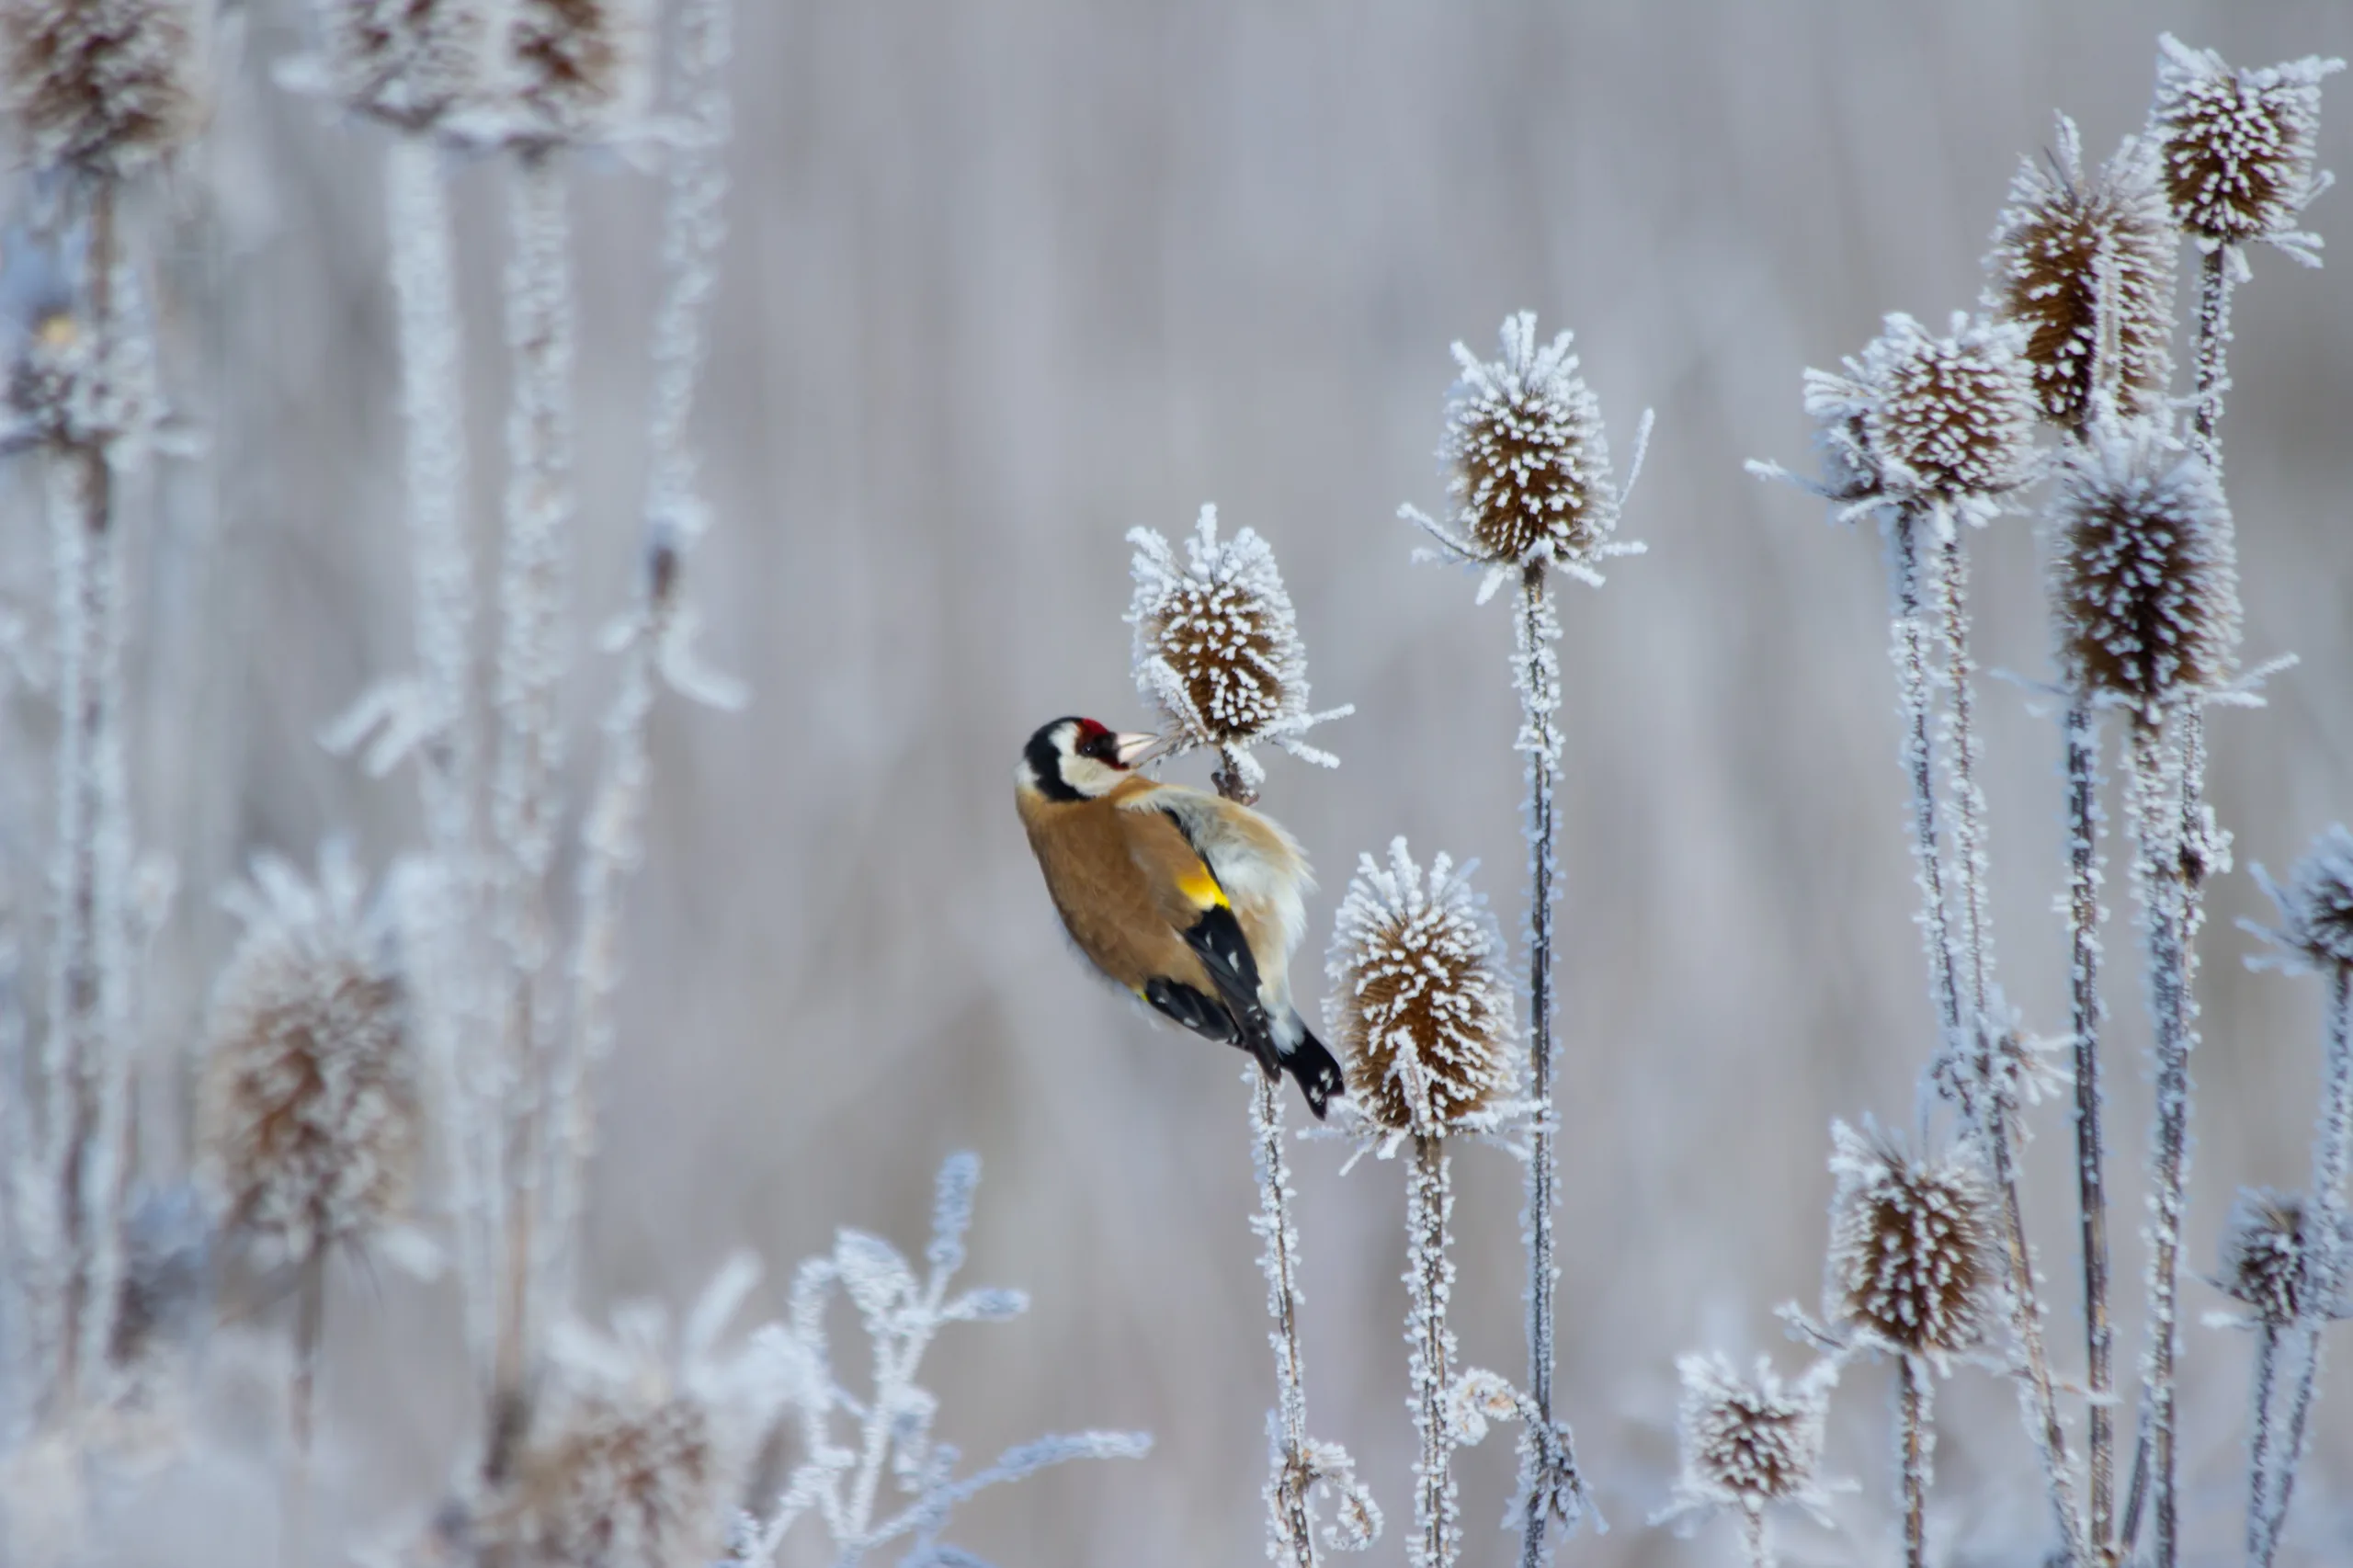
Prune Sparingly and Leave the Leaves

Gently prune any dead, damaged, or diseased parts of your perennial plants and remove them from your garden While it may be tempting to do a big fall cleanup, consider resisting the temptation. For more information about the benefits of “leaving the leaves” click here!  
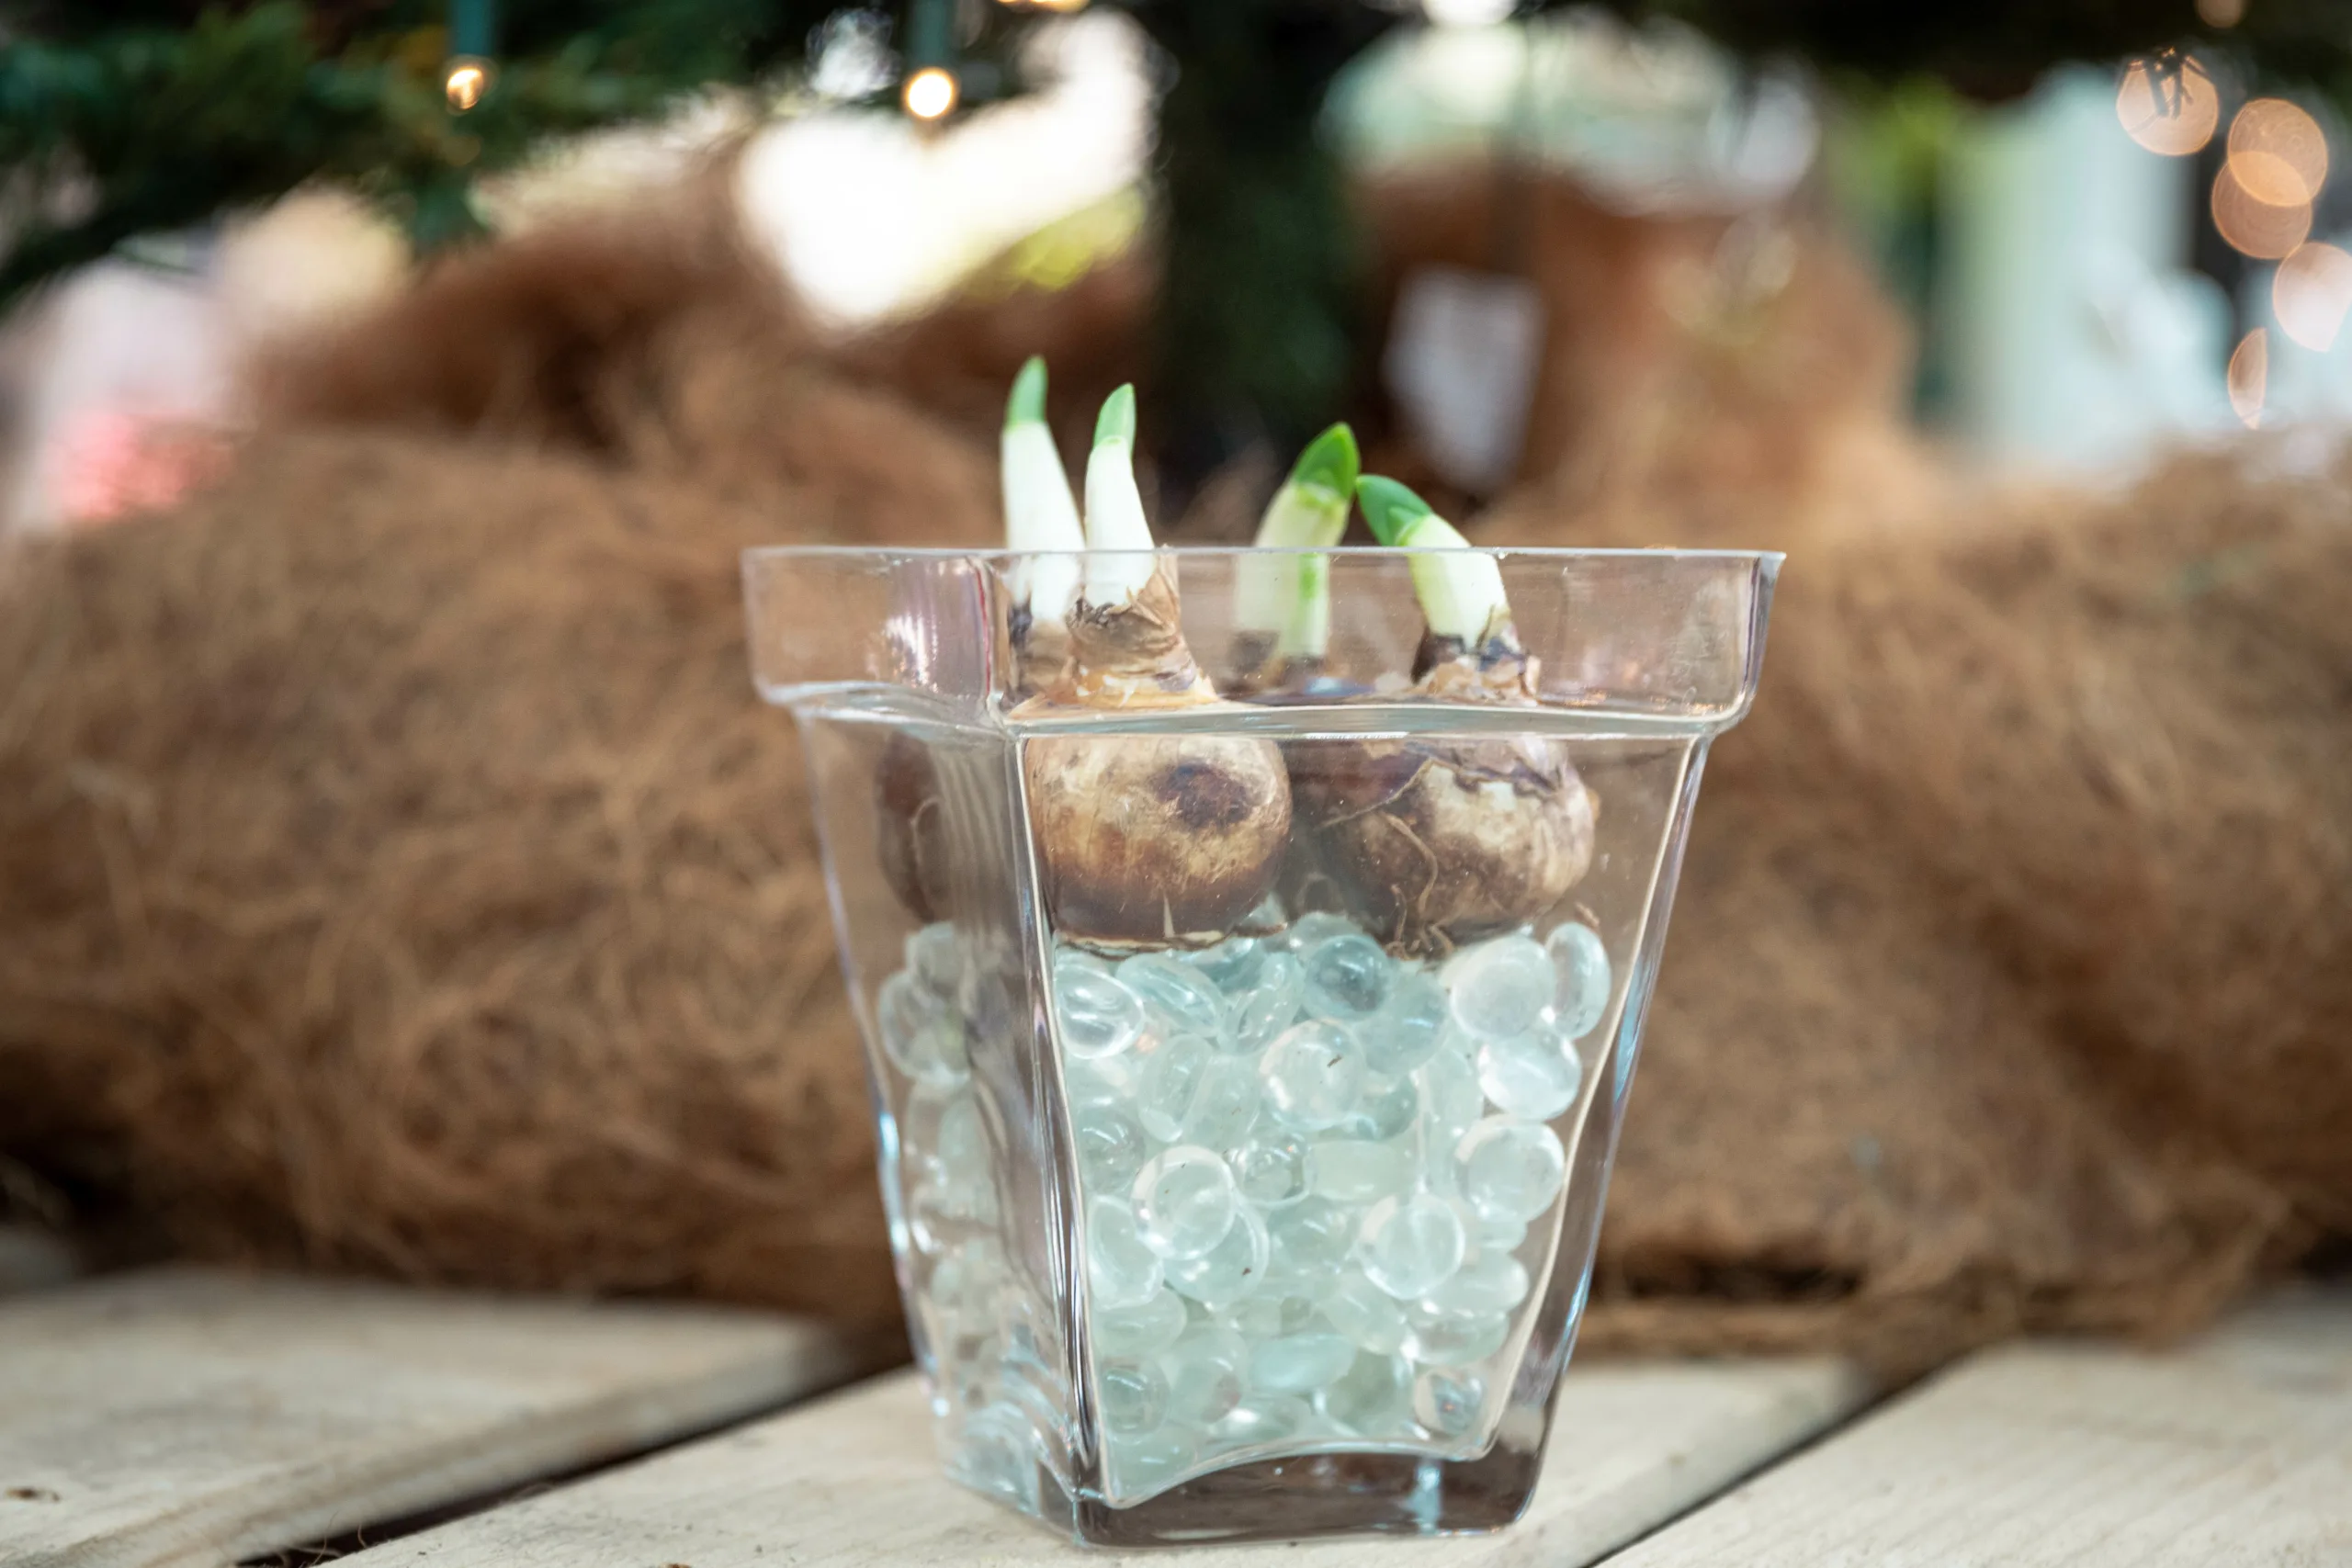
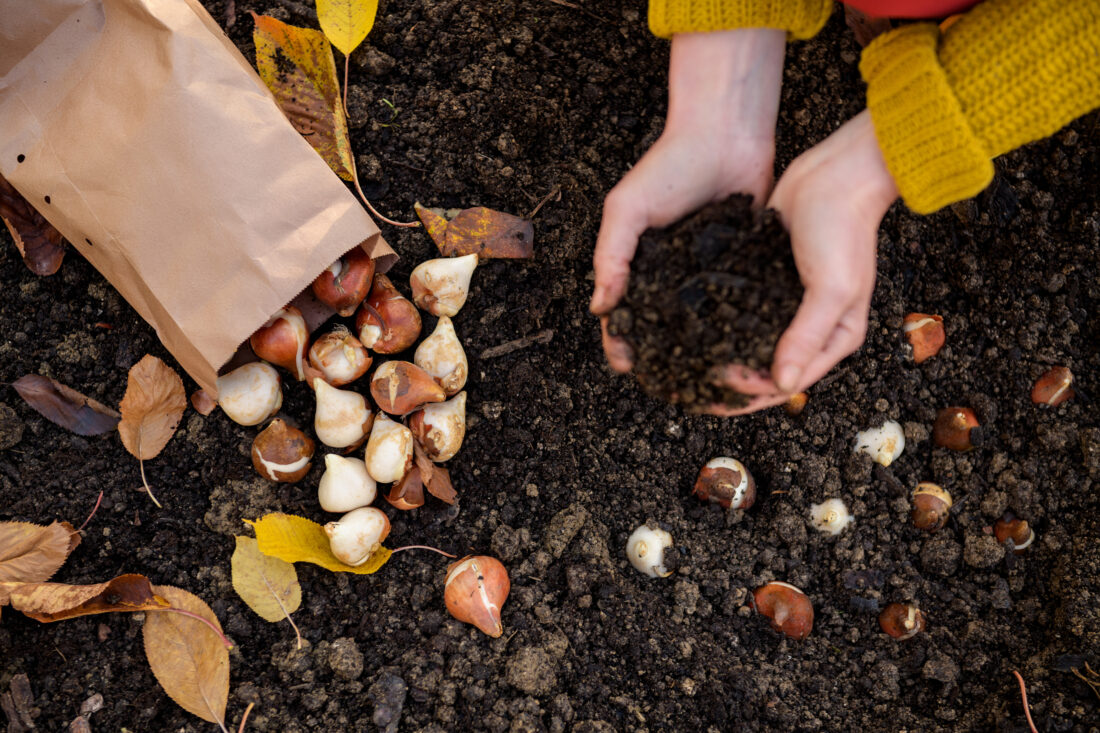
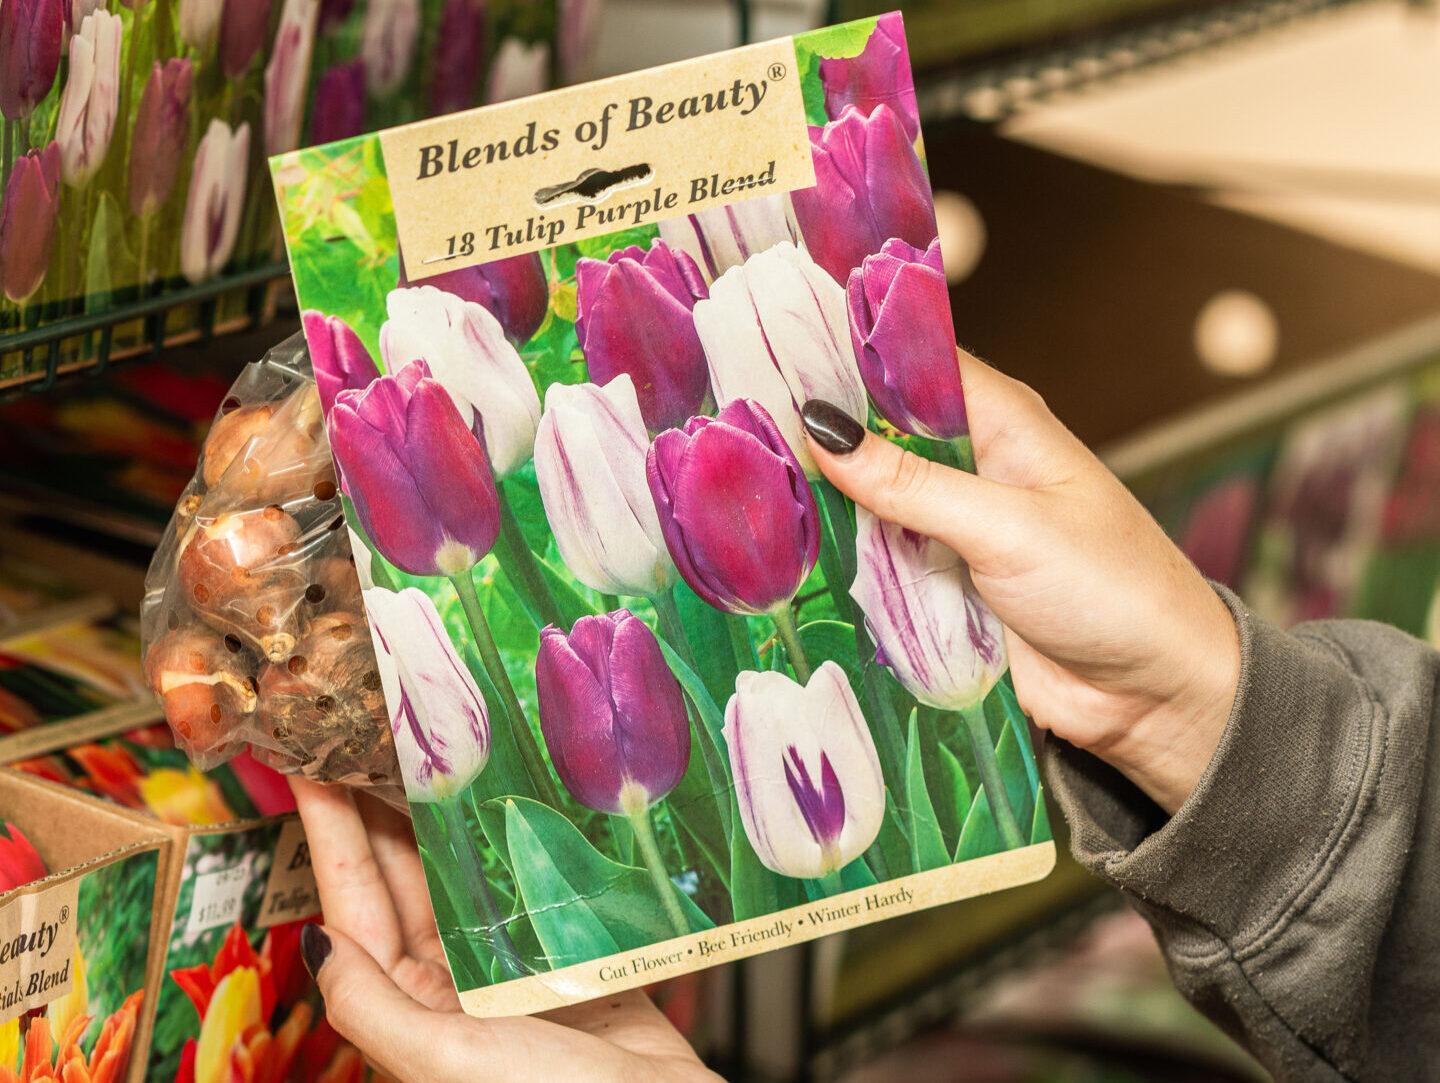
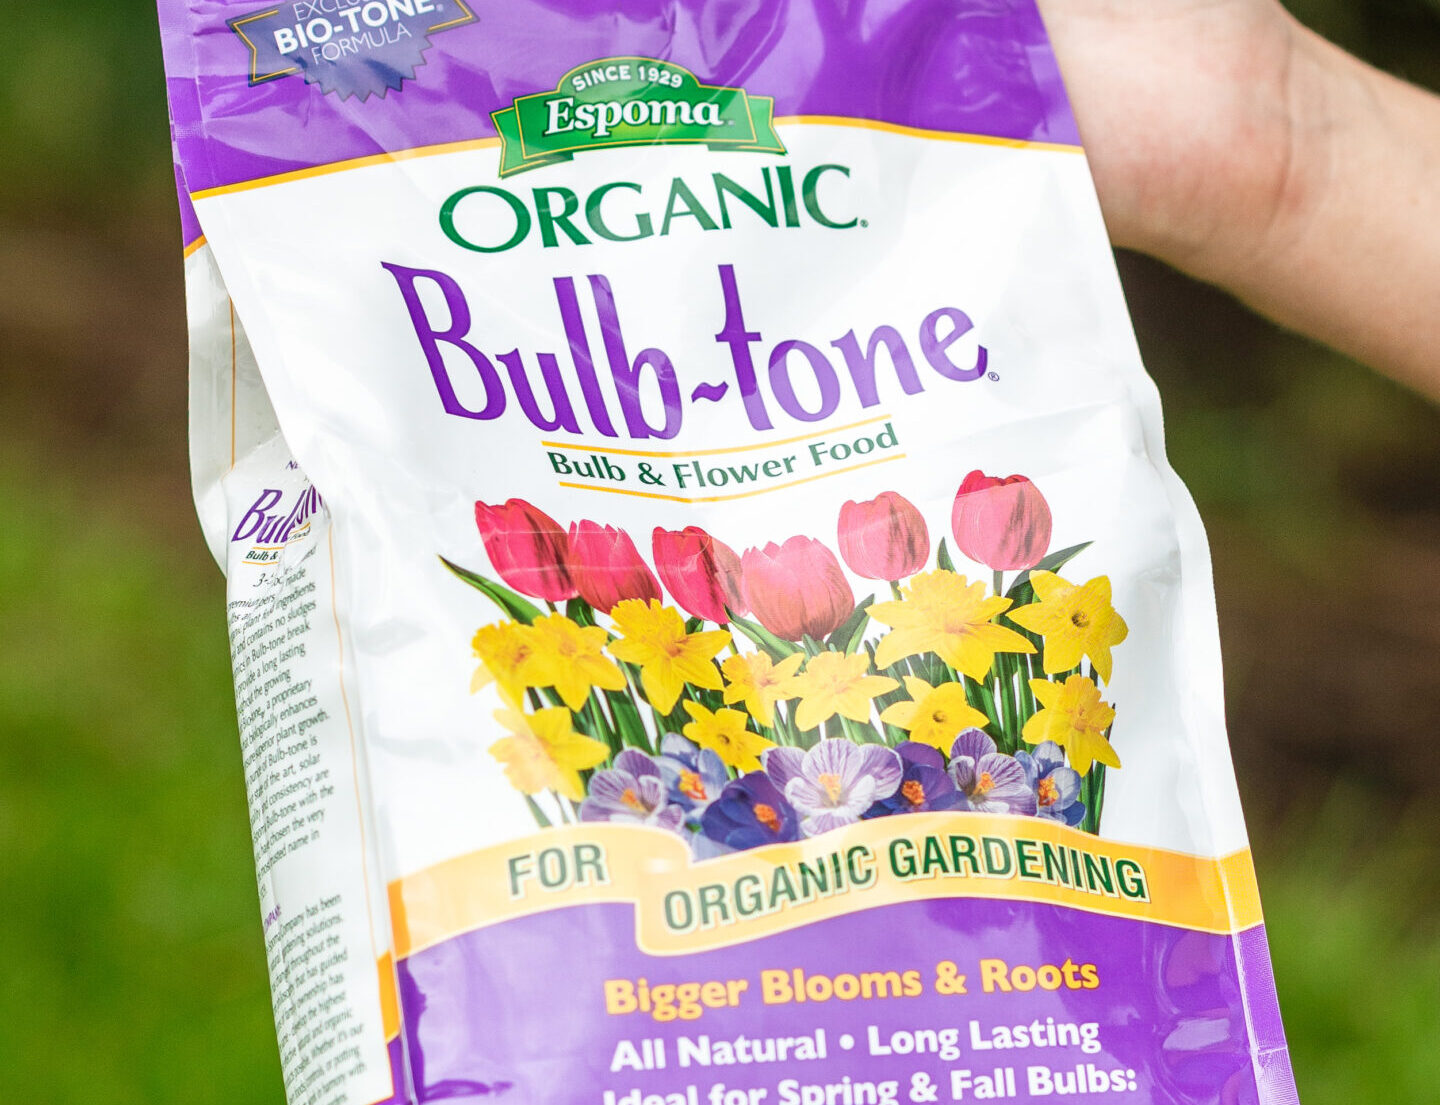
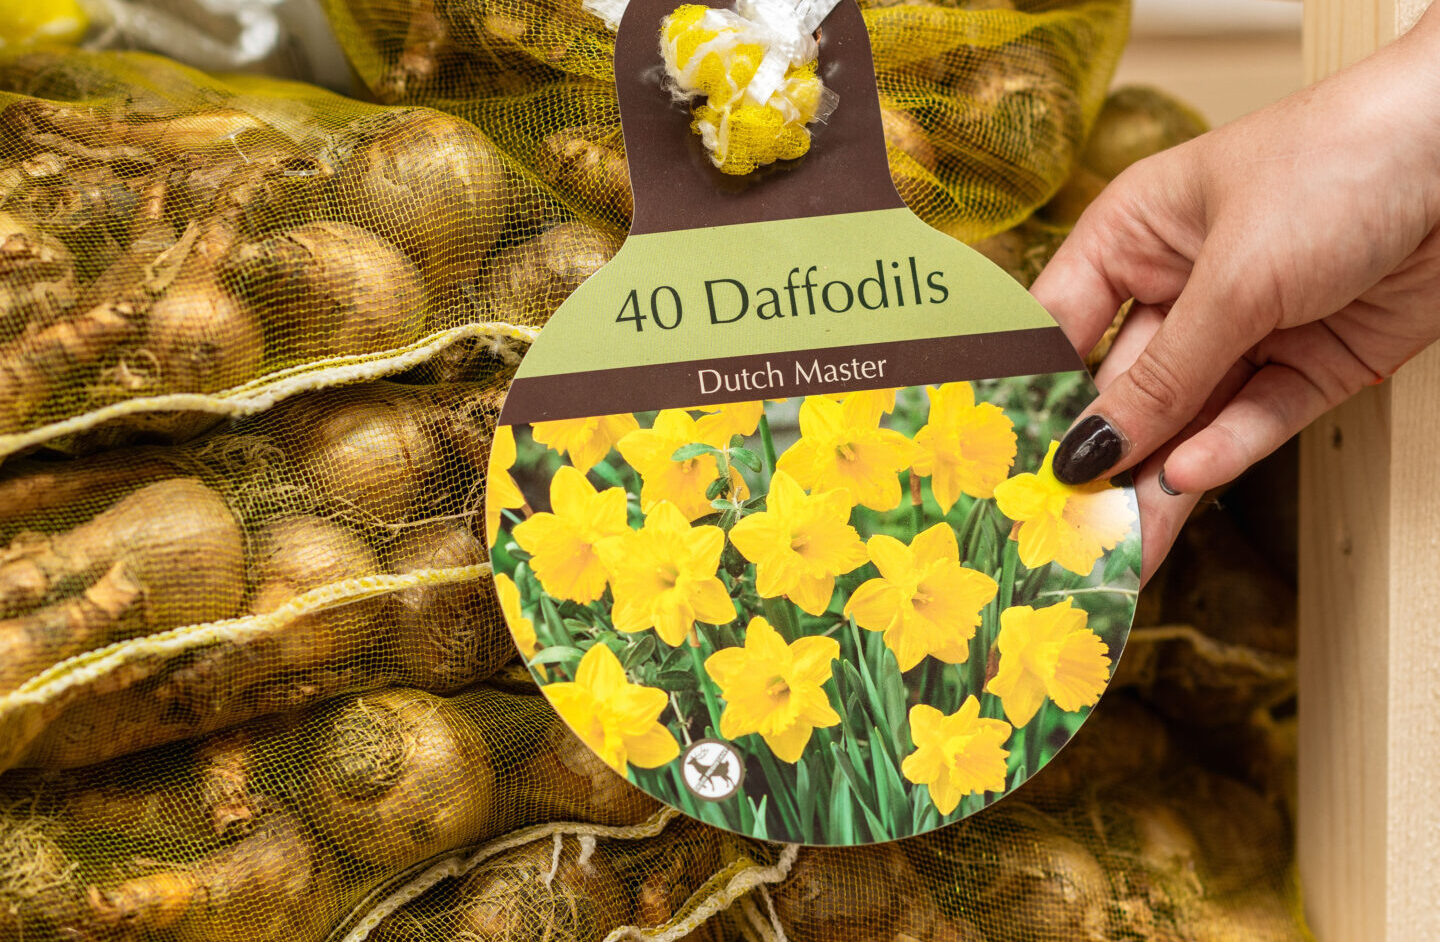
 

Bury Those Bulbs

One key task during this season is planting bulbs that will burst forth in a symphony of colors come spring. Fall is the opportune time to tuck bulbs into the soil, allowing them the necessary period of dormancy to thrive in the warmer months. If you’re eager to delve into the art of fall bulb planting, be sure to check our detailed guide to fall bulb planting. Discover the joy of anticipation as you envision the beauty that will unfurl in your garden when winter’s chill gives way to the blossoming wonders of spring.


Mulch It Up

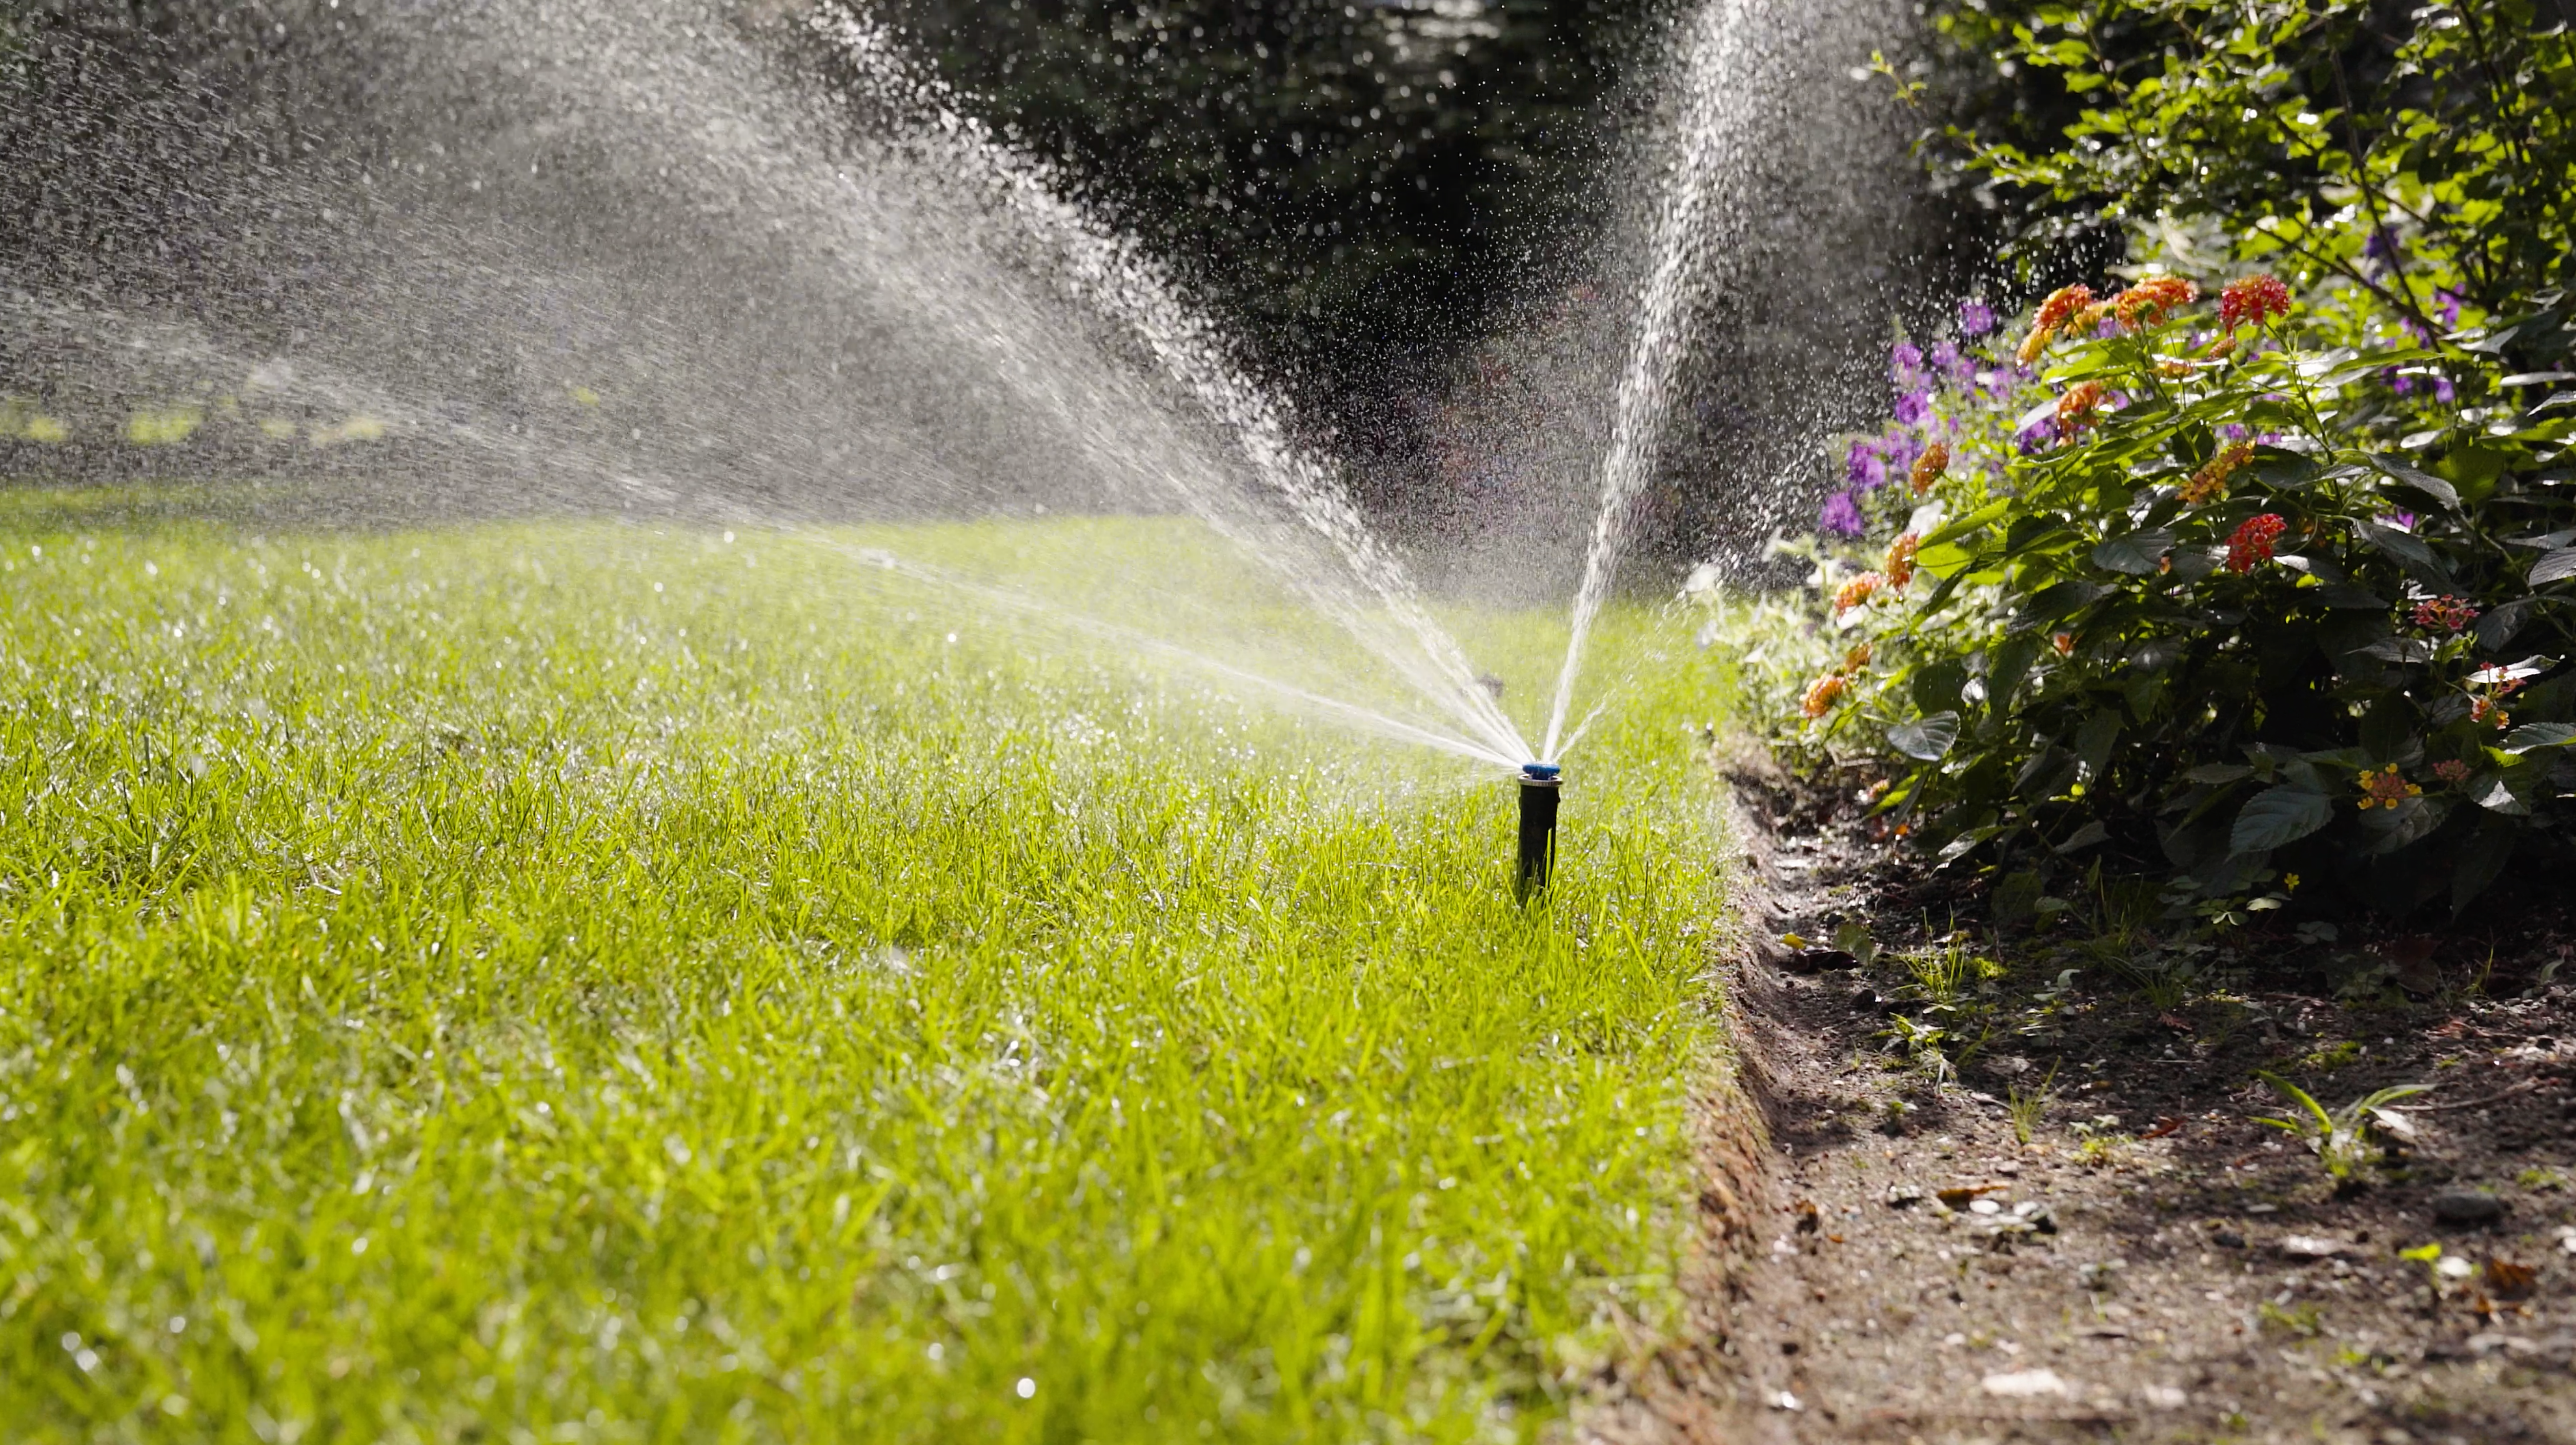
Mulch is your garden’s best friend in winter. A thick layer of mulch (about 2-4 inches) will help insulate your plants’ roots and protect them from the harsh cold. Use organic mulch such as leaves, straw, or compost. This not only keeps the soil temperature more stable but also enriches it with nutrients for the coming spring.


Click to order bagged mulch and compost


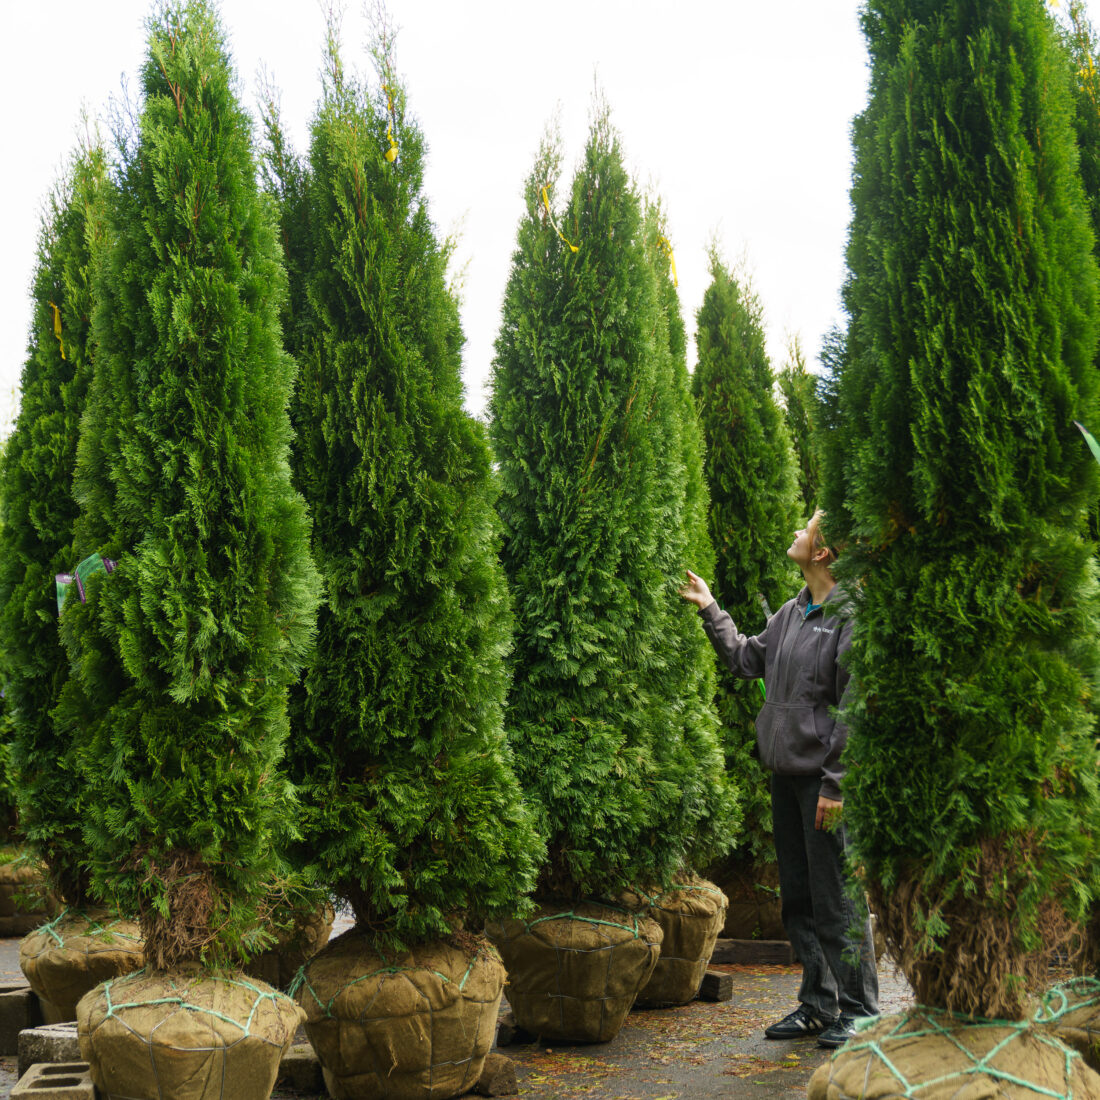
Protect Vulnerable Plants

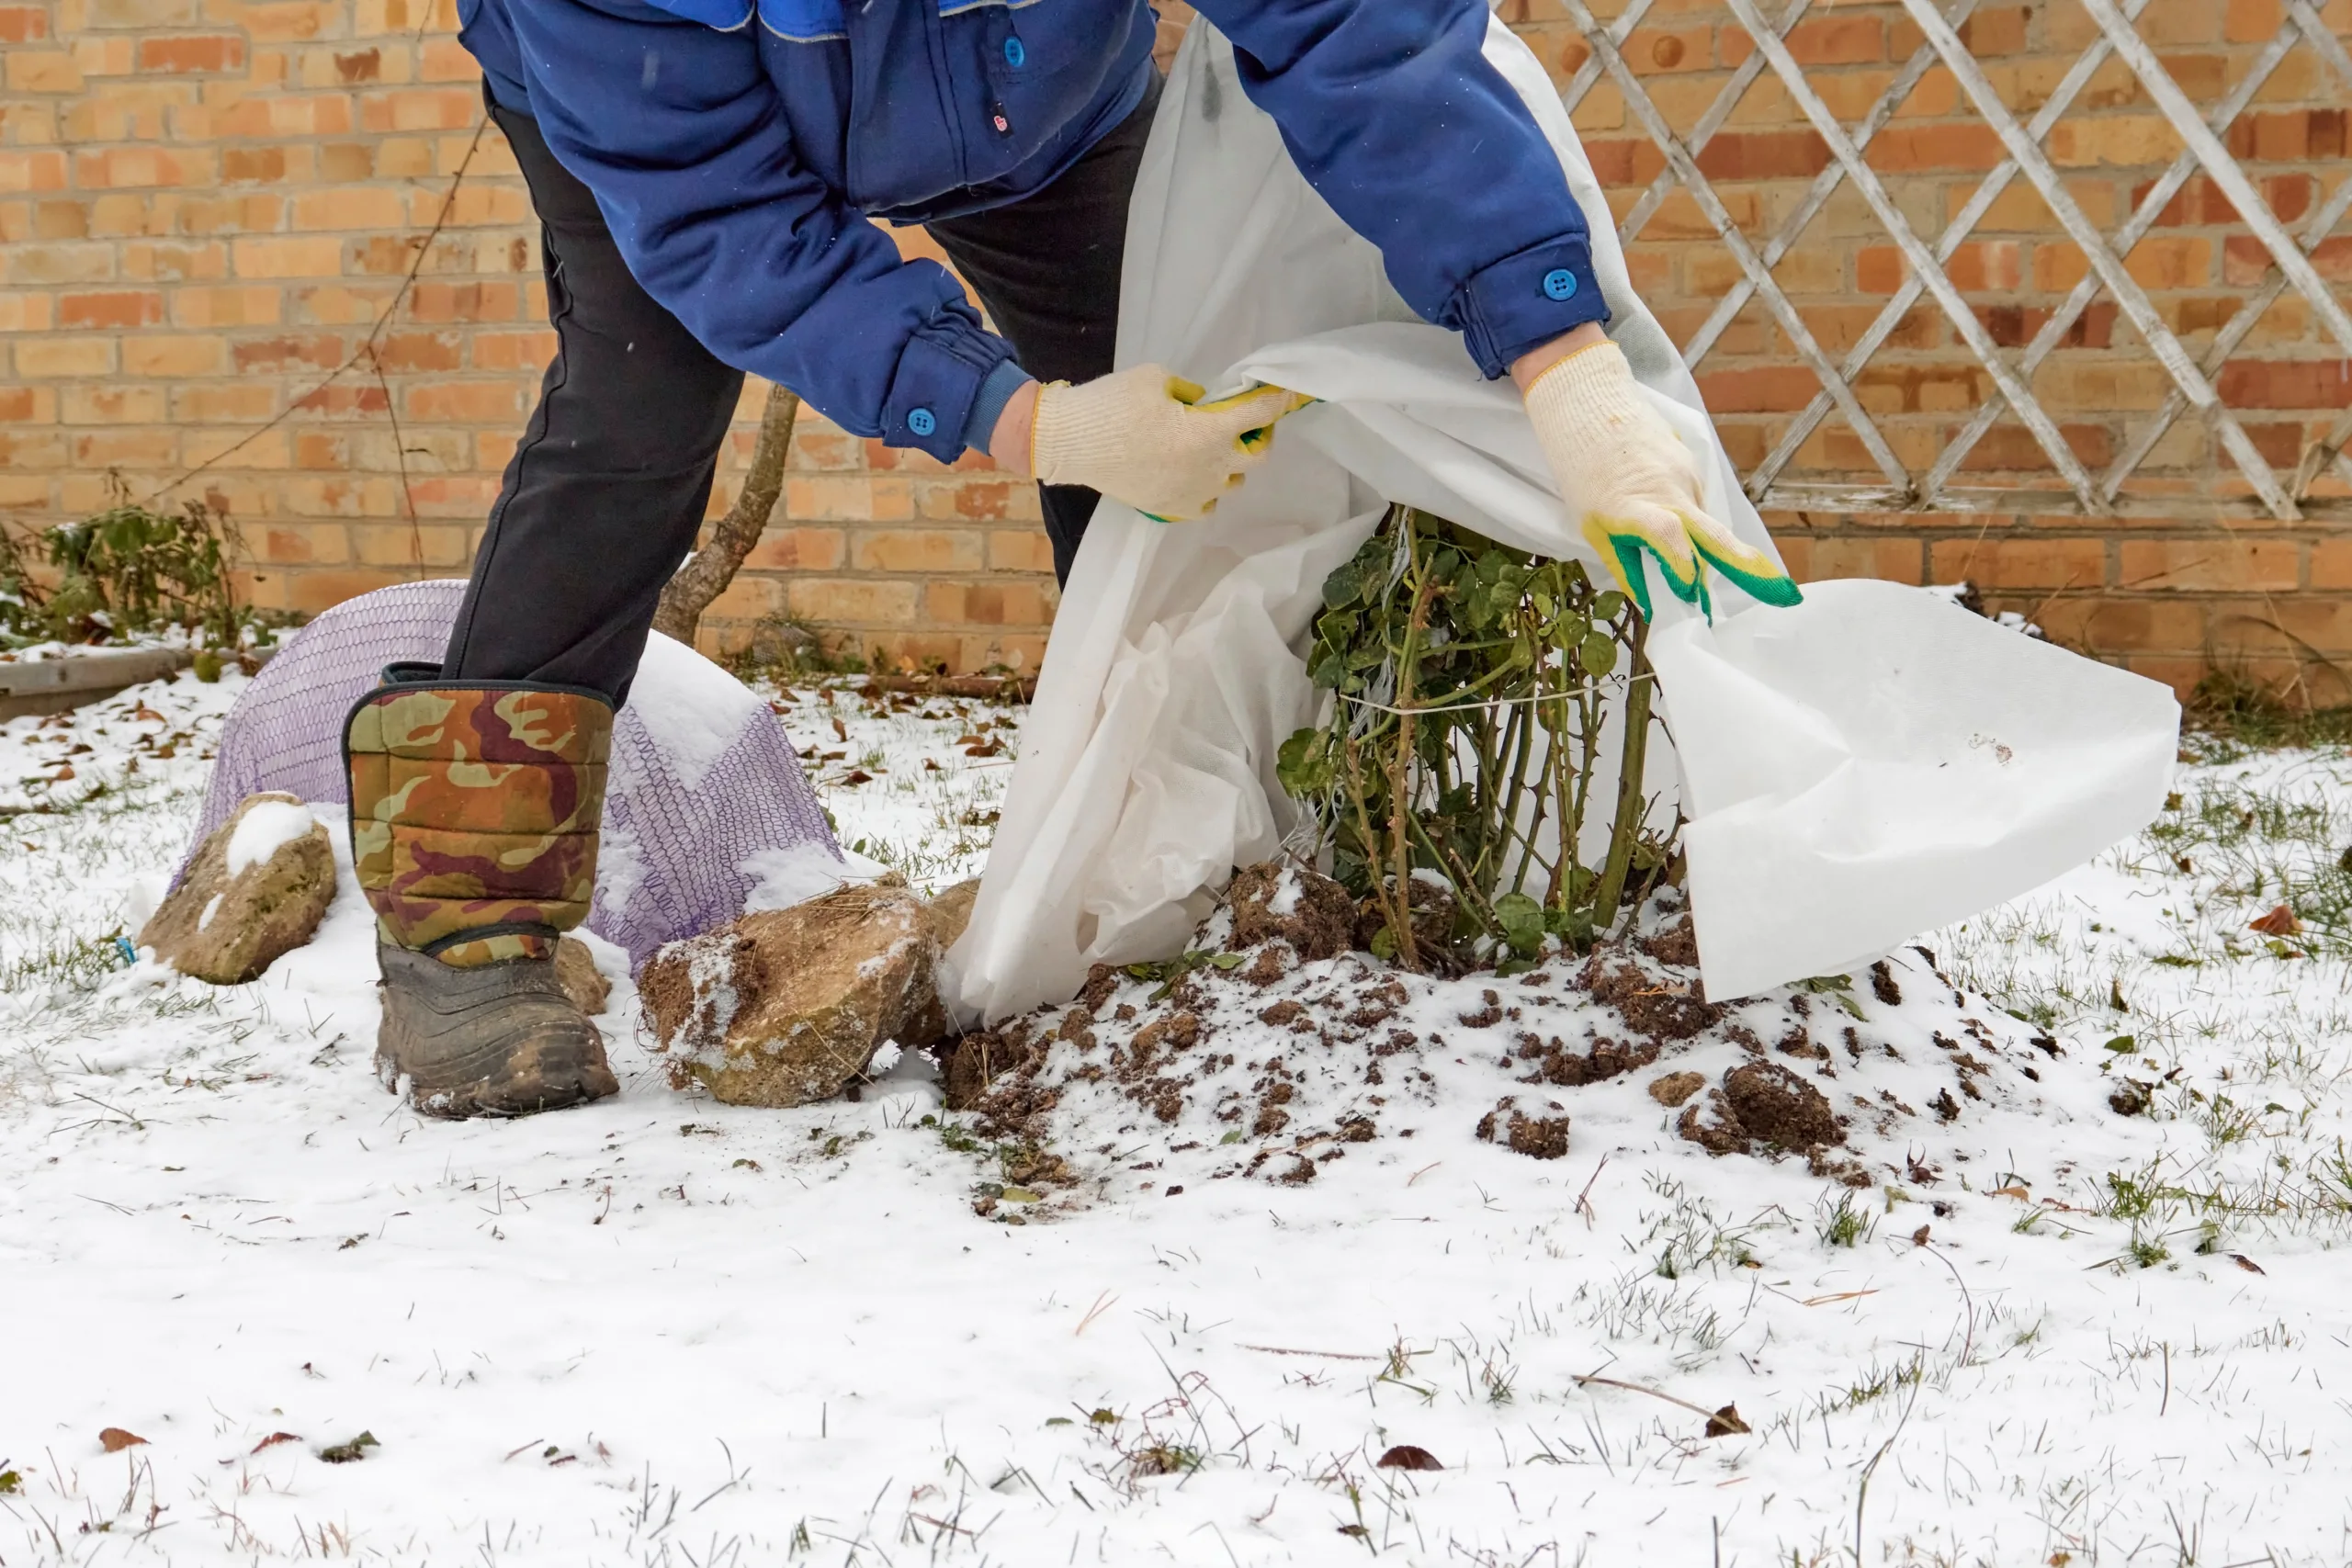
Some plants, especially newly planted ones, are more susceptible to frost and freezing temperatures. Protect them by covering them with burlap or frost cloth. Be sure to remove these covers during the day to allow for sunlight and air circulation. Most evergreen shrubs would also benefit from an application of Wilt Stop. This will reduce moisture loss during the winter months and protect plants from windburn.  


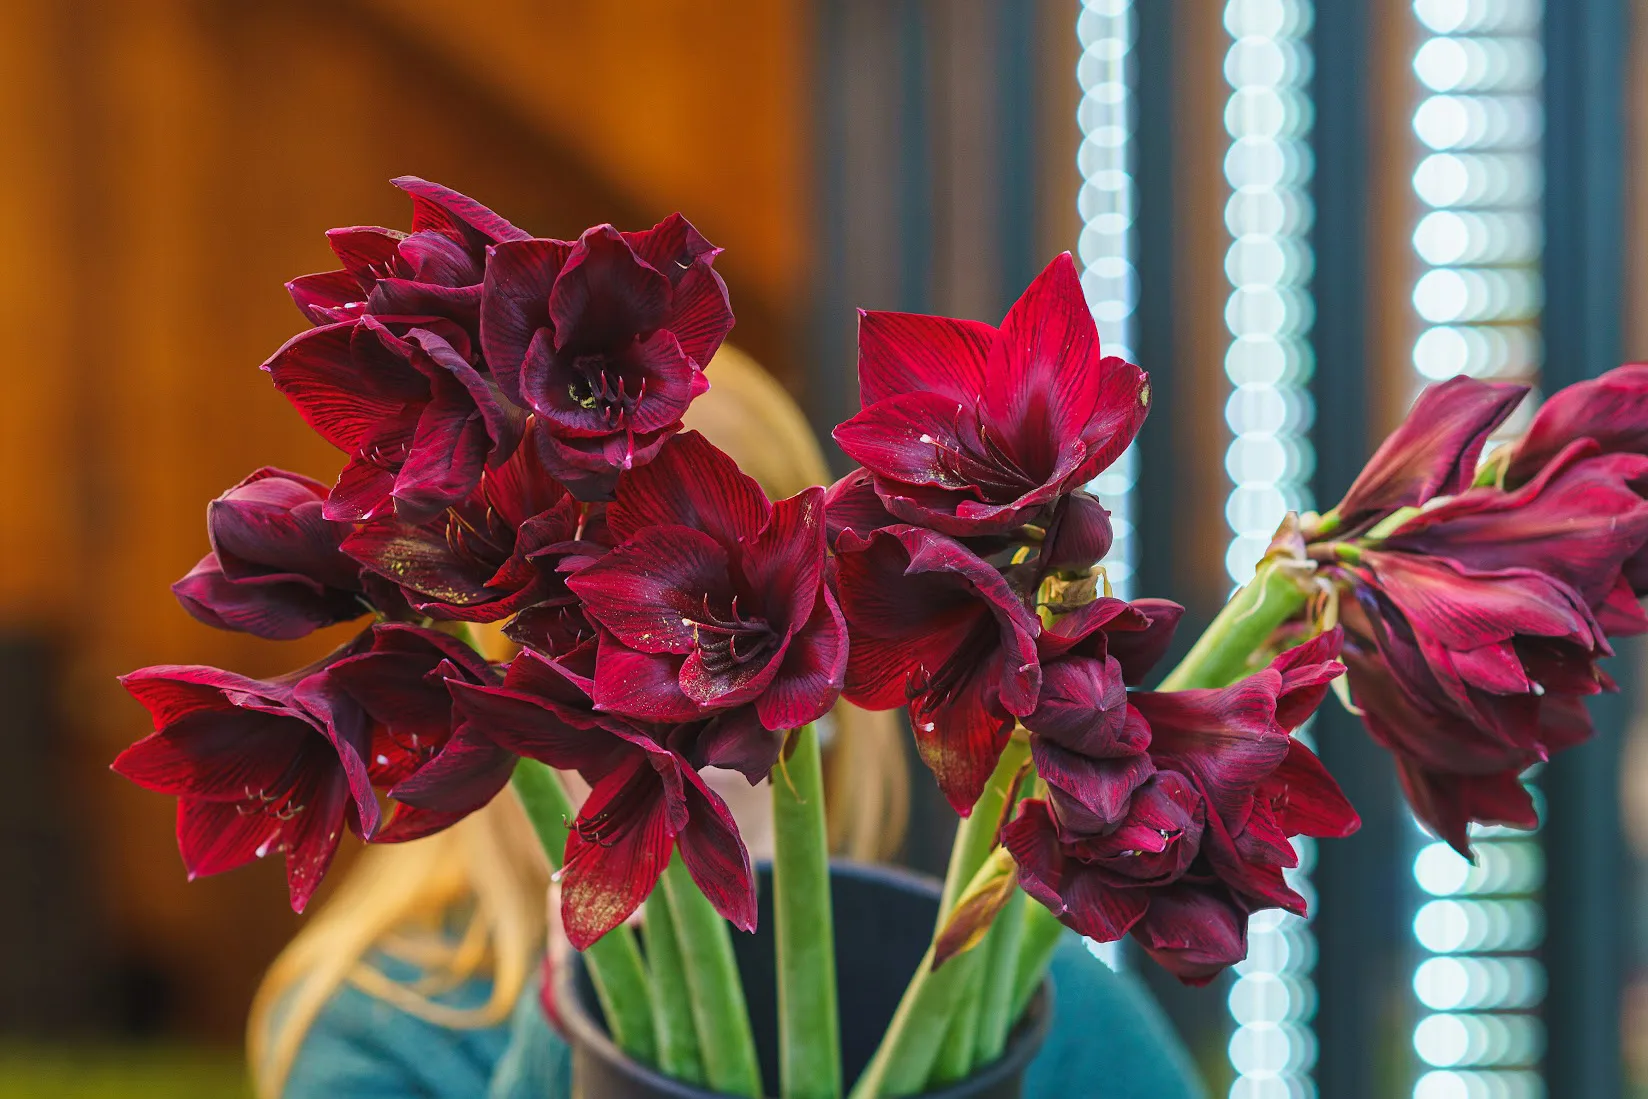
Bring Potted Plants Indoors

If you have potted plants that aren’t winter-hardy, bring them inside before the first frost. Place them in a sunny spot, and don’t forget to water them sparingly, as they won’t need as much moisture in the winter months. 


Clean and Store Tools

Before winter sets in, it’s a good idea to clean and store your gardening tools properly. Make sure they are free of dirt and moisture to prevent rust. This will ensure they’re ready to go when spring comes around. But if winter does get the best of your tools, you can find the tools to meet your needs here. 


Plan Ahead!

Winter is a wonderful time to reflect on the past season and plan for the next. Take note of what worked and what didn’t and sketch out any changes or new additions you want to make in your garden. This planning will help you hit the ground running when the snow melts. 


Need Help? Consult with our team of Landscape Design Pros!


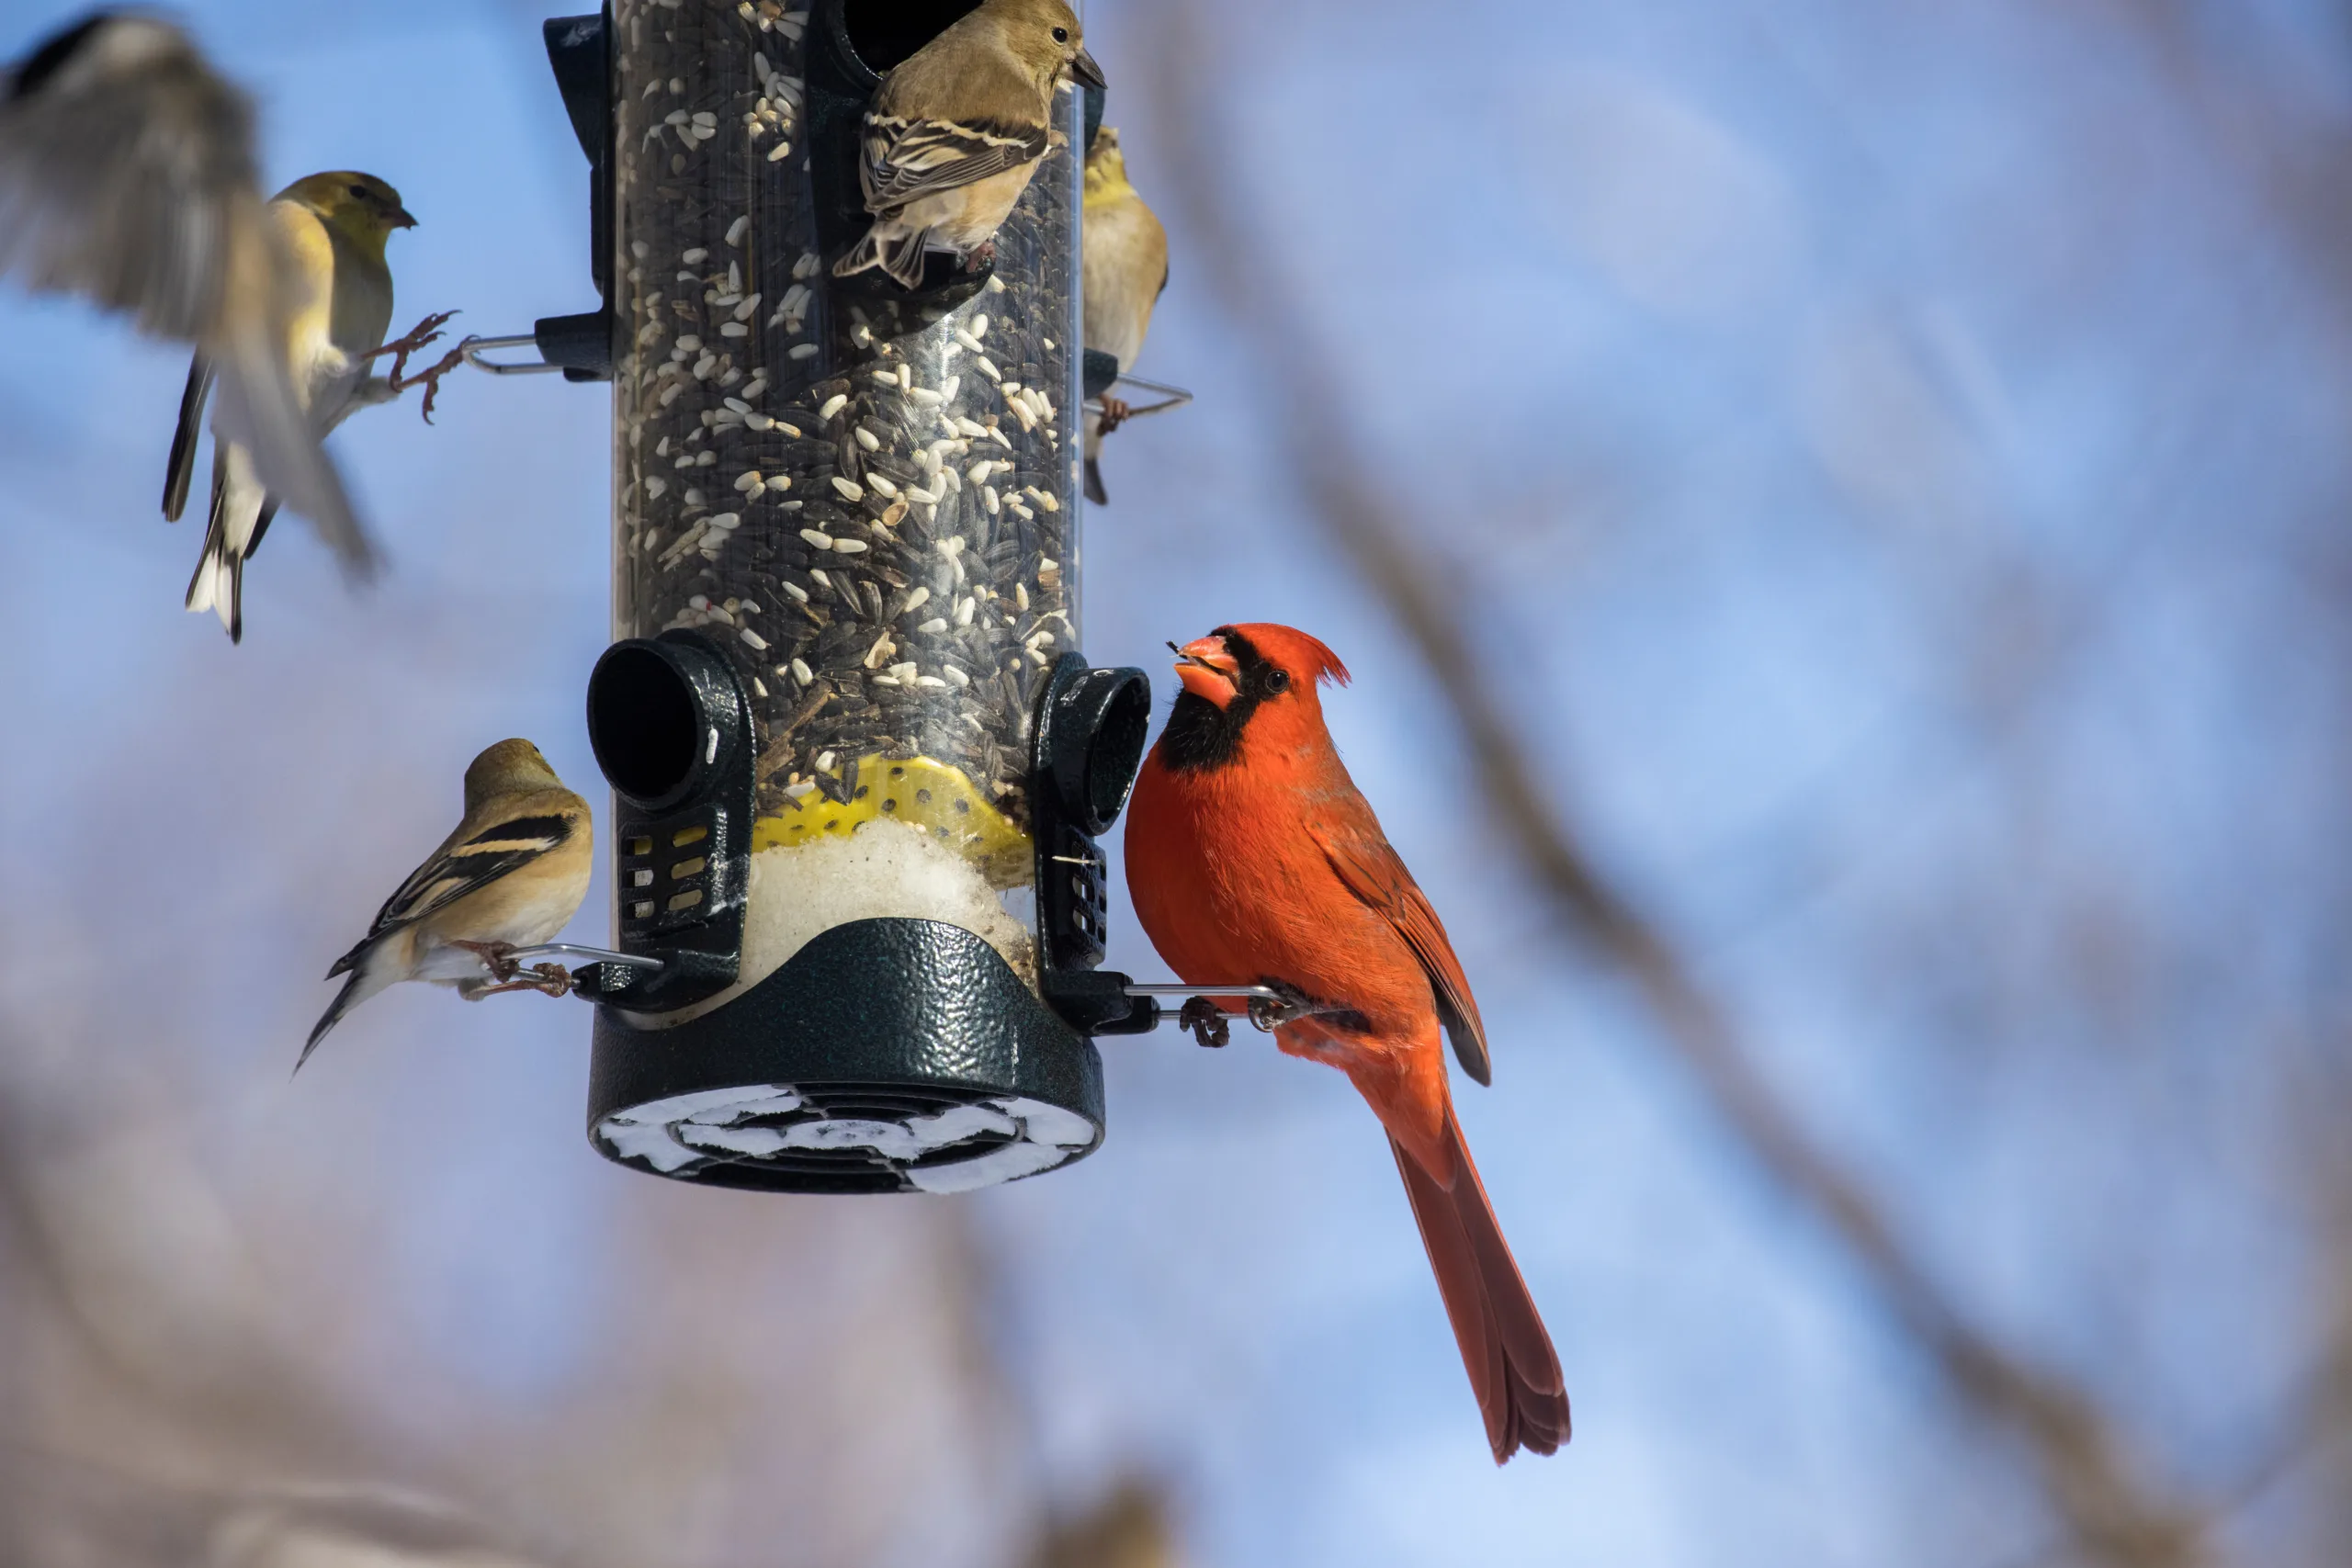
Bird Feeding Stations

Don’t forget about our feathered friends! Setting up bird feeding stations with birdseed and water will not only provide a food source for local wildlife but also add a touch of life and activity to your winter garden. Shop our favorite products here.


Enjoy The Beauty of Winter

Winters can be long and challenging, but they also have a unique beauty. Take some time to enjoy your garden’s winter aesthetics – the frost-kissed plants, the glistening snow, and the tranquility of a dormant landscape. Consider adding some outdoor seating or a fire pit to make your garden a cozy, winter retreat. 

In New England, a well-prepared garden can still bring joy and inspiration even during the coldest months. With a little TLC and some planning, your garden can emerge from winter stronger and more beautiful than ever. So, get out there, wrap up warmly, and let’s prepare our gardens for a wonderful New England winter! 


Embracing the Wild: The Case for Leaving Perennials Untouched This Fall

A dilemma arises as we reach the fall season and wonder how best to prep our gardens for next spring: to cut or not to cut back our beloved perennials? Well, today, we’re here to make a case for letting nature take its course and leaving those garden stalwarts standing tall. 

There’s a prevailing notion that a well-kept garden requires a meticulous fall cleanup, but we’d like to offer an alternative. Letting your perennials stand proud through the winter not only offers a unique aesthetic appeal but also nurtures the ecosystem in ways we might not have considered. 


A Buffet for Our Feathered Friends

By resisting the urge to trim back your perennials in the fall, you’re essentially setting up a bird-friendly buffet. Seed heads left on plants become a vital food source for our feathered friends during the colder months. Imagine the delight of watching a vibrant array of birds flocking to your garden for a snack! By leaving nature’s pantry intact, you’re contributing to the well-being of local bird populations. 


Mother Nature’s Insulation

When fall arrives, it’s tempting to tidy up the garden and clear away the remnants of summer growth. However, we encourage you to consider a new practice: leave the leaves. Leaving plant matter on the ground serves a crucial purpose – natural insulation. The fallen leaves and stems create a protective layer that shields the soil from harsh winter conditions. This insulation helps retain moisture, suppress weeds, and promotes a healthier, more resilient garden come spring. It also provides an important winter home for our native pollinators, keep reading to learn more! 


An Insect Haven

In the tangle of stems and seed heads lies a sanctuary for insects. Many beneficial insects, including native butterflies and bees, use the leftover plant material as shelter. This not only provides them with a cozy home during the winter but also ensures their presence when spring rolls around. It’s a win-win situation – a thriving insect population to improve your garden, all while supporting the delicate balance of the local ecosystem. Native pollinators use this protective covering until it warms up in New England, so to encourage native pollinator populations to thrive, it’s best to leave the leaves until we’re past the last frost date.  


But, we all have different aesthetic desires! If you’re choosing to go eco-friendly this year and have your perennials let their hair down, there is only one exception in which you’ll need to break out the pruners and give them a haircut, and that’s to rid them of any diseased, damaged, or dead bits and bobs.  Clean those up and make sure to dispose of the cuttings to keep your newly insulated soil and plants healthy and disease-free! 


A Note on Pruning

When it comes to pruning, precision is key. Use high-quality pruners like Felco or Corona and make sure they are clean and sharp to make clean cuts, preventing unnecessary stress on the plants. If you do want to cut back your perennials to achieve that clean winter style, here’s a quick how-to: 

Woody Perennials:

For woody perennials, the key is not to cut too close to the groundYou’ll want to trim off any tender stem, but no further down than that! 

Tender Perennials: 

For tender perennials, it’s all about listening to the plant, you can cut as low as you desire, but you just want to make sure you stop right above any new growth! Most perennials, however, can be cut almost all the way down to the ground.


Shop Our Garden Tools Here


We understand the concern. If you opt not to cut back your perennials in the fall, you might wonder about the impending spring chaos. Fear not! While you may not be doing the bulk of the pruning in the fall, a little tidying up in the spring will do wonders. Remove any dead or damaged growth, and your garden will quickly bounce back, rejuvenated, and ready for the growing season. 


Resist the temptation to shear your perennials into neat little bundles this fall. Embrace the beauty of nature’s chaos, and in doing so, you’ll be fostering a healthier ecosystem. From supplying nourishment for birds to creating cozy homes for beneficial insects, and even acting as a protective blanket for the soil – leaving your perennials untouched is a gift to both your garden and the environment. 


So, grab a cup of tea, sit back, and enjoy the untamed beauty of your fall garden. Your perennials will thank you, and so will the birds and insects that call your garden home. Happy gardening!


christmas tree in snow

Unlocking the Secrets to Choosing and Caring for Your Fresh Cut Christmas Tree


There’s nothing quite like the allure of a fresh-cut Christmas tree, infusing your home with festive cheer. To keep your tree looking its best throughout the season, understanding the distinctions between tree varieties and applying proper care techniques is essential. 


Conifer Choices for Christmas: Unraveling the Differences

Fraser Fir

Distinguished by its robust branches and stiff needles, the Fraser Fir is a top contender. Its needles, with a deep blue-green hue and silvery-blue undersides, are shorter and rounded (about 0.5 to 1 inch) while offering excellent needle retention. The needles spiral around each branch, providing a unique and resilient structure ideal for heavier ornaments.

Balsam Fir

Meanwhile, the Balsam Fir is known for its softer needles and flexibility compared to the Fraser. With needles sporting a dark green color and silver undersides, they are longer and flatter (ranging from about 0.75 to 1.25 inches) and emit a stronger fragrance. These needles grow in two rows along the sides of each branch, offering a different visual arrangement than the spiral pattern of the Fraser Fir. 

Cook Fir

A hybrid of the Fraser and Balsam varieties, the Cook Fir stands out as a classic choice for Christmas celebrations. Characterized by its sturdy branches and rich, deep green needles, this variety exudes a fragrance that encapsulates the essence of the holiday season. The needles, ranging from 1 to 1.5 inches in length, display a dense arrangement along the branches, creating a lush and full-bodied look. This fir variety offers excellent needle retention, ensuring that your tree remains vibrant throughout the festive season.

White Pine

White Pine is a graceful option for those seeking a softer touch in their holiday decor. The White Pine features long, slender needles that come in clusters of five, creating a feathery appearance. The needles showcase a bright green color and a gentle, flexible nature, making them easy to handle and arrange. One distinct advantage of the White Pine is its minimal production of pollen, making it an excellent choice for individuals with fir pollen allergies. This characteristic not only ensures a delightful aesthetic but also provides a welcoming option for those who want to revel in the beauty of a fresh-cut Christmas tree without the worry of triggering allergies.


Preservation Pro Tips for Prolonging Your Tree’s Lifespan

Understanding how to care for your fresh-cut tree is vital to maintain its vitality throughout the holiday season.  

  1. Reviving Freshness: As soon as you bring your tree home, give it a fresh cut of about 1-1.5 inches from the base to reopen its pores for rehydration and increased water absorption.
  2. Hydration Matters: Immediately place the tree in a stand filled with warm water, aiming to do so within four hours of cutting the base. Regularly check the water level, ensuring it never drops below the base to prevent the pores from sealing.
  1. Ideal Placement: Choose a location away from direct sunlight and heat sources to prevent accelerated drying, preserving the tree’s freshness.
  1. Special Care: Using Prolong Christmas Tree Preservative in your watering routine can significantly extend the tree’s life. Safe around children and pets, this solution assists in maintaining the tree’s vibrant appearance.


Extended Festivity: When cared for properly, your cut tree should last approximately three weeks in your home, radiating festive charm throughout the holiday season. 

Mahoney’s Garden Centers: Your Premier Destination for Christmas Trees in New England

Looking for the perfect tree? Mahoney’s Garden Centers offer an exceptional selection of fresh-cut Christmas trees. We take pride in providing the finest trees, ensuring that your holiday centerpiece is not only beautiful but also long-lasting. Visit us to discover the perfect tree and find Prolong Christmas Tree Preservative at checkout for an extended festive season. 


Click here for a printable guide:

Cut Christmas Tree Printable Care Guide


Winter scene with fresh pink amaryllis

Brighten Up Your Holiday Season with Majestic Amaryllis and Dazzling Paperwhites

As the chilly winds of autumn descend upon New England, the desire for vibrant blooms that bring a touch of warmth to our homes intensifies. Fortunately, nature has provided us with two perfect options that can transform our indoor spaces into floral havens – amaryllis and paperwhites. These enchanting bulbs are remarkably easy to cultivate and can be enjoyed during the festive season, adding a touch of elegance and fragrance to your Christmas décor. Keep in mind, amaryllis and paperwhite bulbs require 6-10 weeks to bloom, here is our handy guide to give you an idea of when to plant to enjoy beautiful blooms in the home!


Amaryllis: A Showstopper for Christmas


Sprouted amaryllis bulbs


Amaryllis, with its large, trumpet-shaped flowers, is a true spectacle to behold. Its bright colors, ranging from fiery reds to delicate whites and pinks, can instantly transform any room into a haven of holiday cheer. To cultivate these majestic blooms in your home, follow these simple steps:

1. Potting and Soil: Select a pot that is slightly larger than the bulb itself. Fill the pot with well-draining potting mix, ensuring the bulb is placed with its pointed end upwards. Fill the pot with soil until about two-thirds of the bulb is covered.

2. Watering and Light: Place your potted amaryllis in a warm, sunny spot within your home. Water the soil thoroughly until it is moist but not soggy. During the blooming stage, increase watering slightly. Avoid overwatering, as this can lead to bulb rot.


Paperwhites: Fragrant Delights for the Holidays


White paperwhite narcissus bulb flowers forced in winter


Paperwhites, with their delicate white flowers and sweet, citrusy fragrance, are a delightful addition to any Christmas décor. They are particularly well-suited for arrangements or vases, bringing a touch of elegance and scent to your home. Here’s how to cultivate these fragrant blooms:

1. Arrangement and Watering: Fill a vase with pebbles or marbles to about an inch from the top. Place the paperwhite bulbs on the pebbles, ensuring their pointed ends are facing upwards. Pour water into the vase until it just touches the bottom of the bulbs. Keep the water level consistent to prevent the bulbs from drying out.

2. Light and Temperature: Place your paperwhite arrangement near a sunny window, where it can receive bright, indirect light. Maintain a warm room temperature around 65-70°F to promote healthy growth.


Paperwhite bulbs in glass

Care Tips for Spectacular Blooms

  • Avoid direct sunlight: While amaryllis and paperwhites thrive in bright light, avoid placing them in direct sunlight, which can scorch their delicate leaves.
  • Maintain humidity: Mist the leaves of your amaryllis and paperwhites occasionally to increase humidity and prevent them from drying out.
  • Remove spent blooms: Once the amaryllis flowers have wilted, gently remove them to encourage the plant to focus on producing new bulbs.


Amaryllis flowers at The Florist at Mahoney’s

Gift-Giving Ideas

  • Host Gifts: Amaryllis and paperwhites make thoughtful and appreciated host gifts for the holiday season. Present them in decorative pots or arrangements, accompanied with a ribbon or handwritten note.
  • DIY Arrangements: Create personalized centerpieces or table decorations using amaryllis and paperwhites. Combine them with other festive greenery or flowers for a unique touch.
  • Gift Baskets: Fill gift baskets with amaryllis bulbs, paperwhites, gardening accessories, or seasonal treats for a thoughtful gift.


The Best Time to Start: Early November is the best time to start amaryllis and paperwhite bulbs if you want them to bloom in time for Christmas. This will give them enough time to develop roots and grow strong stems before the holiday season arrives.

Embrace the magic of indoor gardening this holiday season and bring the brilliance of amaryllis and paperwhites into your home. With their vibrant colors, intoxicating fragrances, and ease of care, these remarkable bulbs are sure to transform your Christmas décor into a heartwarming spectacle. Remember to visit Mahoney’s Garden Centers for an exceptional selection of bulbs and enjoy the satisfaction of nurturing these enchanting blooms into magnificent displays of holiday cheer.


Green Giants of New England: Caring for Arborvitae and Western Red Cedar

If you’re looking to add some green charm to your New England garden, Arborvitae and Western Red Cedar is a great choice! These evergreen trees and shrubs not only add year-round beauty but also privacy and character to your landscape. In this guide, we’ll explore everything you need to know about caring for these popular plants in New England.


Choosing the Right Variety

Before you dive into planting Arborvitae or Western Red Cedar, it’s essential to choose the right variety that suits your landscape and environmental conditions. Consider factors like light requirements, mature size, foliage color, and growth rate.

For Full Sun to Light Shade: American Arborvitae (Thuja occidentalis)

  • Emerald Green (‘Smaragd’)
  • Dark American (‘Nigra’)
  • Degroot’s Spire
  • American Pillar
  • Golden Globe

For Full Sun to Shade: Western Red Cedar (Thuja plicata)

  • Green Giant
  • Steeplechase
  • Whipcord
  • Forever Goldy


Western Red Cedars at Mahoney’s in Winchester

Planting Tips

Follow these guidelines for successful Arborvitae and Western Red Cedar transplantation:

Soil Requirements: Ensure your soil drains well. Amend heavy clay soils with organic matter and gypsum. These plants have broad root systems, so dig a hole at least twice as wide as the root ball to encourage root spread.

Care in the First Two Years: Pay special attention during the first two years after planting. Adequate watering, especially during dry spells, is critical.
Fertilizing: Apply all-purpose slow-release fertilizer in early spring before new growth fully emerges. Fall fertilizing at half the spring amount helps establish healthy root systems.

Pruning: Arborvitae typically don’t require much pruning, but if needed, shear the outermost growth in late spring to shape or manage size. Start early to avoid overgrowth.


For a handy, printable version of this information, check out our Arborvitae and Western Red Cedar care guide!


Printable Care Guide


Common Problems and Solutions

Heat Stress: Hot, dry weather can induce heat stress and invite spider mite infestations. Ensure regular, deep watering to boost plant vigor and natural defenses.

Bagworm Moths: While not typically destructive, bagworms can cause unsightly defoliation. Hand removal is often sufficient or use organic pesticides like Neem Oil for larger infestations.

Deer Damage: In areas with high deer populations, consider planting Western Red Cedar (Thuja plicata) as it’s less favored by deer compared to Eastern Arborvitae (Thuja occidentalis).


Seasonal Needle Drop

Don’t panic if your Arborvitae turns brown inside during fall; it’s a natural process called seasonal needle drop. Fresh growth in spring will fill in any gaps left by this process.


Fall Watering

Keep your Arborvitae and other evergreens well-hydrated in autumn, as it prepares them for the harsh winter conditions common in New England. Water regularly from September through early December to reduce winter stress. For more information on establishment watering for newly planted trees, see our printable Planting Guide. 


Varieties

Here are some popular Arborvitae cultivars carried at Mahoney’s Garden Centers:

American Arborvitae (Thuja occidentalis)

  • Emerald Green ‘Smaragd’
  • Dark American ‘Nigra’
  • Degroot’s Spire
  • American Pillar
  • Golden Globe

Western Red Cedar (Thuja plicata)

  • Green Giant
  • Steeplechase
  • Whipcord
  • Forever Goldy


Please note that actual plant characteristics may vary depending on soil, sunlight, and water conditions.


Incorporating Arborvitae and Western Red Cedar into your New England or Boston garden can be a delightful addition, providing year-round beauty, privacy, and resilience. These versatile plants, with proper care and maintenance, will thrive in your outdoor space, enhancing its charm for years to come.


Shop a wide selection of Arborvitae and Wester Red Cedar in-store and select varieties online.

Shop Online


Planting Bulbs in the Fall for a Vibrant New England Spring

As the leaves begin to change colors and the air turns crisp, it’s time to think ahead to the next gardening season. Fall is the perfect time to start planning for a vibrant spring garden in New England. One of the most satisfying ways to usher in the beauty of spring is by planting bulbs such as daffodils, crocuses, and tulips. In this guide, we’ll take you through the steps to ensure your spring garden is a colorful and deer-resistant masterpiece.

Step 1: Selecting Your Bulbs

Visit us in early fall for a stunning array of bulbs for your garden. This is when you’ll find the widest variety and freshest selection. Look for daffodils, crocuses, tulips and more in various colors and sizes to create a visually stunning display.


Step 2: Preparing the Soil

Before planting, take the time to prepare your soil. Bulbs thrive in well-draining soil that is rich in organic matter. Add compost to your garden bed and work it into the soil to create a loose, nutrient-rich environment for your bulbs. This preparation will make it easier for you to plant and ensure your bulbs receive the nutrients they need.

Step 3: Timing is Crucial

While it’s tempting to start planting bulbs immediately, try to exercise a little patience. Wait until late autumn (after the first frost) when rodents are hibernating and the soil has cooled down a bit. This will help protect your freshly planted bulbs from becoming a tasty snack for underground critters.

Step 4: Planting Your Bulbs

Now, it’s time to get your hands dirty. You can either dig individual holes for each blub or dig a larger hole for a mass planting and thrilling spring show! In general, plant daffodils and tulips at a depth of 6 to 8 inches, while crocuses should be planted at around 3 to 4 inches deep. Watch Luc’s tips below for creating a stunning display using a mass planting technique!

Step 5: Fertilize with Espoma Bulb Tone

To give your bulbs a strong start, apply Espoma Bulb Tone when planting. This organic fertilizer is specifically formulated for bulbs and provides essential nutrients to promote healthy growth and vibrant blooms in the spring.

Step 6: Deer and Rabbit Resistance

One of the benefits of planting daffodils is that they are unpalatable to deer and rabbits due to their toxic compounds. To protect your tulips from these garden visitors, consider planting daffodils and tulips together. The presence of daffodils will deter animals from munching on your tulips, ensuring a colorful display come spring.


Step 7: Extend Your Spring Joy

One of the joys of planting a combination of bulbs like crocuses, daffodils, and tulips is the extended bloom time. Crocuses are often the first to emerge, followed by the cheerful daffodils, and finally, the elegant tulips. This sequential flowering will keep your garden in bloom for several weeks, providing continuous beauty and enjoyment.

Step 8: Protecting Against Rabbits in Early Spring

As the snow melts and spring arrives, hungry rabbits may be on the lookout for tender green shoots emerging from your bulbs. To prevent them from nibbling on your plants, use a rabbit repellent like Rabbit Scram. Applying this product around the garden area in early spring will help deter rabbits and protect your emerging foliage.

Planting bulbs in the fall for a stunning spring display in New England is a rewarding endeavor for any gardener. By selecting the right bulbs, timing your planting correctly, and taking steps to protect against rodents and hungry animals, you can ensure a colorful and vibrant garden come spring. So, get out there, prepare your soil, and start planning your bulb garden now for a spectacular spring season ahead!


Crisp Air, Vibrant Lawns: Fall Seeding in New England Explained

Fall in New England is a wonderful time to seed your lawn for lush green come spring. This time of year provides the ideal combination of cool air and warm soil, creating the perfect conditions for new grass to develop healthy roots before winter. Whether you’re refreshing your existing lawn or starting anew, this comprehensive guide will walk you through the process step by step, for the lushest lawn in New England!

Step 1: Assess Your Seeding Needs

Before you begin, it’s essential to determine whether you’re overseeding to fill in sparse areas or embarking on a new seeding project. This initial decision will dictate the amount of seed you require.

Step 2: Measure Your Lawn Area

Take a leisurely stroll through your lawn, measuring its dimensions (length x width) to calculate the square footage accurately. This vital step will help you determine the quantity of seed and other necessary materials.

Step 3: Understand Your Lawn’s Light

Consider the lighting conditions in your yard, keeping in mind that they might have changed from the sun-soaked summer months. It’s crucial to understand how many hours of sunlight your lawn receives each day during the summertime when your trees are leafy. This knowledge will inform your choice of grass type.


Step 4: Prepare the Ground

Prepare your canvas by thoroughly cleaning the designated area. Remove any rocks, leaves, or debris. Also, keep an eye out for low spots that may require additional soil to create a level surface. For small areas, Mahoney’s Top Soil is an excellent choice, while larger areas may benefit from bulk loam. Don’t forget to compact the newly added soil with a roller or by lightly stepping down on it. This will prevent runoff during watering.

Step 5: Choose Your Grass Type

Select the type of grass that suits your lawn’s needs and your personal preferences. You can opt for a mix of varieties or individual grass types, such as Tall Fescue, Rye Grass, or Bluegrass, each with its unique characteristics and growth patterns. Click here to see our grass seed varieties and choose one that’s right for the light and traffic your lawn will be getting.


Step 6: Starter Fertilizer

Unless you’ve applied fall fertilizer within the past four weeks, it’s advisable to use a starter fertilizer. Look for a product with a higher middle number in the nutrient range (Nitrogen, Phosphorus, Potassium). The middle number represents phosphorus, which is important for healthy root development. Jonathan Green’s 12-18-8 is an excellent choice for both new seeding and overseeding. Apply it uniformly across your entire lawn area, avoiding separate applications.

Step 7: Determine Seeding Rates

The amount of seed you need depends on your seeding goals. For overseeding, aim for 1-3 pounds of seed per 1000 square feet, while new seeding typically requires 3-5 pounds per 1000 square feet. To achieve a thicker and more lush lawn, consider reapplying seed 14 days after the initial seeding to fill in any gaps.

Step 8: Tools of the Trade

Ensure an even seed distribution by using a push spreader or hand spreader. Avoid broadcasting seed by hand, which can result in uneven germination and waste.

Step 9: Cozy Cover for Cooler Nights

In cooler temperatures, consider using weed-free straw, compost, or salt marsh hay. These materials will provide insulation and protection to your seeds, promoting ideal germination conditions.


Step 10: Master the Art of Watering

Your freshly seeded lawn needs about 2 inches of water per week. A rain gauge can help you determine the time needed to achieve this, allowing you to schedule watering effectively. For optimal results, water deeply and in the morning, as evening watering can encourage pathogens and fungus.

Remember, patience is your greatest ally, and the reward will be a vibrant, green lawn that you can cherish in the seasons to come.

Happy seeding! May your lawn thrive and impress!


Patriotic Plants: The Mighty Oak

July 4th is upon us – the day we celebrate the birth of our nation. Looking back to 1776, trees and the lumber they provided were a critical natural resource, providing the raw material for shipbuilding. While modes of transportation have changed in the 247 years since our independence was declared, trees are still an important symbol of our nation’s strength and identity.  

Their ongoing importance was recognized in 2004 when Congress passed legislation designating the Oak as America’s National Tree. The Oak was selected by a vote hosted by the National Arbor Day Foundation, in which Americans of all ages and from all walks of life chose the Oak over 20 other varieties of tree to be our national symbol.  

There are more than 90 species of Quercus, the Latin name for Oak, growing in the United States. They have been an important part of our national history and folklore. Did you know that the USS Constitution took its nickname “Old Ironsides” from the strength of its oak hull? 

Today, oaks are recognized as playing a crucial role in the ecosystems of our world:  

  • Oaks lead the list of trees in providing food for insects, birds and other animals.  
  • They support almost 900 caterpillar species across the US, far more than the number supported by any other genus.  
  • Birds forage longer in oaks because those caterpillars provide high value food, especially for baby birds.  
  • Animals such as squirrels and Blue Jays find acorns a rich source of protein, fat, and carbohydrates. 
  • Leaf litter provides habitat for many beneficial organisms, supporting a diversity and abundance of life. 
  • An oak’s canopy and root system are important in water filtration, helping rain percolate instead of running off, and purifying it in the process.
  • Oak trees sequester carbon.


So many reasons to celebrate our national tree on our nation’s birthday! 


Blossoming Beauty: Exploring the Enchanting Trio of Hibiscus Varieties

In tropical climates any hibiscus can go right in the ground and turn into huge trees and shrubs that bloom more or less year-round. Here in New England, we enjoy a more modest tropical display, in both size and season. But even here in Massachusetts, the world of hibiscus is fascinating and worth a deeper look.


In the Bay State it’s important to know what kind of Hibiscus you’re getting and how you can expect it to behave. For our purposes, there are three types to consider: Tropical Hibiscus, Rose of Sharon, and Perennial Hibiscus.


Tropical Hibiscus

Tropical Hibiscus (Hibiscus rosa-sinensis) can be found in our greenhouse, or among the annuals during the warm months. This type of Hibiscus is hardy in USDA growing zones 10 and 11 (think Central Florida and further south from there). Here in zone 6, we can enjoy tropical Hibiscus outdoors through late spring and summer but they will not survive our winters and should be considered an annual plant. If you have a lot of sun in your home you could also consider it a houseplant and you can enjoy its gorgeous blossoms year-round!


There are thousands of cultivars of tropical hibiscus available today. A few notables include Red Hot Tropical Hibiscus, Chinese Lantern, Mahoe, and Fiji Island in addition to the traditional red varieties. In the Middle East and Africa, a popular drink called karkade is made from the dried flowers of red hibiscus. It can be drunk cold or hot and is said to have numerous health benefits and it is used to soothe ailments such as colds, high blood pressure, intestinal, circulatory, and skin disorders and more.


Tropical Hibiscus

Rose of Sharon Hibiscus

Rose of Sharon (Hibiscus syriacus) is a deciduous shrub hardy in USDA growing zones 5 through 9, good news, zone 6, we’re in! It will lose its leaves in the winter and put out new growth in spring. Very little pruning is required as these shrubs maintain an upright growth pattern.


These hardy shrubs bloom late into the season when little else is in bloom. They are low-maintenance and easy to grow and come in many forms including dwarf, columnar, upright, and tree form, and flowers can be single, double, or semi-double. You’ll find them in exciting and unexpected colors including reds, pinks, purples that are almost blue and even multicolor blooms. They are heat, drought, and salt tolerant (perfect for the Cape), deer resistant and a favorite of butterflies and hummingbirds!


Perennial Hibiscus

Perennial Hibiscus (Hibiscus moscheutos) is a fun one. Hardy in USDA zones 4 through 9 this hibiscus will lose all its leaves in the winter and resemble dead sticks come spring. Leave those sticks there through the winter months then, in the spring cut them all the way back, almost to the ground. Late May, early June you’ll start to see new growth come up from the ground and boy does it come up fast! Enjoy gorgeous blooms the size of your face all summer long!


Perennial Hibiscus