May 18, 2026
May 18, 2026
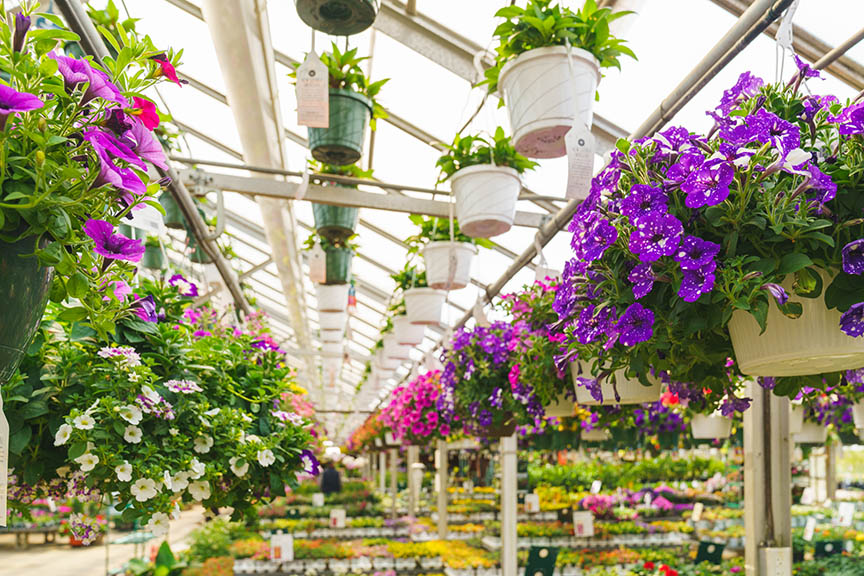
March 16, 2026
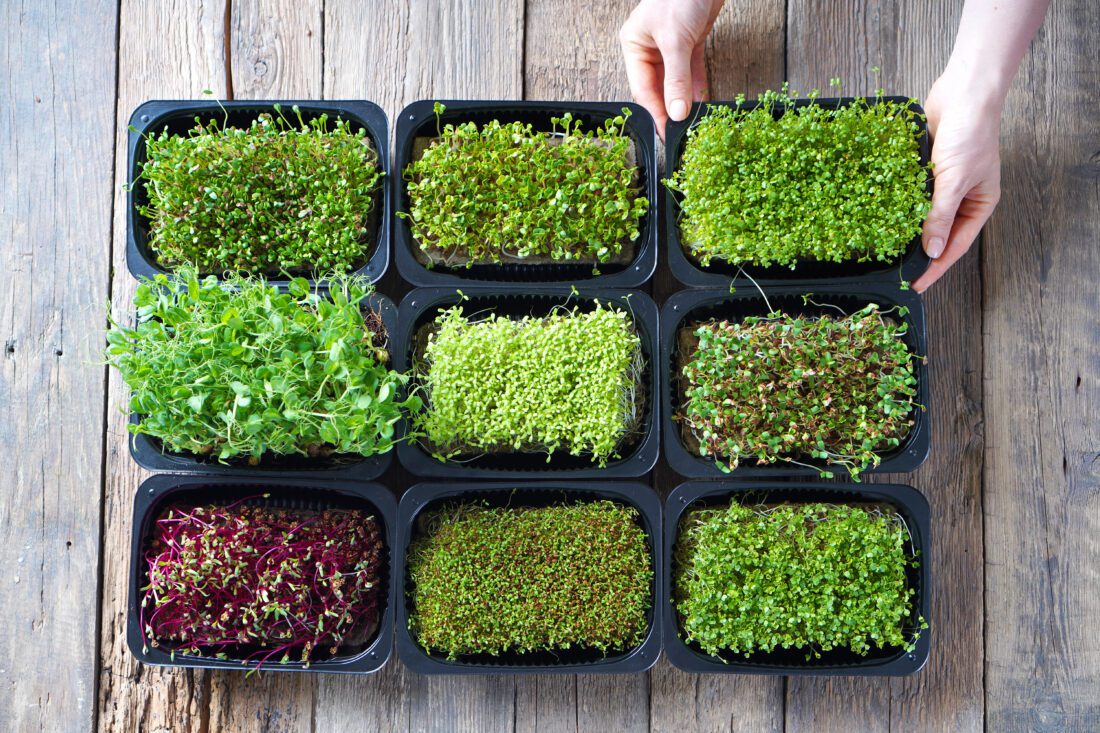
If you’re looking for a simple, satisfying way to grow fresh food at home, microgreens are a fantastic place to start. These tiny, nutrient-packed greens grow quickly, require very little space, and can be ready to harvest in as little…

January 26, 2026
If you love plants but want something a little different, air plants might be your perfect match. These fascinating plants are low-maintenance, endlessly decorative, and don’t require soil to grow. Whether you’re short on space, new to houseplants, or just…

October 1, 2025
Family-Friendly and Frightful Fun from September 26 – October 26 A Greater Boston Halloween tradition is back! The Haunted Maze at Mahoney’s Garden Center in Winchester opens on Friday, September 26, 2025 and will run daily through Sunday, October 26,…
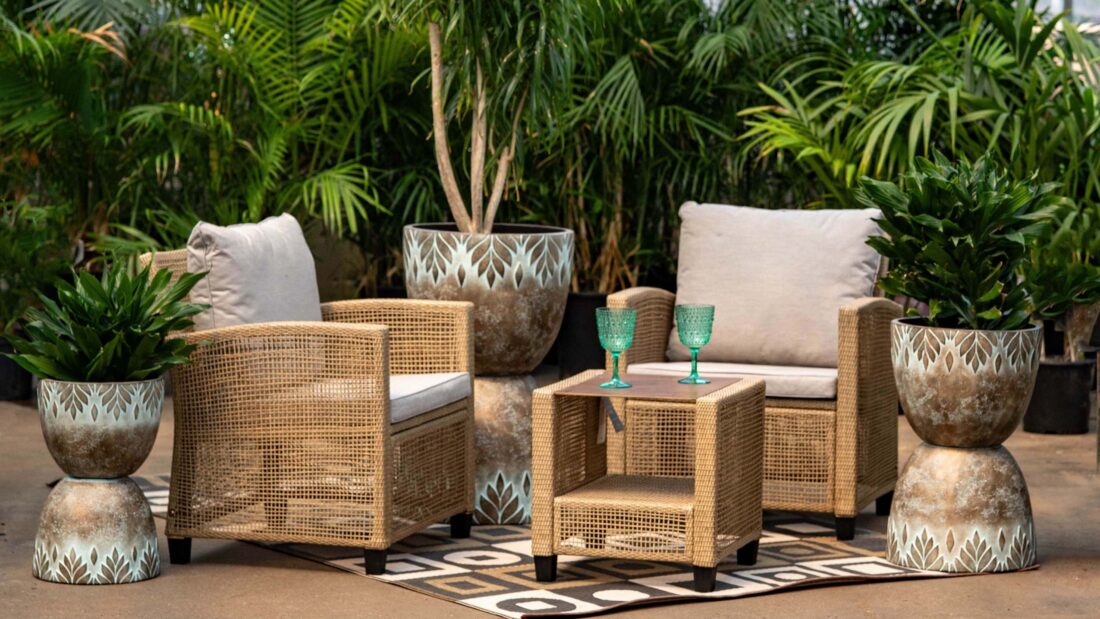
May 18, 2025
Your patio should be more than just a collection of furniture—it should be an extension of your home, a place where you can relax, entertain, and enjoy the outdoors in comfort. With the right furniture, cushions, rugs, and décor,…

March 3, 2025
If you’ve ever browsed a garden center, you’ve probably noticed the warm, earthy tones of terracotta pots. Classic, natural, and timeless, terracotta has been a go-to choice for gardeners for centuries. But beyond their good looks, terracotta pots offer several…
November 22, 2024
Mahoney’s is proud to be a sponsor of the KidsGardening Garden Youth Grant Program, an initiative that aligns with our mission to create opportunities for kids to play, learn, and grow through gardening. Check out some of the activities below to…
August 6, 2024
Attention Massachusetts shoppers! The much-anticipated Massachusetts Tax-Free Weekend is just around the corner, and there’s no better place to take advantage of this fantastic opportunity than at Mahoney’s Garden Centers. This weekend, August 9th and 10th, enjoy tax-free shopping on…
September 26, 2023
Fall seeding in New England is the perfect way to ensure a lush, green lawn come spring. This time of year provides the ideal combination of cool air and warm soil, creating the perfect conditions for new grass to develop…