Uncle Mike’s Guide to Tomato Patio Gardening
There’s nothing like harvesting your own fresh tomatoes! Even if you don’t have a lot of space, you can still enjoy this delicious summer staple by growing tomatoes in containers.
Important tips for your patio tomato garden:
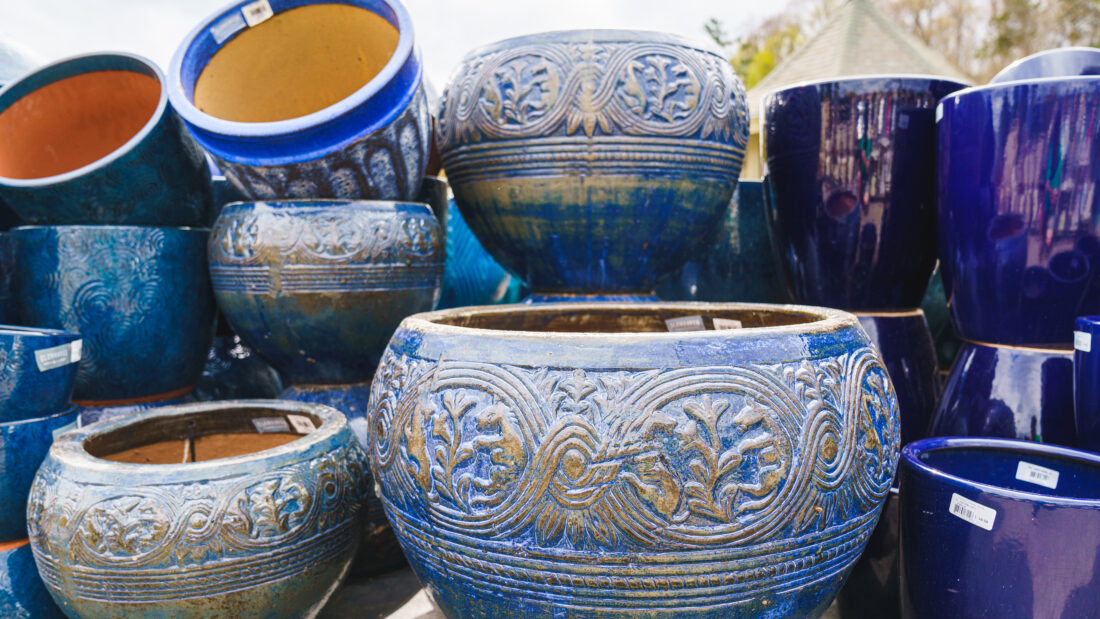
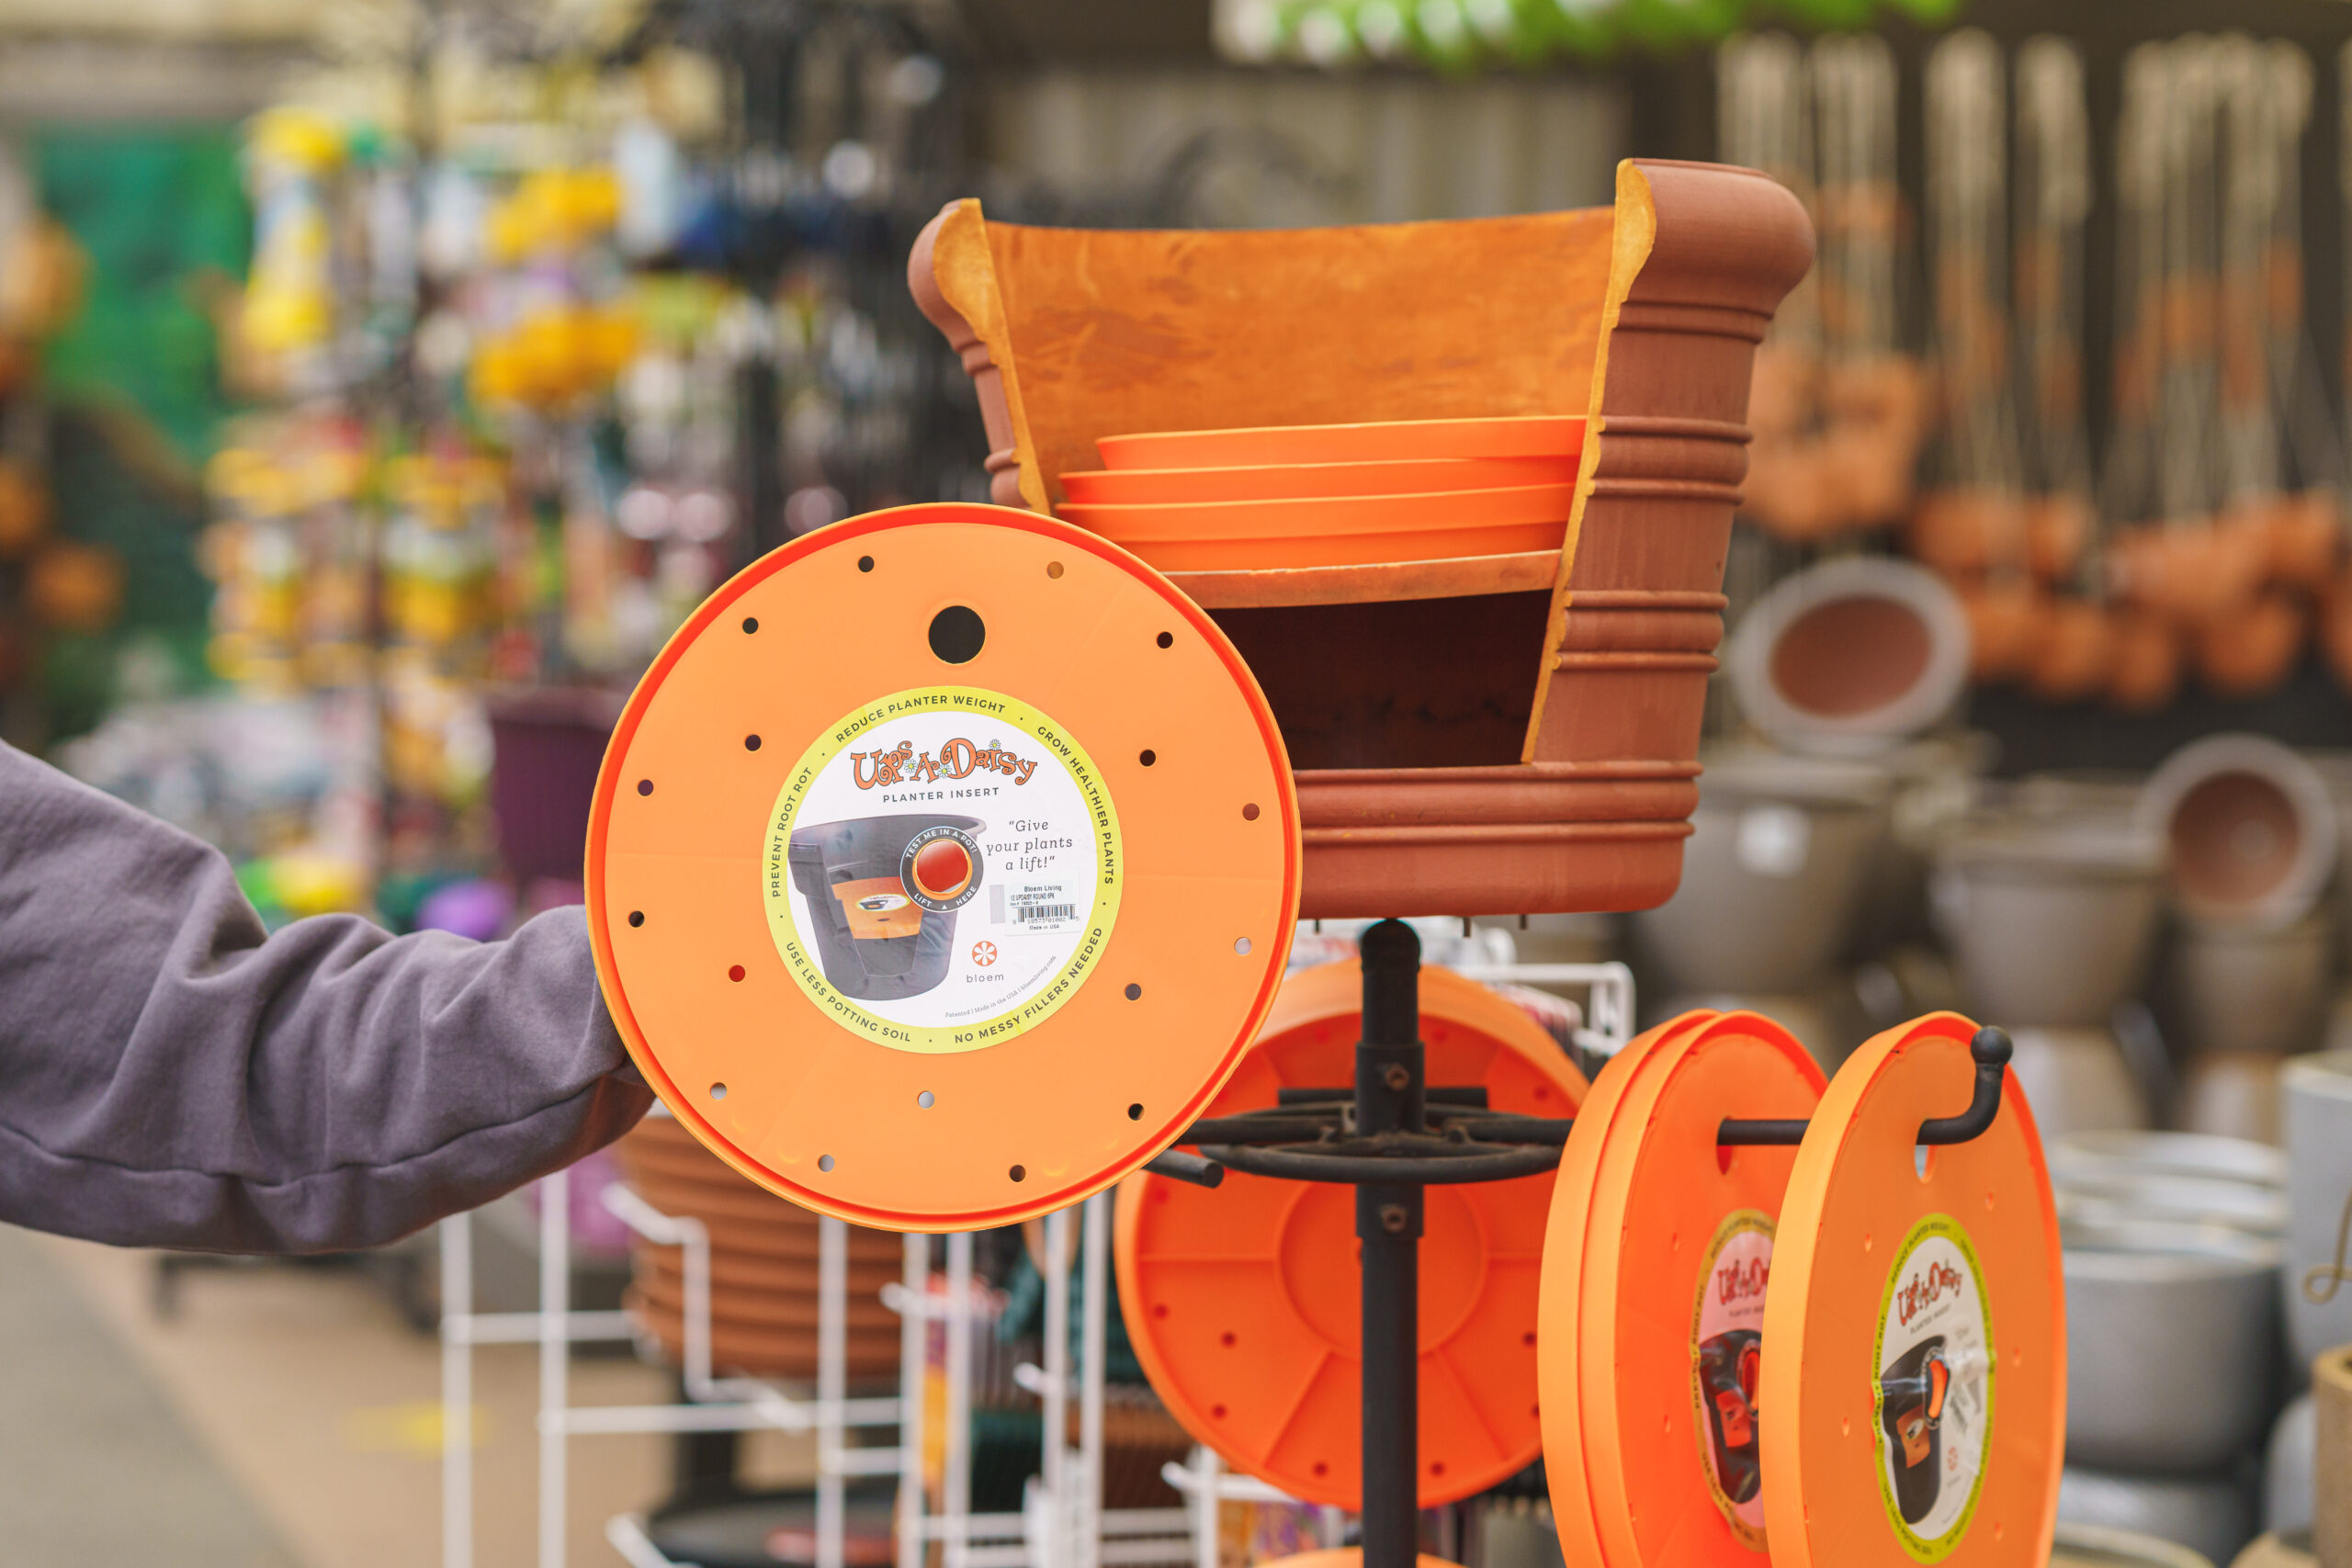
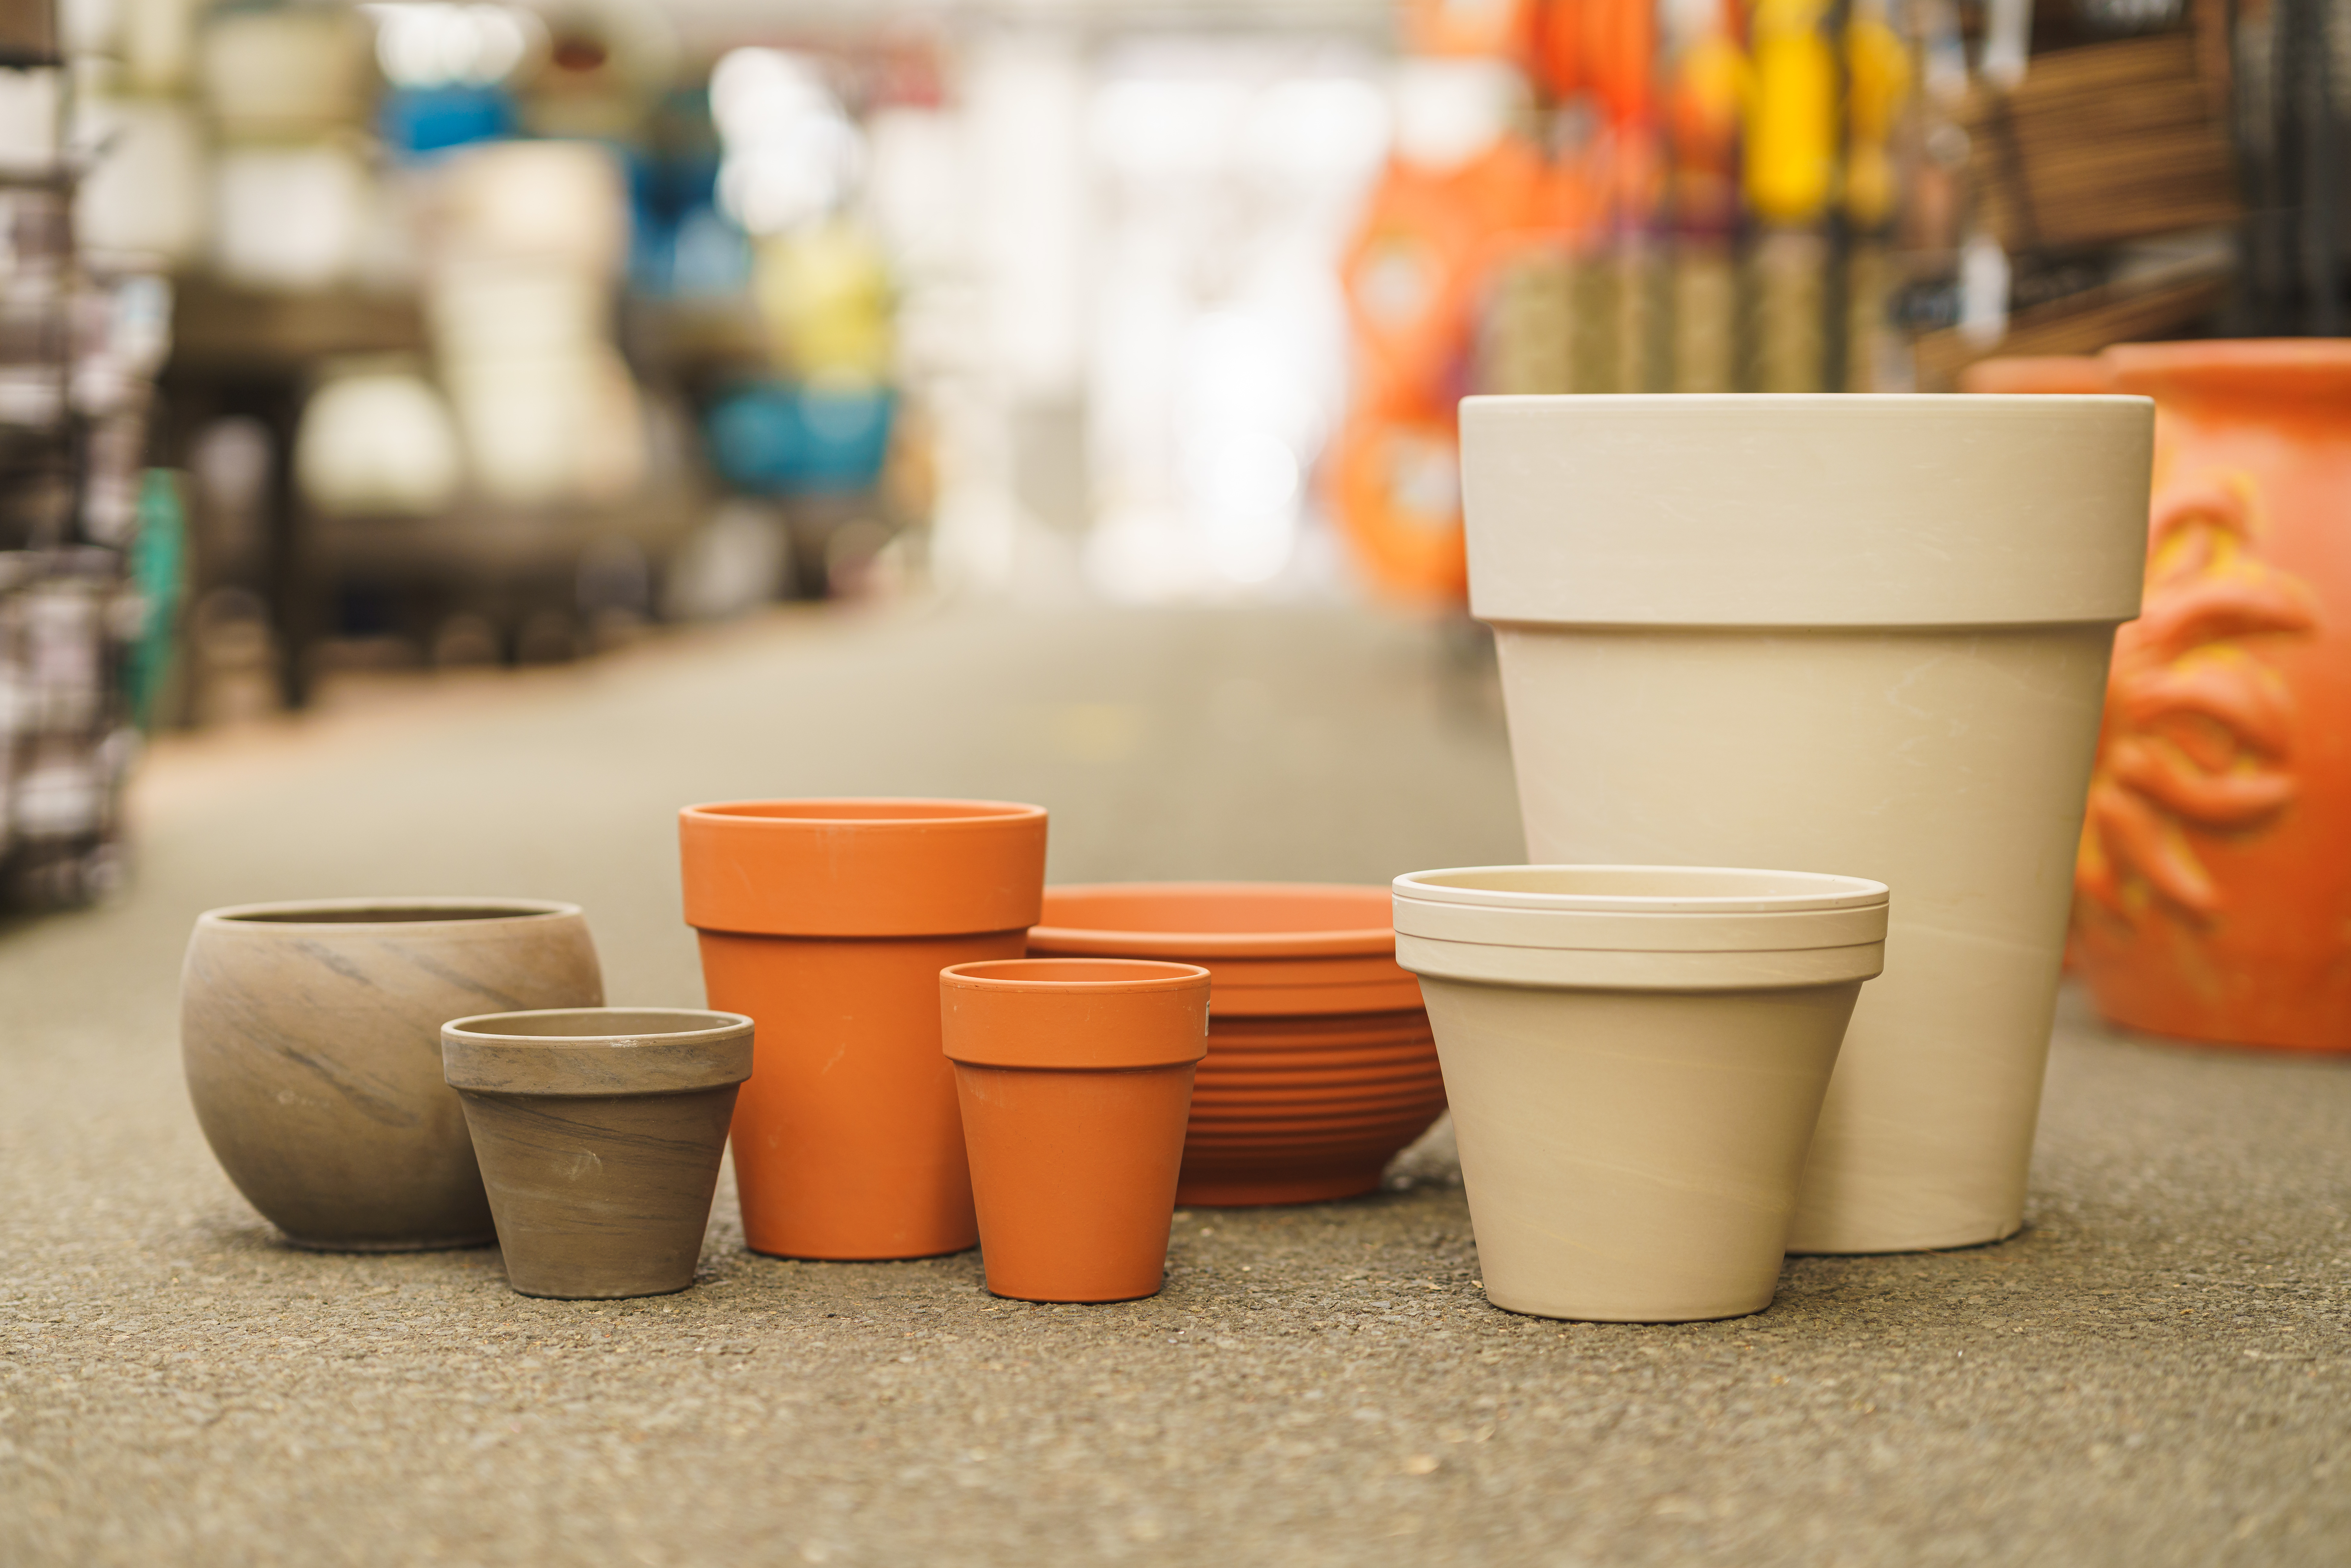
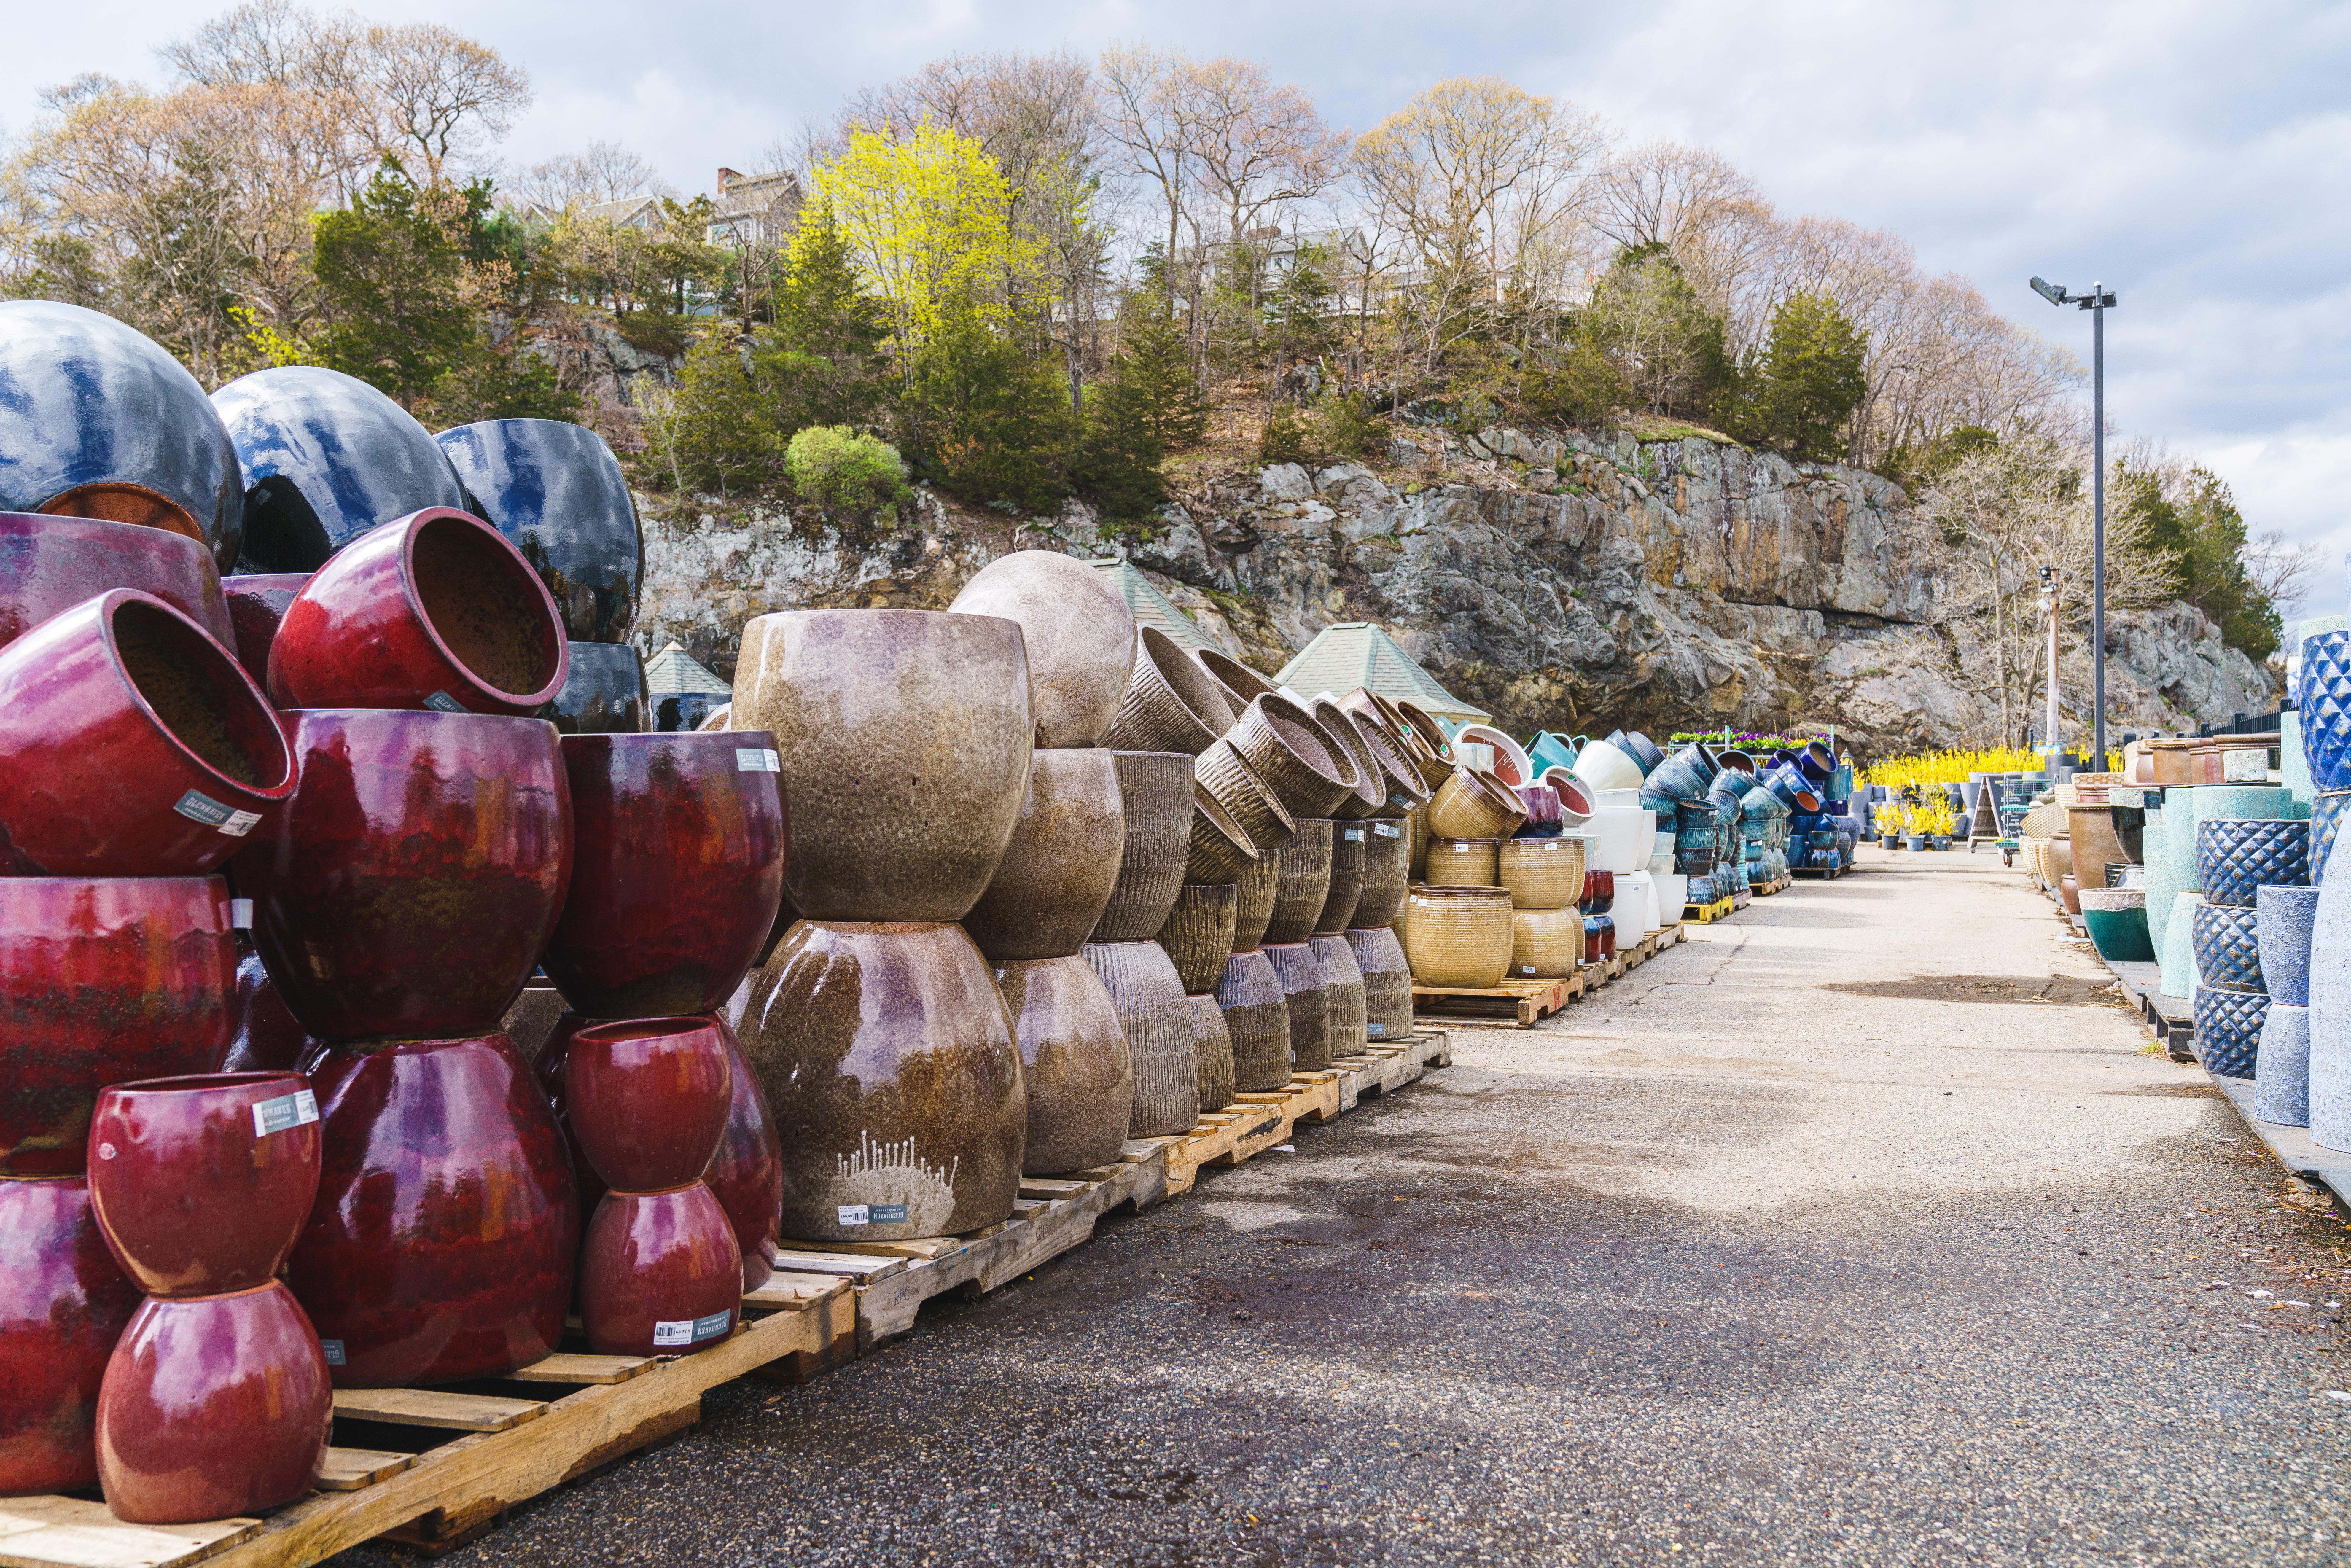
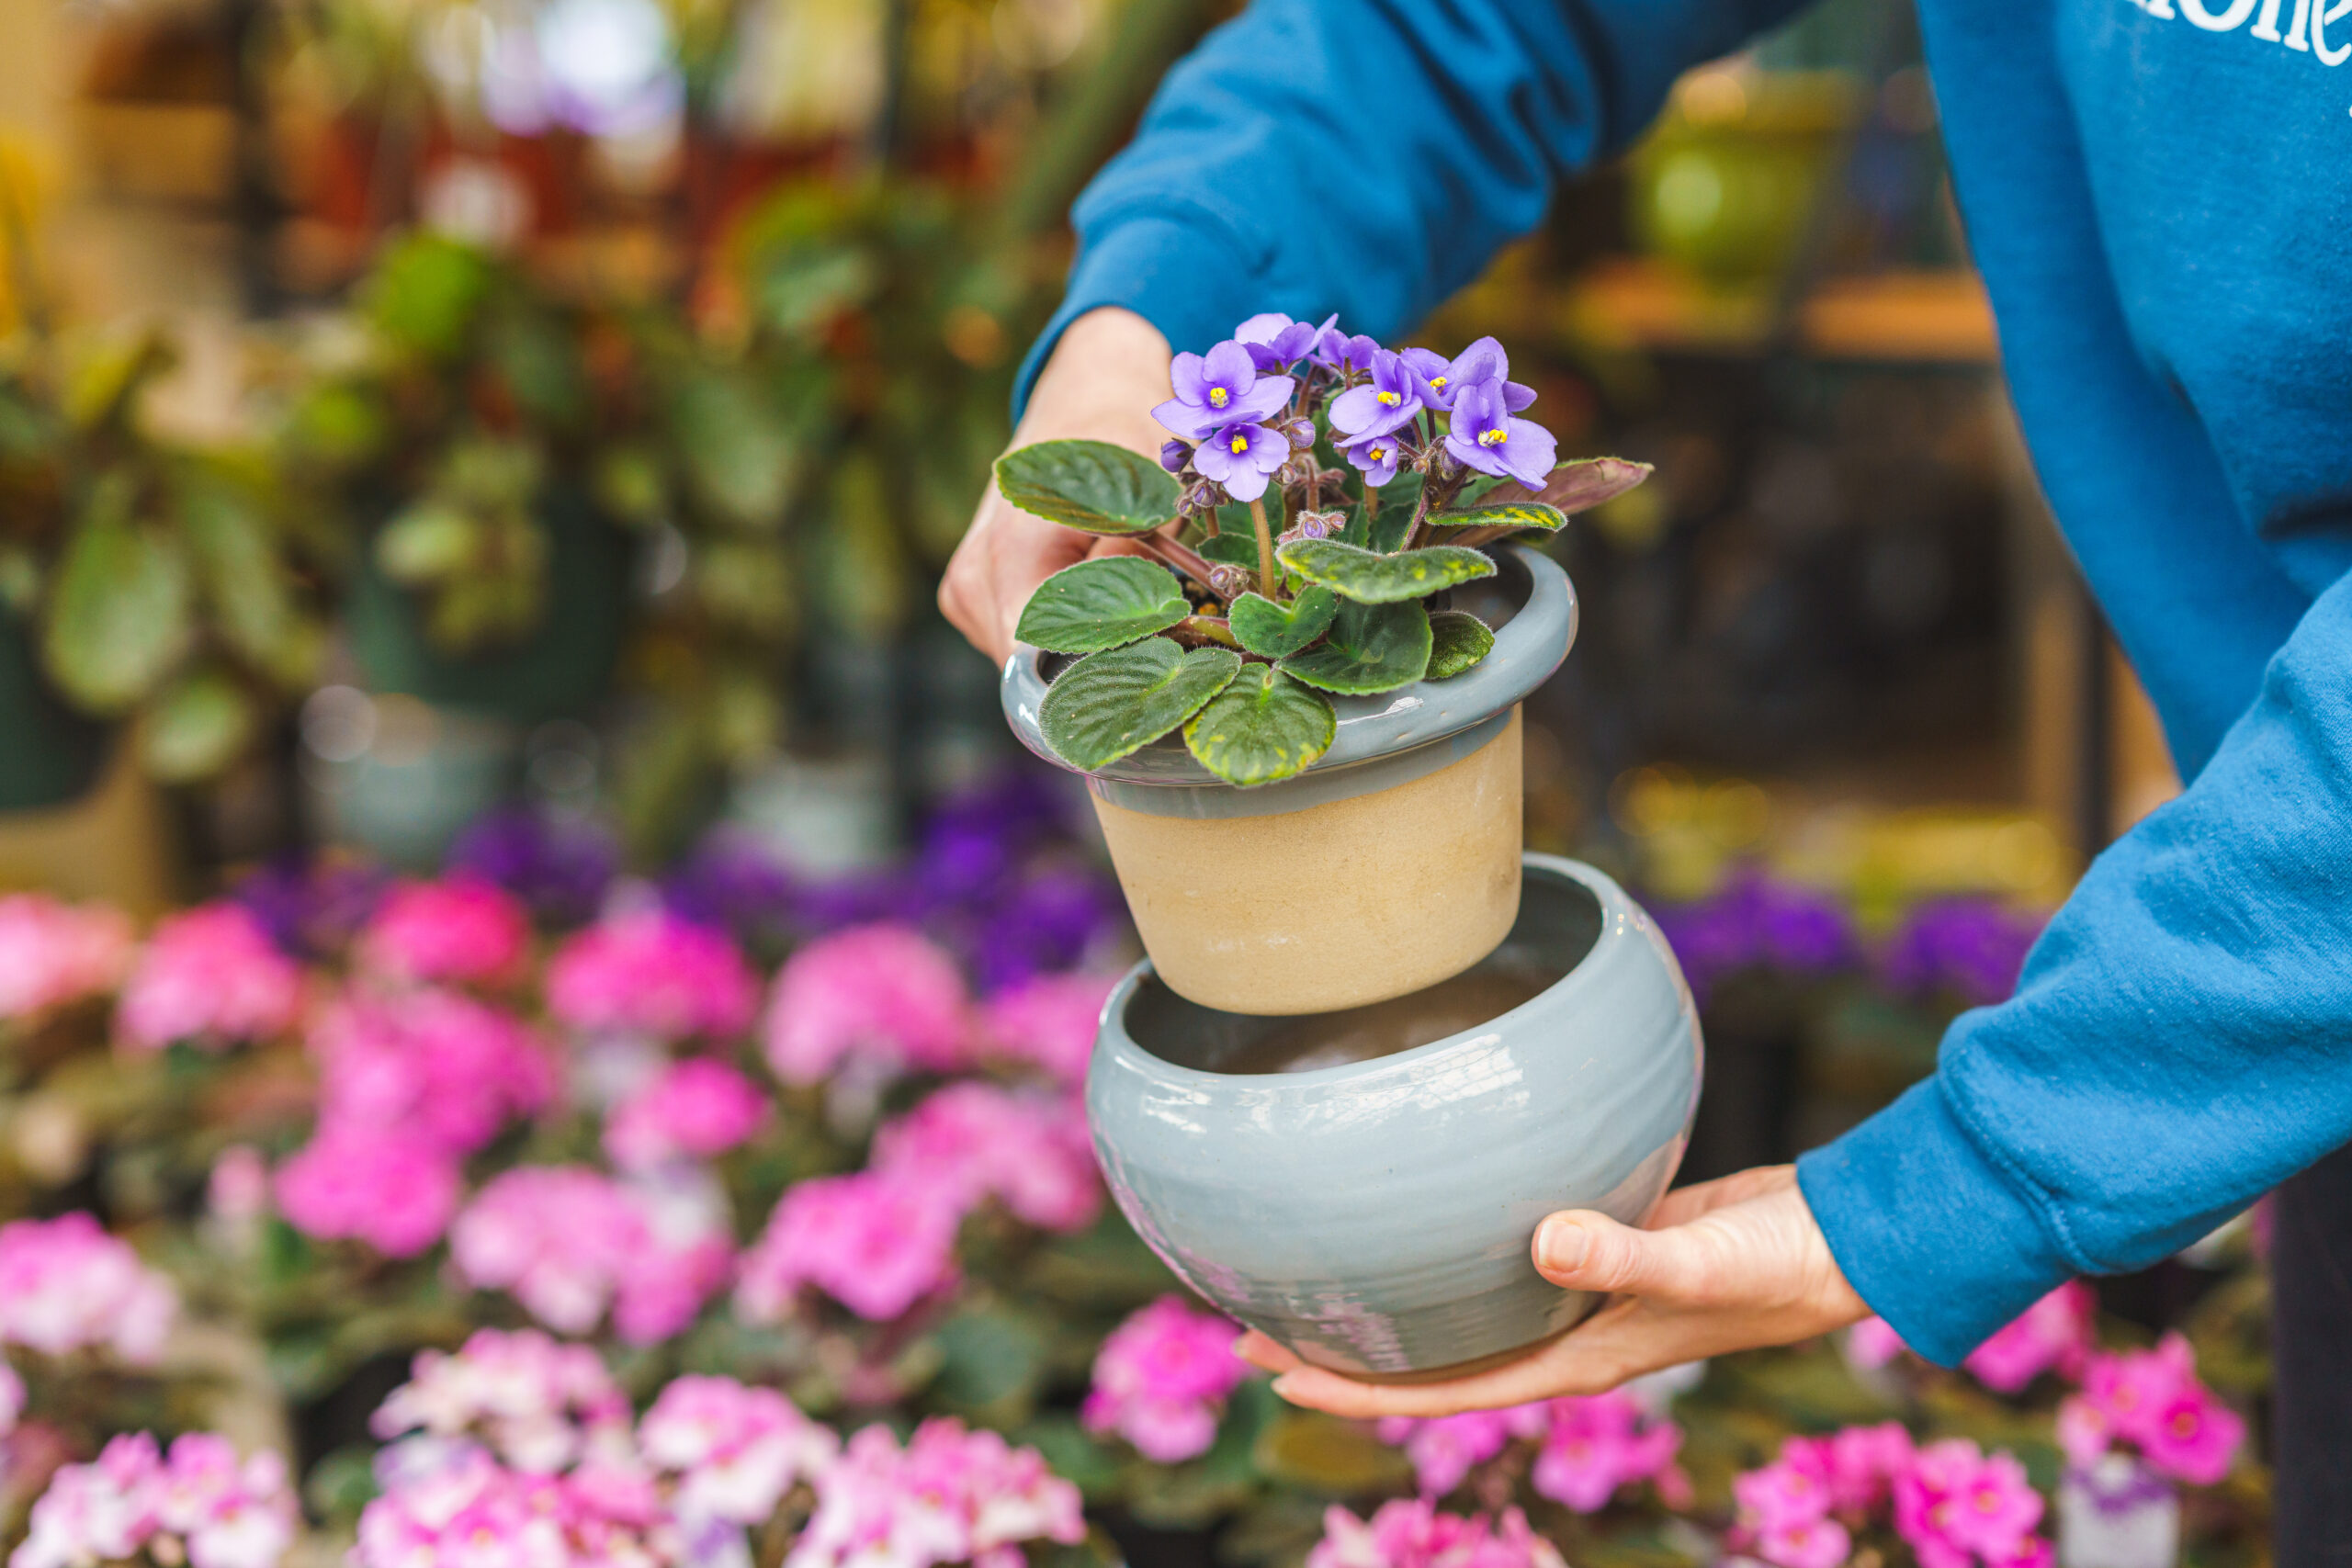
- When choosing your container, bigger is always better. The larger the container the better the plant and harvest will be. You’ll also see fewer problems with blossom end rot, lack of water, and overall health from lack of nutrients because more soil will hold more nutrients and water.
- When choosing your tomato varieties bigger is NOT always better. Try to grow the medium to small size tomatoes instead of the large ones. Large tomato varieties like big boy or beefsteak are less forgiving with lack of water.
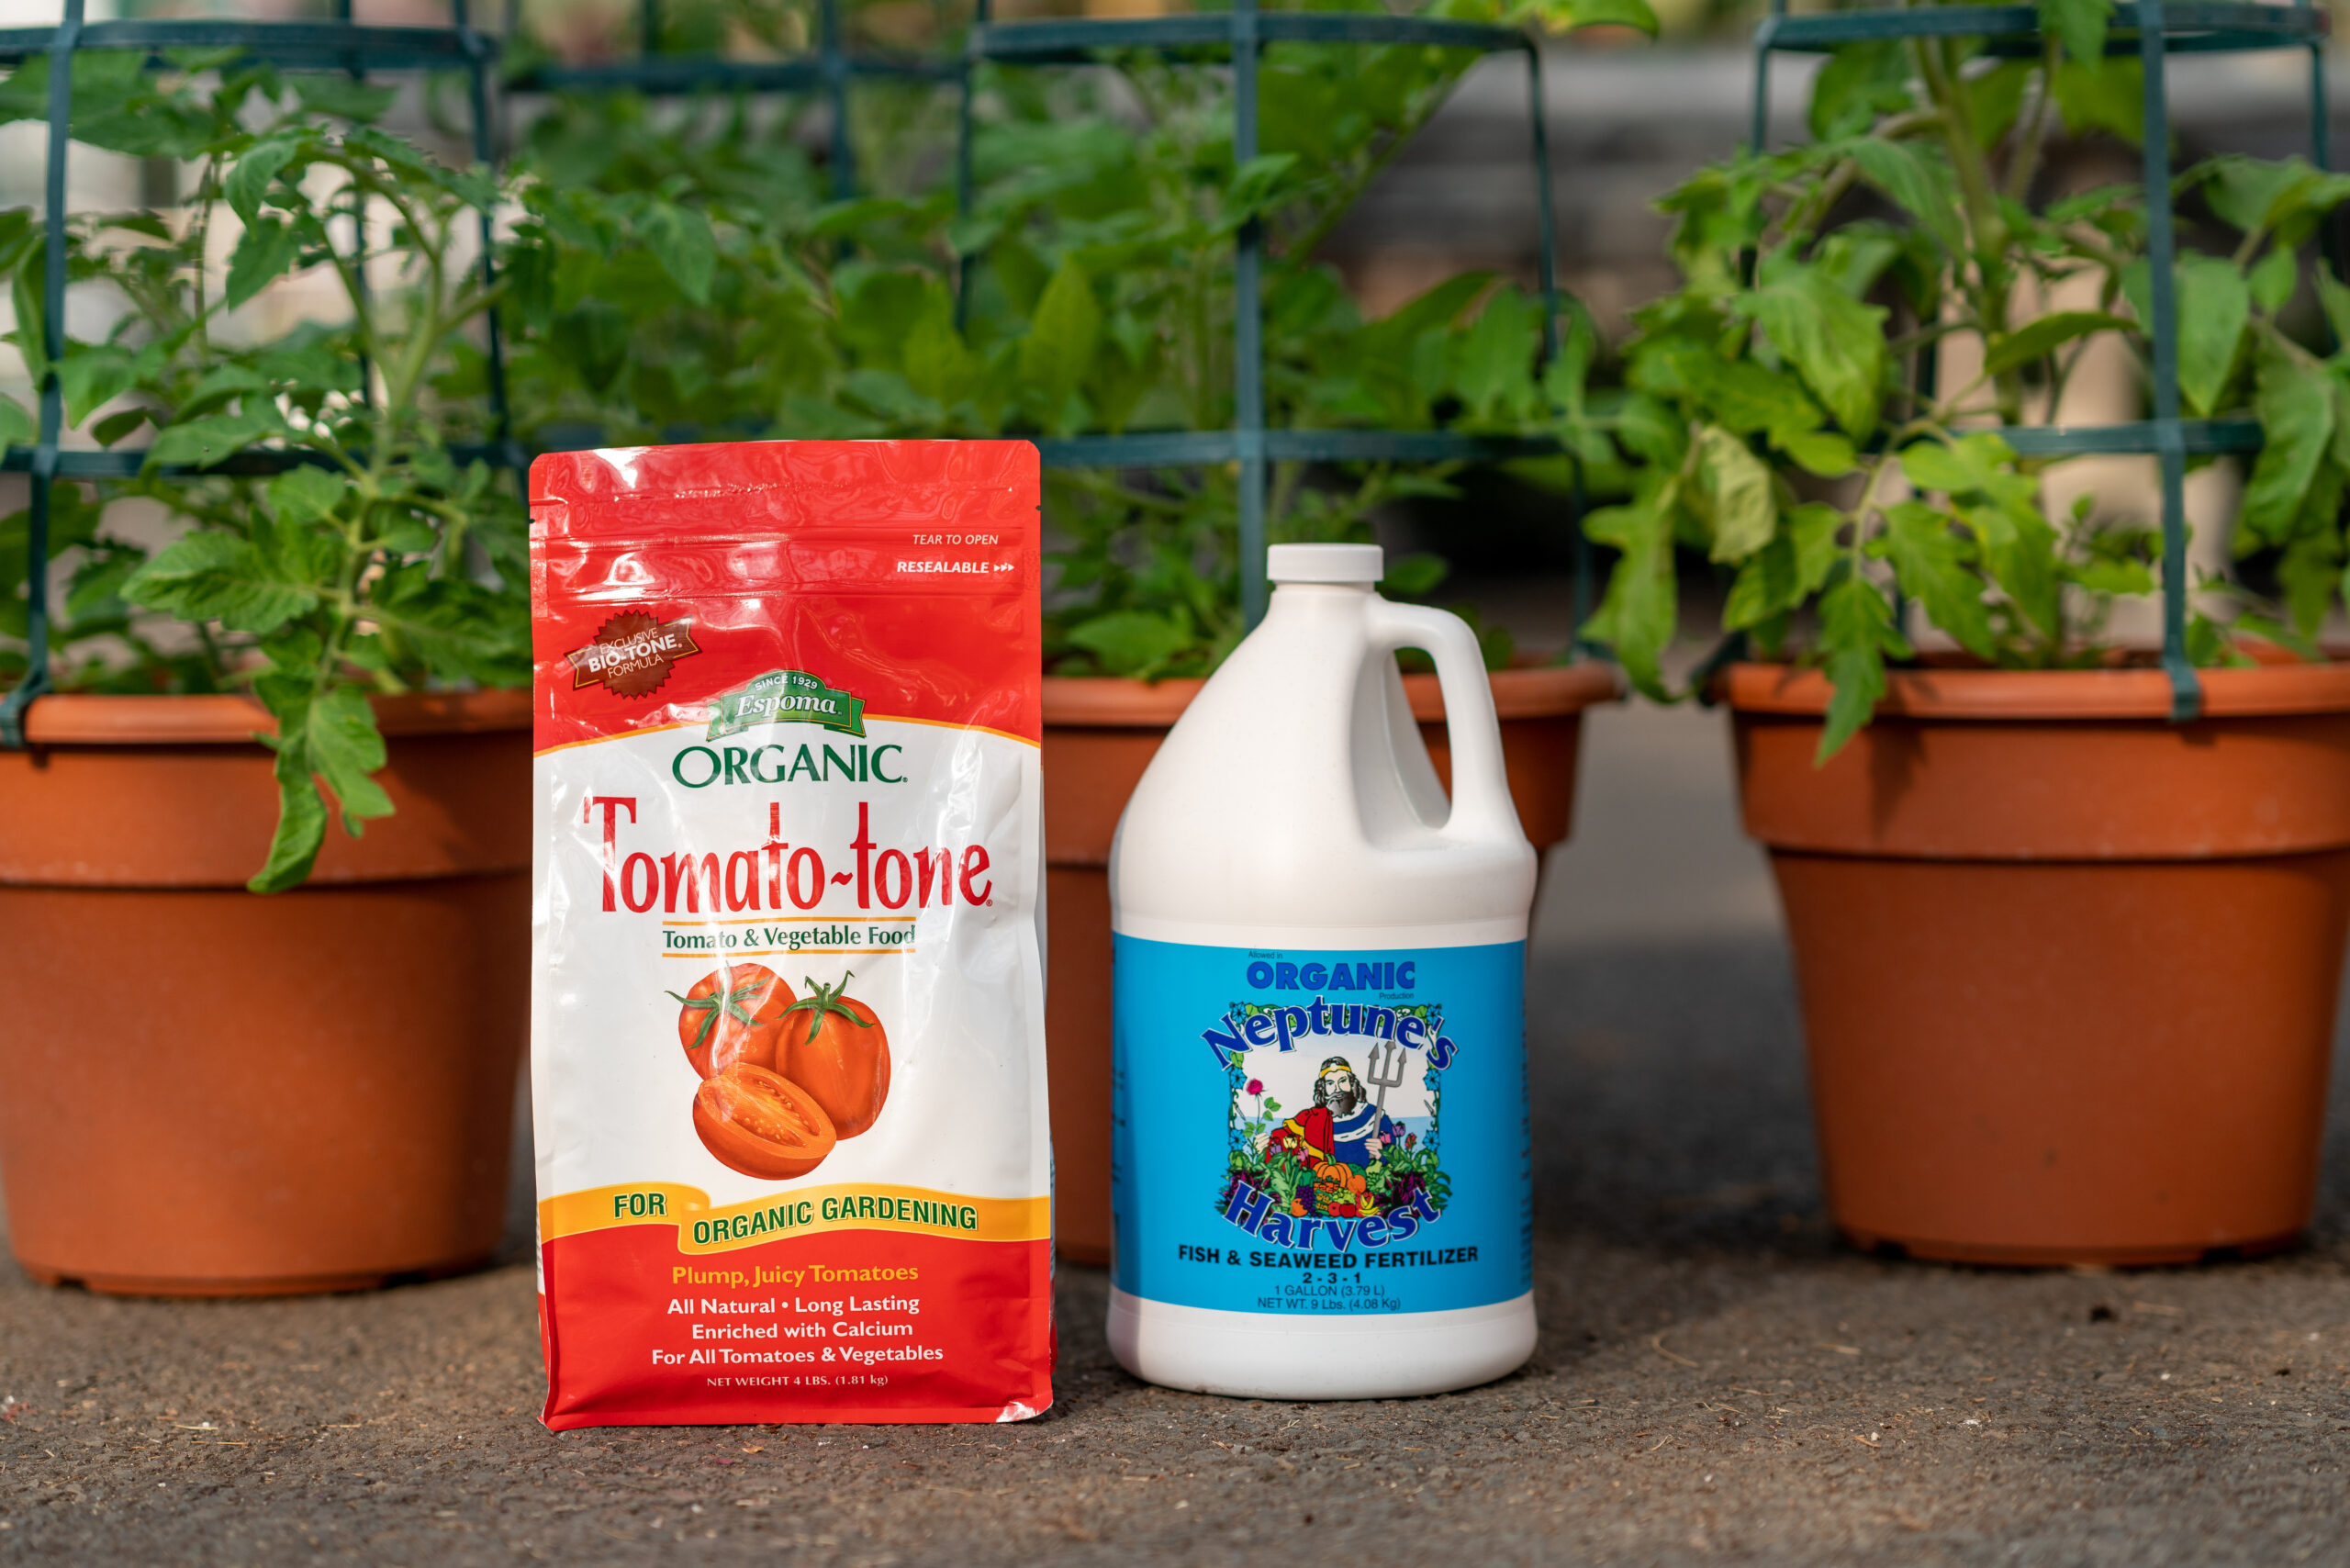
- Always fertilize. Plants in containers use up nutrients more quickly and you’ll need to replace these nutrients by using fertilizer. Uncle Mike plants his tomatoes with an organic granular fertilizer like Espoma Tomato-Tone and adds Neptune’s Harvest throughout the season with every other watering.
- Tomatoes grown in containers tend to be more susceptible to blossom end rot. Many people don’t realize that blossom end rot is a calcium deficiency not a disease and the cure is calcium, not a fungicide. This makes fertilizing even more important as a preventative step. You could also try adding Espoma Organic Garden Lime or MagiCal for extra calcium. Remember, prevention is better than a cure. It’s best to keep this fertilizer and/or calcium in the soil before you have a problem because if your plants do develop blossom end rot the fruit should picked off and discarded. Don’t wait to feed!
- Use the proper soil. A typical soilless potting mix could dry out too fast for your tomatoes. Add a little compost to a regular potting mix or use a raised bed mix like Castline Raised Bed Mix or Organic Raised Bed Mix.
Uncle Mike’s Favorite Tomato Varieties for Containers:
Patio
Not a generic term but a variety. A dwarf plant with medium size fruit. Great for containers 10 inches in diameter or larger.
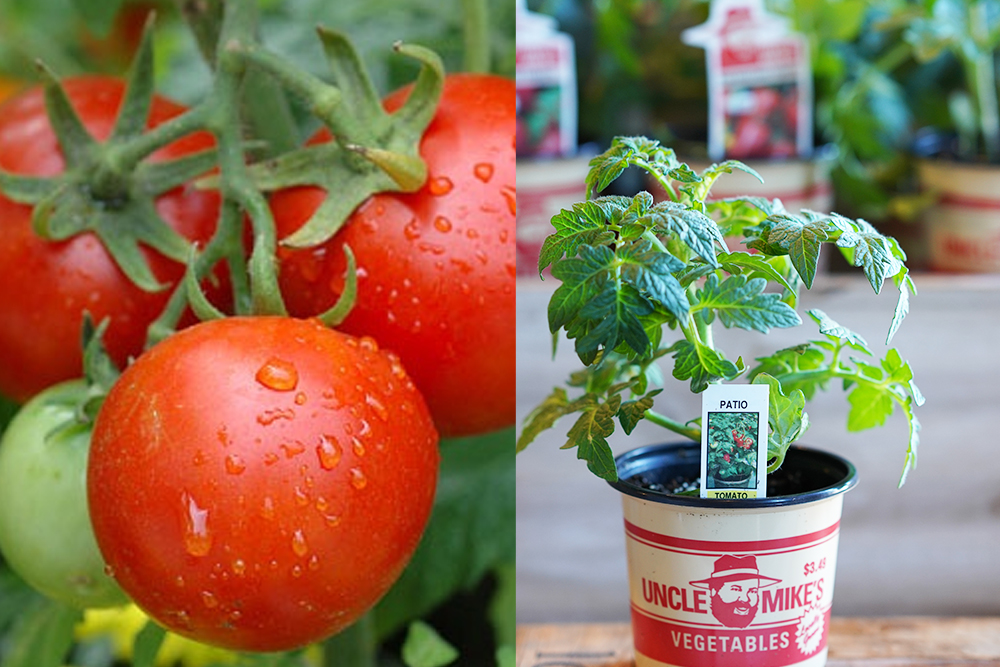
Patio tomato
Better Bush
A good dwarf plant with small to medium fruit. Plant in containers that are 10 inches or larger.
Moby Grape
This grape is a determinate variety so the plant won’t get too big and it’s everything you will expect from a sweet grape tomato. Plant in a 10 inch container or larger.
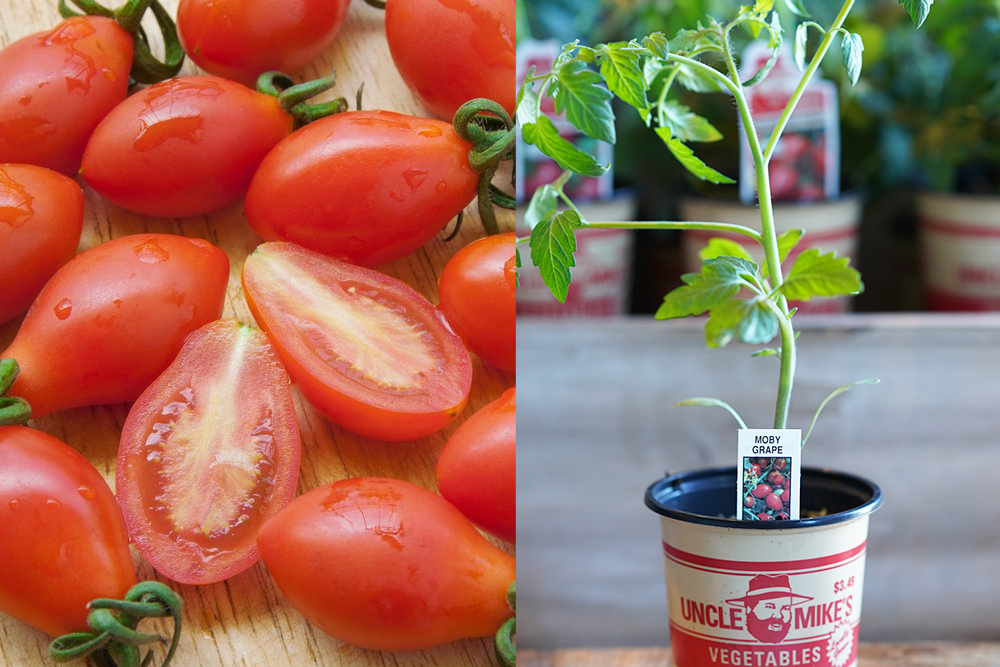
Moby Grape tomato
Totem
This is another dwarf plant that stands somewhat vertical and not too wide. The fruit is delicious. Plant in a container 10 inches or larger.
Tiny Tim
A very small plant with small cherry sized fruit. Truly tiny, this one is a great conversation piece as it only gets about 12 in tall! Ideal for a patio table when you have company over. This one can be grown in a very small pot, 6 inches or larger.
Jet Star
Both the plant and the fruit are not too big. Uncle Mike loves this tomato because it’s will be quick to produce nice medium size fruit with a thin skin. It’s also considered to be one of the least acidic tomatoes out there good for pots 12 inches or larger.
Black Krim
This is a nice heirloom variety is a medium-sized plant that produces medium-sized fruit. Purplish in color and very tasty, you can plant it in containers 12 inches or larger. Watch out for heavy watering or rain as they come close to ripening because they crack very easily!
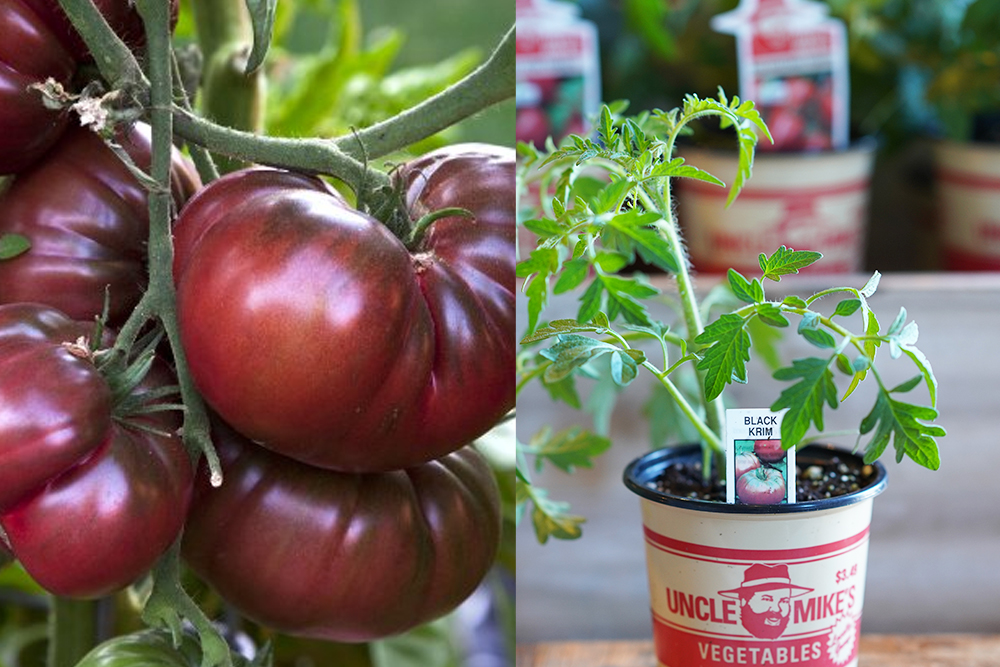
Black Krim tomato
Celebrity
This is medium to large tomato that’s on a determinate vine. If you want to try a large tomato in a container this on is the one to try. It’s crack resistant as well. Use a pot that’s at least 12 inches in diameter.
San Marzano
This is a sauce tomato but most sauce tomatoes are determinate so that means it’s a bush type plant and will tolerate containers. In addition to being great for sauce, these are awesome for salads, salsa, and cooking too!
Celano Patio Grape
This is our first dwarf grape tomato; it’s a semi-determinate hybrid with very sweet fruit. This plant will produce an abundance of grape tomatoes perfect for snacking! Best in containers that are 10 inches or larger.
Little Napoli
A fantastic sauce tomato you can grow right on your patio. Disease resistant, determinate, produces small oblong fruit, delicious in cooking or eating fresh from the vine!
Theoretically, a tomato can be grown in any size pot if you keep the plants watered and fertilized. But following Mike’s recommendations for container sizes will make it easier for you to enjoy the fruits of your labor (and it should mean less labor too!)


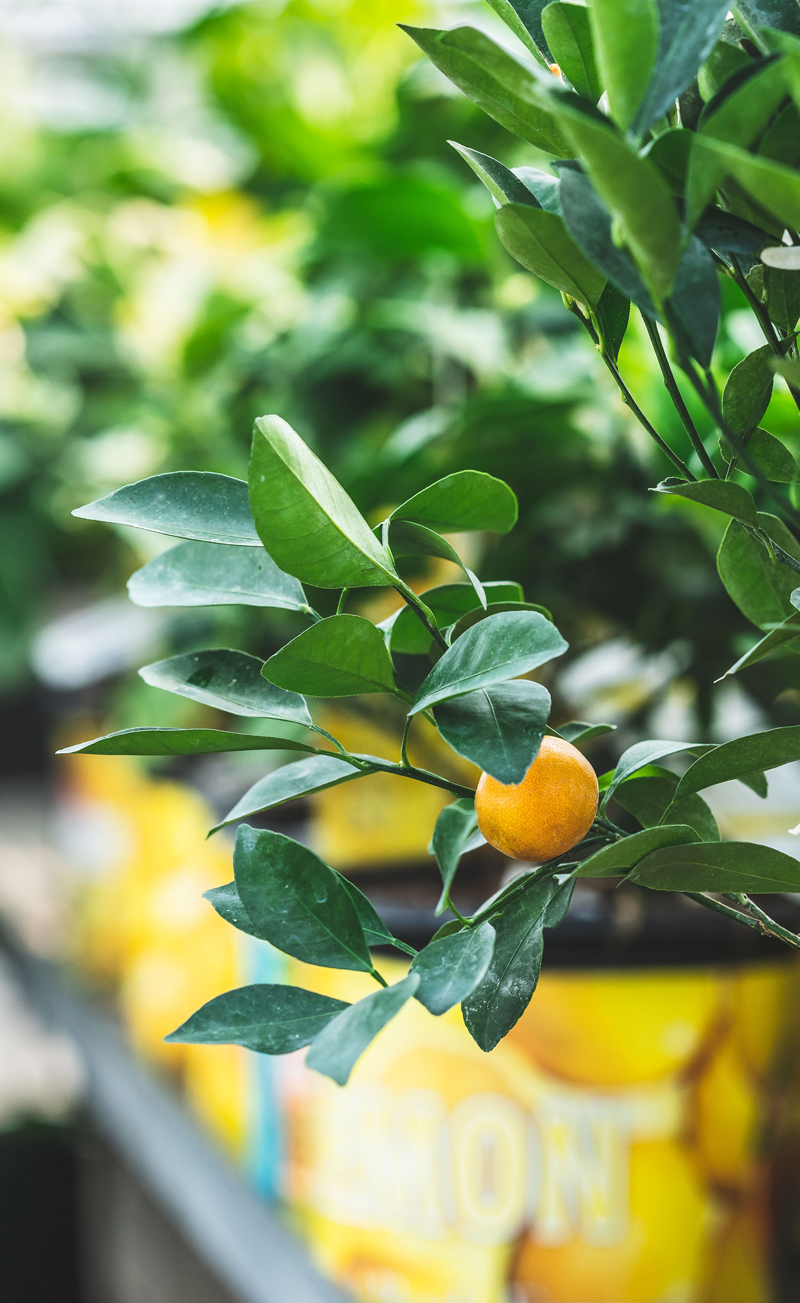
 When we think of citrus in the US most of us call to mind the warm and sunny climates in Florida and California where oranges, lemons, limes, grapefruits, and kumquats can flourish outdoors. But even in New England, where our winters are not exactly conducive to growing tropical plants, we can get creative and enjoy fragrant citrus blossoms, gorgeous glossy foliage, and homegrown vitamin C!