May 11, 2026
In
Uncategorized
May 11, 2026
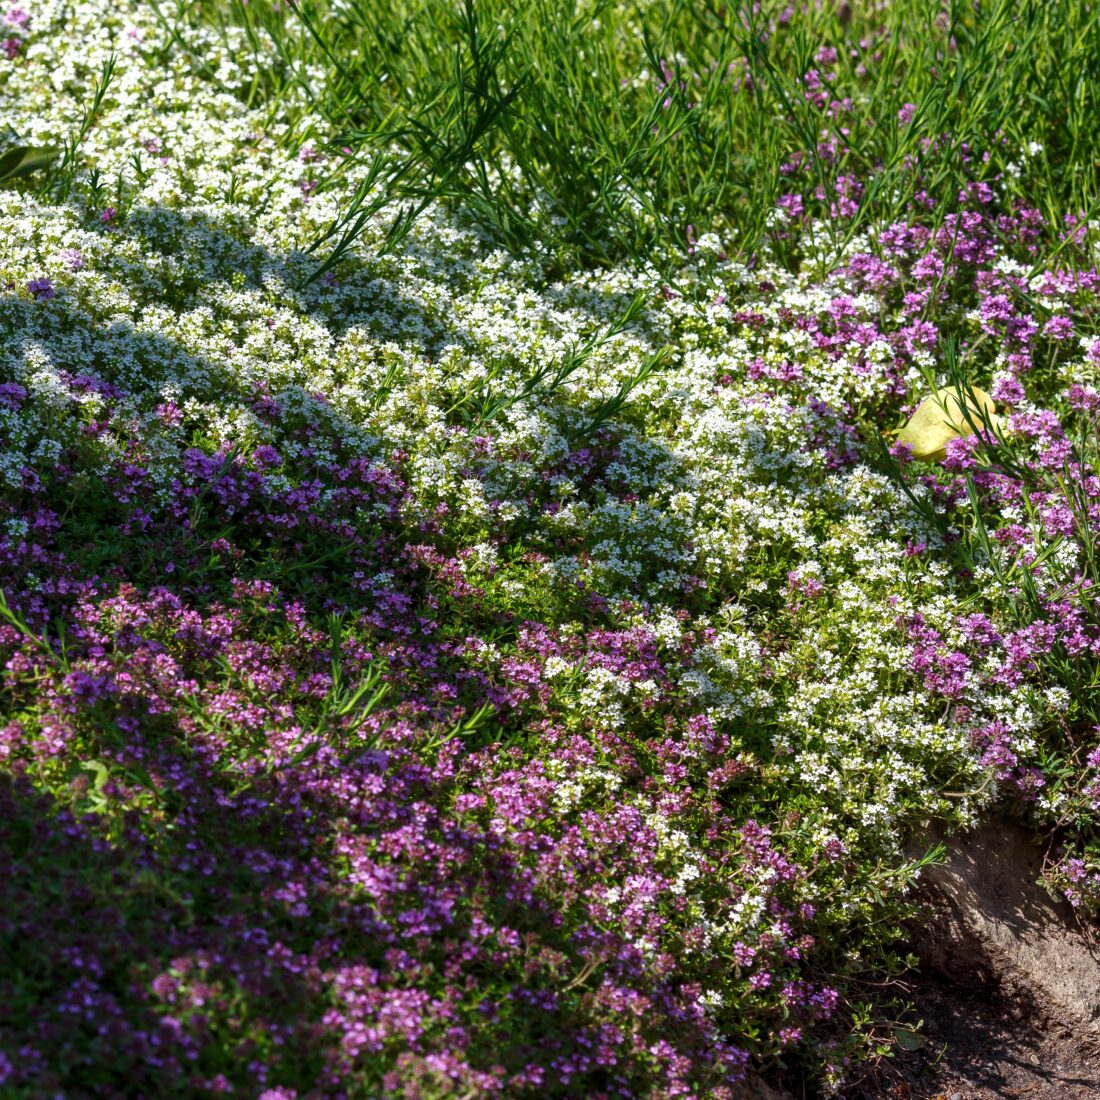
If you love the look of a green lawn but not the constant mowing, watering, and upkeep—there’s good news. More and more New England gardeners are making the switch to low-mow, pollinator-friendly lawn alternatives that are easier to care for…
Read More