March 16, 2026
Seeding Microgreens: A Quick and Rewarding Way to Grow Your Own Greens
If you’re looking for a simple, satisfying way to grow fresh food at home, microgreens are a fantastic place to start. These tiny, nutrient-packed greens grow quickly, require very little space, and can be ready to harvest in as little as 7–14 days. Whether you’re adding them to salads, sandwiches, or smoothies, microgreens bring bright flavor and fresh texture to everyday meals.
Even better, seeding microgreens is incredibly easy. With just a shallow tray, some soil, seeds, and light, you can enjoy a steady supply of fresh greens right from your kitchen.
What Are Microgreens?
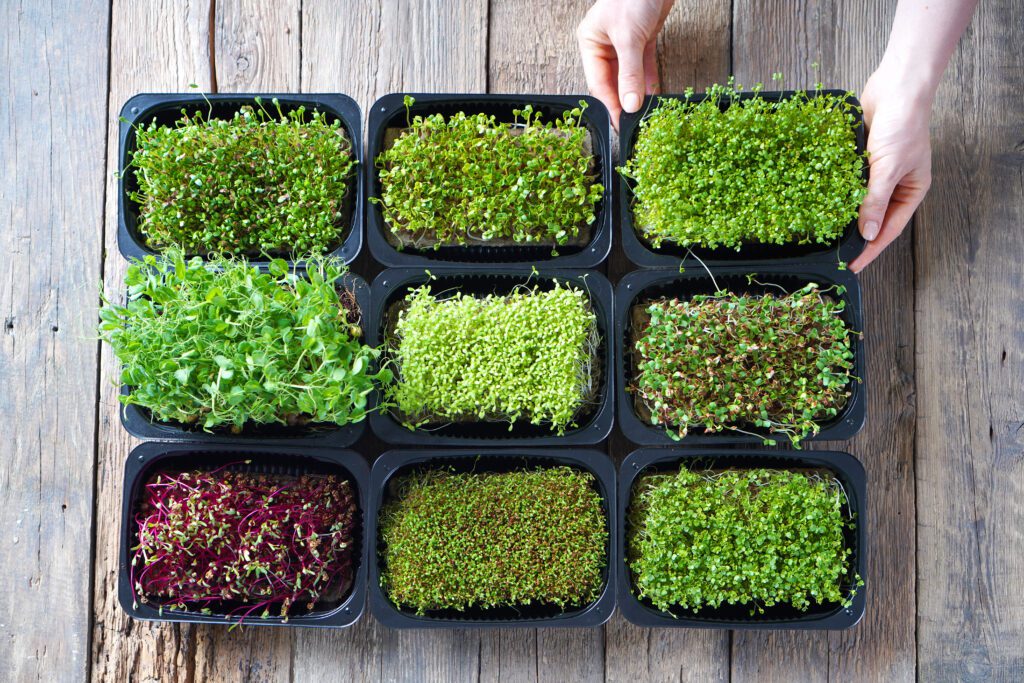
 Microgreens are young vegetable or herb plants harvested shortly after they sprout their first true leaves. They fall somewhere between sprouts and baby greens in size, but they’re packed with flavor and nutrients.
Popular microgreens include:
- Radish
- Broccoli
- Kale
- Arugula
- Mustard
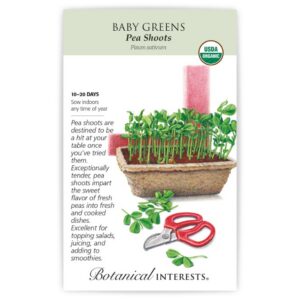
- Pea shoots
- Sunflower shoots
Each variety has its own flavor profile—from mild and sweet to peppery and bold.
What You’ll Need
Growing microgreens doesn’t require much equipment. To get started, you’ll need:
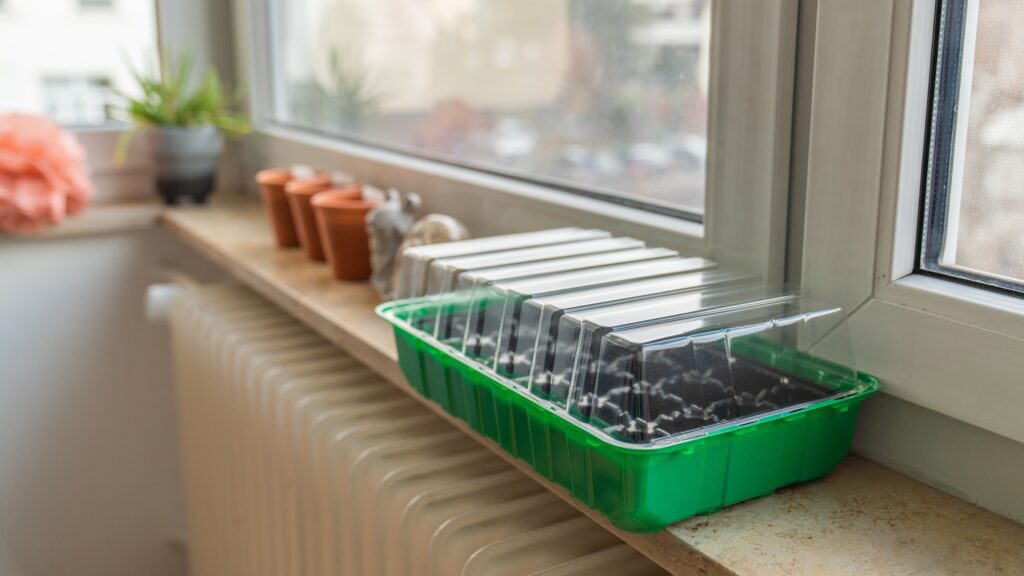
- A shallow tray or container with drainage holes
- Seed starting mix or fine potting soil
- Microgreen seeds
- A spray bottle or watering can
- Bright light (a sunny window or grow light)
Because microgreens grow quickly and don’t develop large root systems, they only need a thin layer of soil to thrive.
How to Seed Microgreens
Growing microgreens is as simple as sow, water, and wait.
1. Fill your tray with soil
Add about 1–2 inches of moist seed starting mix to your tray and gently level the surface.
2. Sow the seeds densely
Sprinkle the seeds evenly across the soil surface. Microgreens are planted much closer together than traditional vegetables.
3. Press seeds lightly into the soil
Gently press the seeds down so they make good contact with the soil. Most microgreen seeds do not need to be buried deeply.
4. Water carefully
Mist the surface with a spray bottle to avoid disturbing the seeds. The soil should be evenly moist but not soggy.
5. Provide light and warmth
Place your tray in bright light. A sunny window works well, though a simple grow light can help ensure even growth.
Within just a few days, you’ll see the seeds sprouting and reaching toward the light.
Caring for Your Microgreens
Microgreens require very little maintenance, but a few simple steps will keep them growing strong.
- Keep the soil lightly moist. Mist or water gently when the surface begins to dry.
- Provide plenty of light. This helps prevent the seedlings from becoming tall and floppy.
- Ensure good air circulation. This helps prevent mold and keeps the greens healthy.
Because they grow so quickly, microgreens typically don’t require fertilizer.
When to Harvest
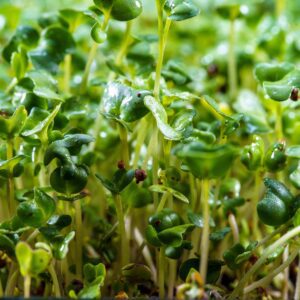
Most microgreens are ready to harvest when they are 2–3 inches tall and have developed their first set of true leaves. This usually happens about 7–14 days after seeding, depending on the variety.
To harvest, simply use clean scissors to snip the greens just above the soil line.
Once harvested, rinse gently and enjoy them right away for the best flavor and freshness.
Why Gardeners Love Microgreens
Microgreens are one of the most rewarding crops you can grow. They’re perfect for beginners, great for gardeners with limited space, and a fun project for kids and families. Watching the seeds sprout and grow so quickly makes them an especially satisfying introduction to growing food at home.
Plus, the flavor payoff is huge—just a handful of microgreens can add color, texture, and fresh taste to almost any dish.
Fresh microgreens are easy to grow and even easier to enjoy. Stop by Mahoney’s to explore our selection of seeds and supplies, and start growing your own harvest of fresh greens at home.