February 23, 2026
The Art of Bonsai: Growing Patience, Beauty, and Living Sculpture

There’s something quietly magical about bonsai. A tiny tree, shaped by careful hands, can hold the feeling of an ancient forest. Twisted trunks tell stories. Delicate leaves balance on branches that have been guided—not forced—into form.
Bonsai (which translates from Japanese as “planted in a container”) has roots that stretch back more than a thousand years. While the art form was refined in Japan, its origins trace to ancient Chinese penjing. Over time, Japanese artisans developed bonsai into a deeply respected practice centered on patience, harmony, and the beauty of imperfection.
At its heart, bonsai isn’t about growing a “miniature tree.” It’s about creating the illusion of a full-sized tree in nature—captured in living form.
And the good news? You can begin your own bonsai journey with a bonsai starter plant.
Choosing the Right Bonsai Starter
A bonsai starter is a young plant in a grower pot that has already been lightly trimmed and pre-styled. It gives you a head start while still allowing plenty of creative freedom.
Here are several excellent varieties often used for bonsai beginners and enthusiasts alike:
 Ficus Ginseng
Scientific name: Bucida spinosa
The Ficus Ginseng bonsai is a striking, low-maintenance indoor plant known for its thick, sculptural roots and glossy green foliage, making it a perfect choice for adding a touch of exotic elegance to any home or office space.
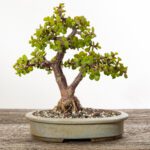 Mini Jade
Scientific name: Portulacaria afra
A succulent variety with variegated green-and-cream foliage, mini jade is forgiving and drought-tolerant. It’s an excellent option for beginners and adapts well to shaping.
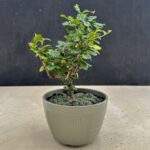 Fukien Tea Tree
Scientific name: Carmona microphylla (often sold as Carmona retusa)
The Fukien Tea Tree is loved for its tiny, deep green leaves and fine branching habit, which naturally create a delicate, refined silhouette. Under the right conditions, it may also produce small white flowers followed by tiny berries — adding seasonal interest to its already elegant structure.
This variety lends itself beautifully to traditional bonsai styling. Its compact foliage allows for detailed shaping and intricate canopy design, making it especially rewarding for those who enjoy careful pruning and refinement.
With bright light and consistent care, Fukien Tea Trees develop a graceful, miniature-forest look that feels timeless and sophisticated.
 Dwarf Pomegranate
Scientific name: Punica granatum ‘Nana’
This variety offers glossy leaves, vibrant orange-red blooms, and even miniature fruit. It adds seasonal interest and dramatic color to a bonsai collection.
 Ficus Nerifolia
Scientific name: Ficus nerifolia
Ficus species are classic bonsai plants. Nerifolia has narrow leaves and strong branching habits, making it ideal for shaping and maintaining structure.
How to Create Your Own Bonsai from a Starter Plant
Below is a simple, step-by-step guide you can follow.
Step 1: Study the Plant
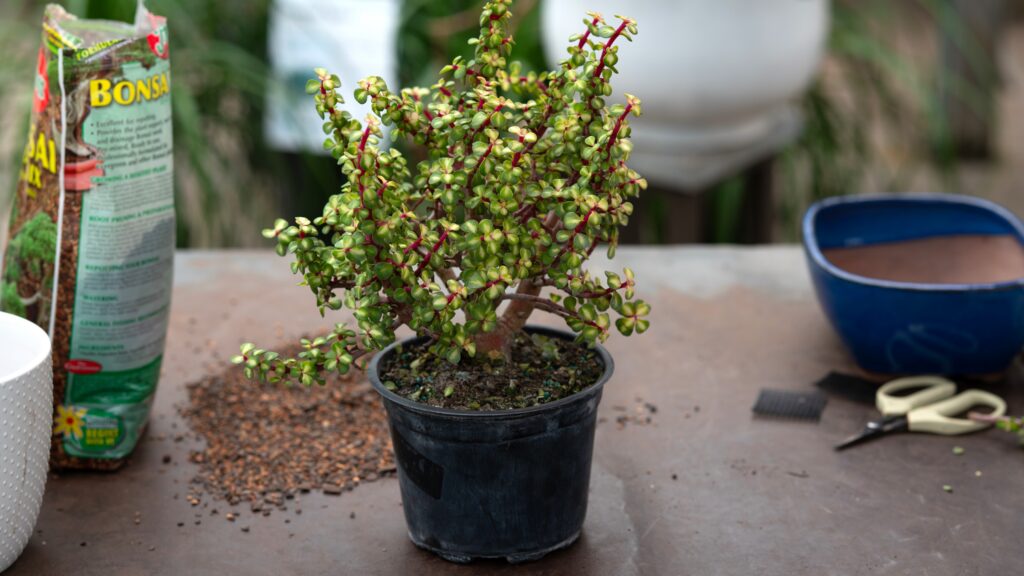
Before you prune anything, take a moment to look.
- Where is the trunk strongest?
- Does it naturally curve?
- Which side feels like the “front”?
- Are there branches that cross or grow inward?
Good bonsai design begins with observation.
Step 2: Remove from the Grower Pot
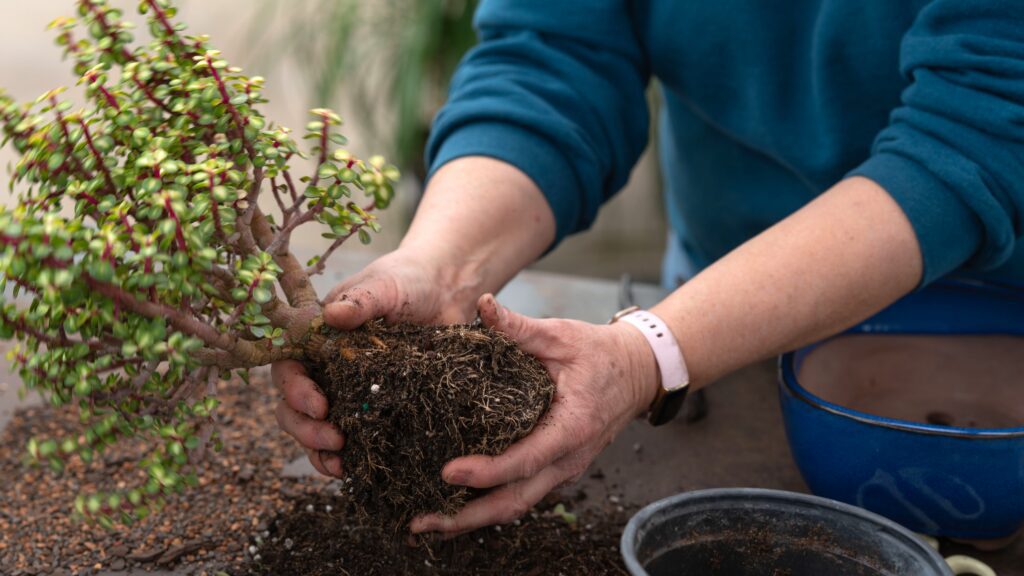
Carefully slide the plant out of its grower pot. Gently loosen the outer layer of soil to expose the root structure.
Healthy roots should look firm and light in color.
Step 3: Root Pruning
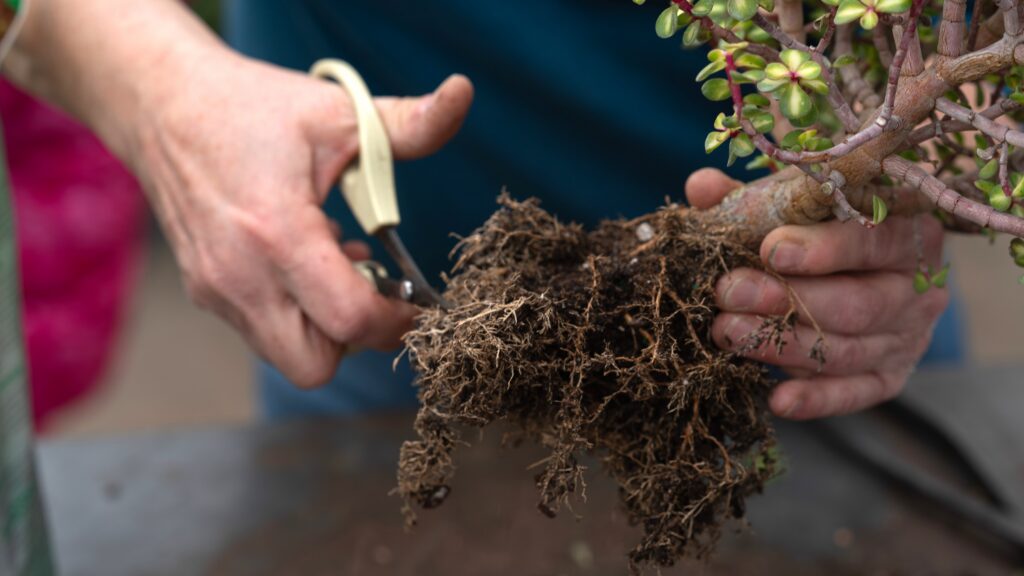
Trim back long, circling roots. Remove no more than about one-third of the root mass during your first styling.
This encourages compact growth and prepares the plant for a shallow bonsai pot.
Step 4: Select and Prepare Your Bonsai Pot
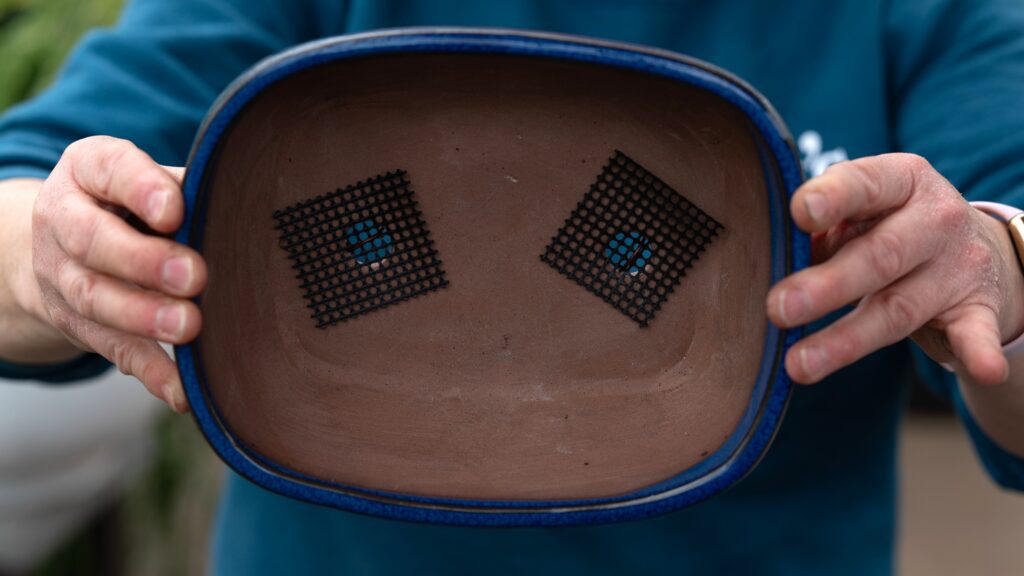
Choose a shallow bonsai pot with drainage holes.
- Cover drainage holes with mesh.
- Thread bonsai wire through holes (this will anchor the tree).
- Add a base layer of bonsai soil mix.
Step 5: Shape the Top Growth

Now it’s time to refine the canopy.
- Remove crossing branches.
- Trim overly long growth.
- Keep a balanced silhouette.
- Aim for a triangular outline for a classic bonsai look.
Always step back and evaluate before making the next cut.
Step 6: Position and Secure the Tree
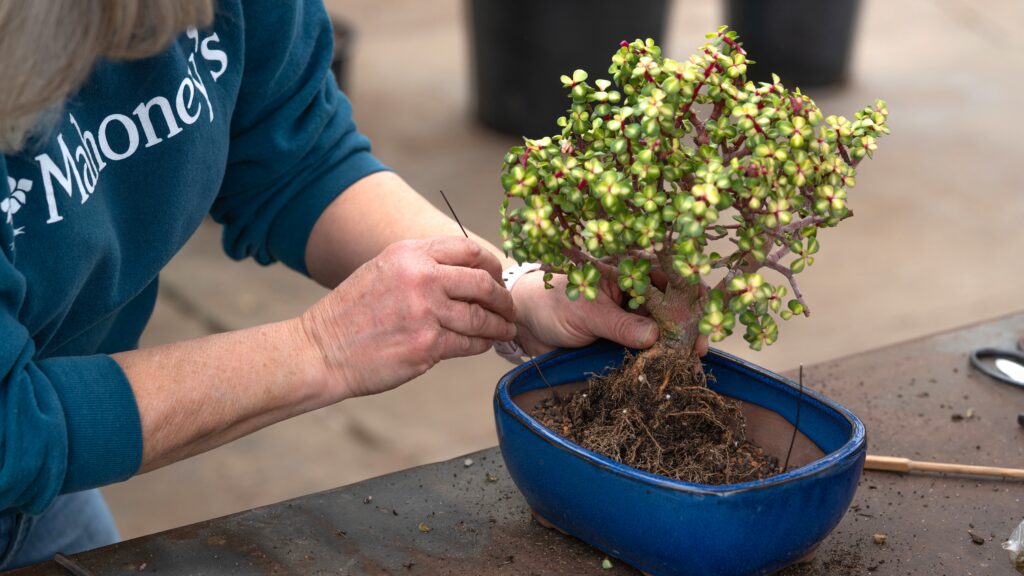
Set your tree slightly off-center in the pot—this creates a more natural, dynamic composition.
Use the pre-installed wire to gently secure the root ball in place.
Step 7: Add Soil and Water Thoroughly
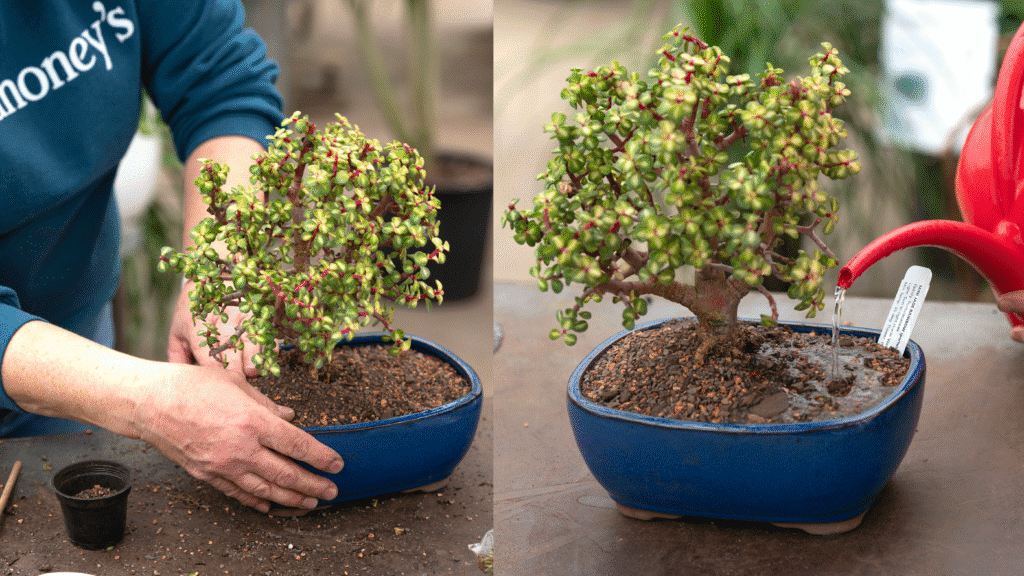
Fill in around the roots with bonsai soil, working it gently between roots with a chopstick to eliminate air pockets.
Water thoroughly until it drains from the bottom.
Step 8: Optional Wiring for Shape
If desired, use bonsai wire to gently guide branches into position.
Wrap wire at a 45° angle and bend slowly. Never force a branch—bonsai shaping is gradual.
Aftercare Tips
Your new bonsai will need:
- Bright light (varies by species)
- Regular watering (never let it sit in water)
- Occasional pruning to maintain shape
- Patience
Remember: bonsai is not a one-day project. It’s a living, evolving art form.
Why Bonsai Is So Rewarding
Creating a bonsai is less about perfection and more about presence. It teaches patience, it asks you to slow down, it turns routine pruning into creative expression.
Each cut shapes not just the tree—but your relationship with it.
If you’ve been curious about trying bonsai, starting with a pre-styled bonsai starter plant makes the process approachable and inspiring. Stop into the store to explore bonsai starter plants, pots, and tools—and let our team help you begin your own living masterpiece.