July 2, 2026
In
Featured, Houseplants, Trees and Shrubs
July 2, 2026
July 2, 2026

June 29, 2026
June 29, 2026
June 22, 2026
June 22, 2026
June 20, 2026
June 15, 2026
June 2, 2026
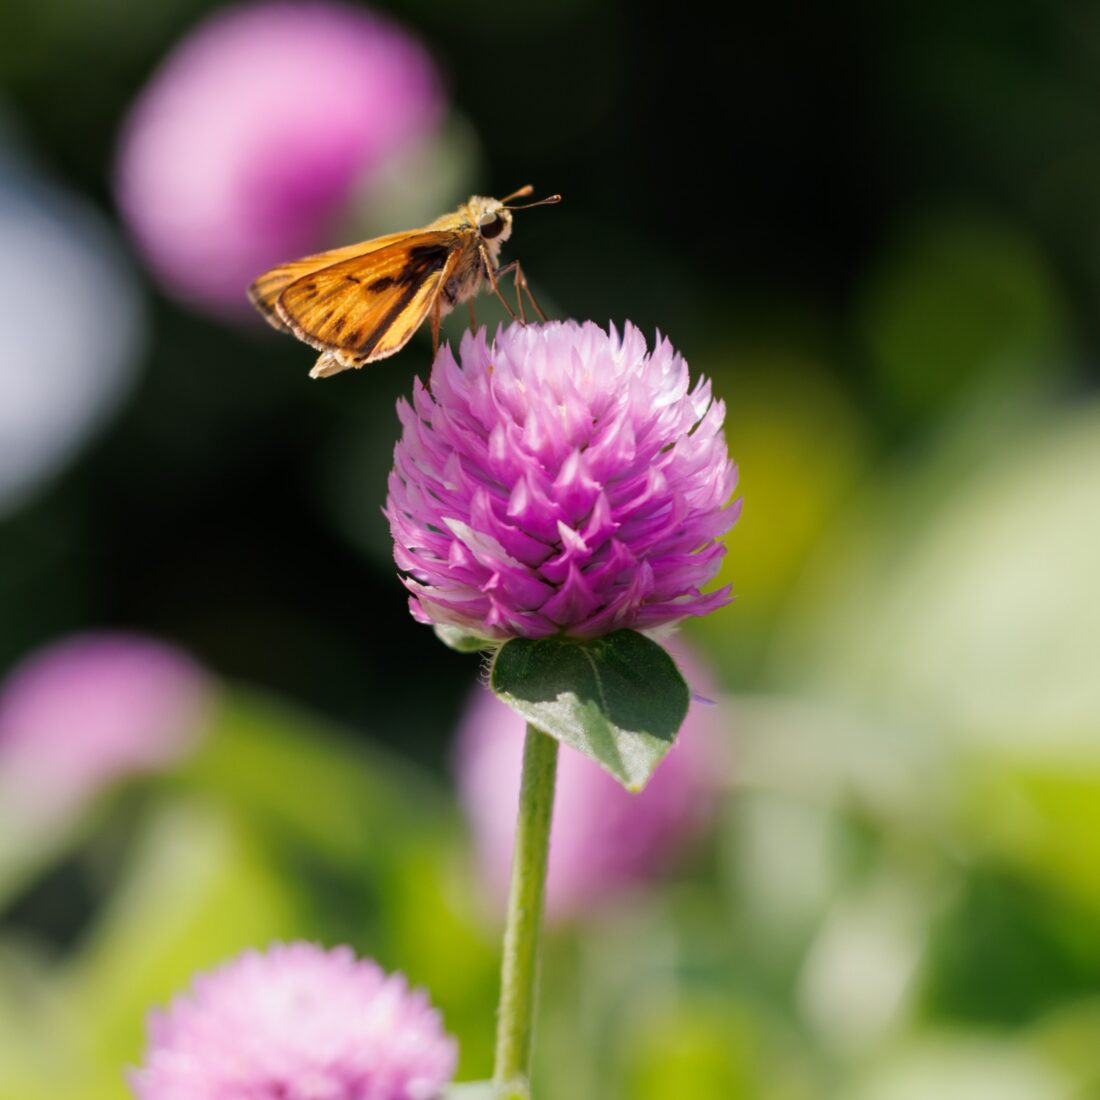
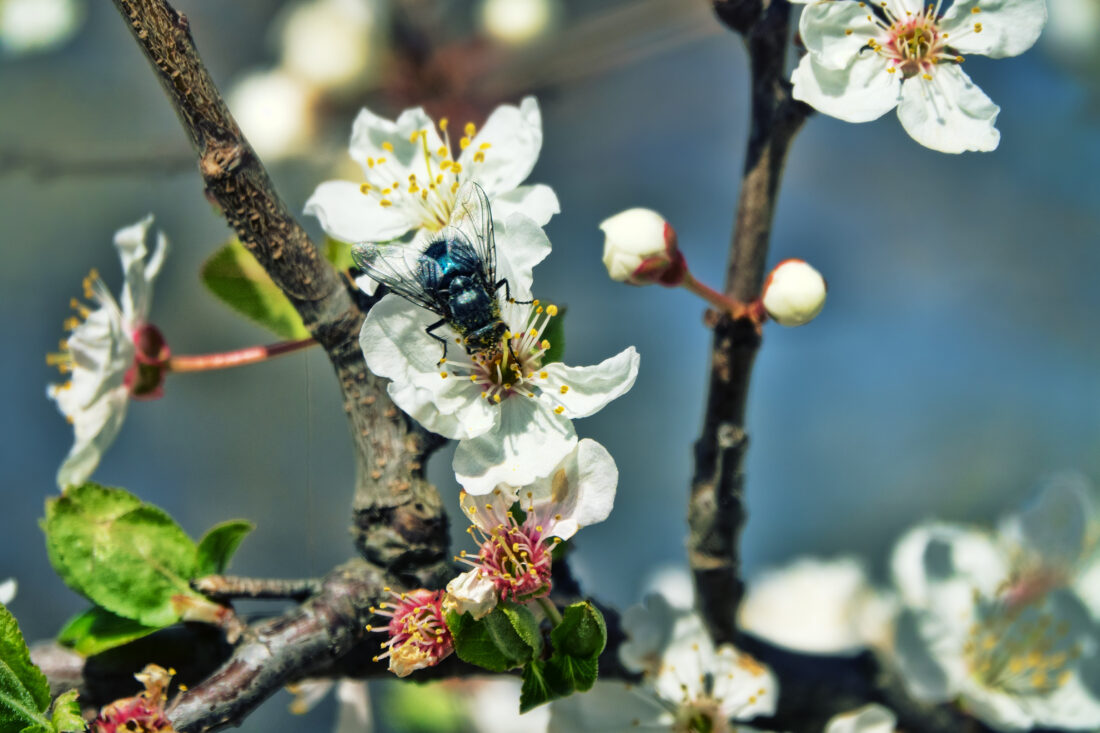
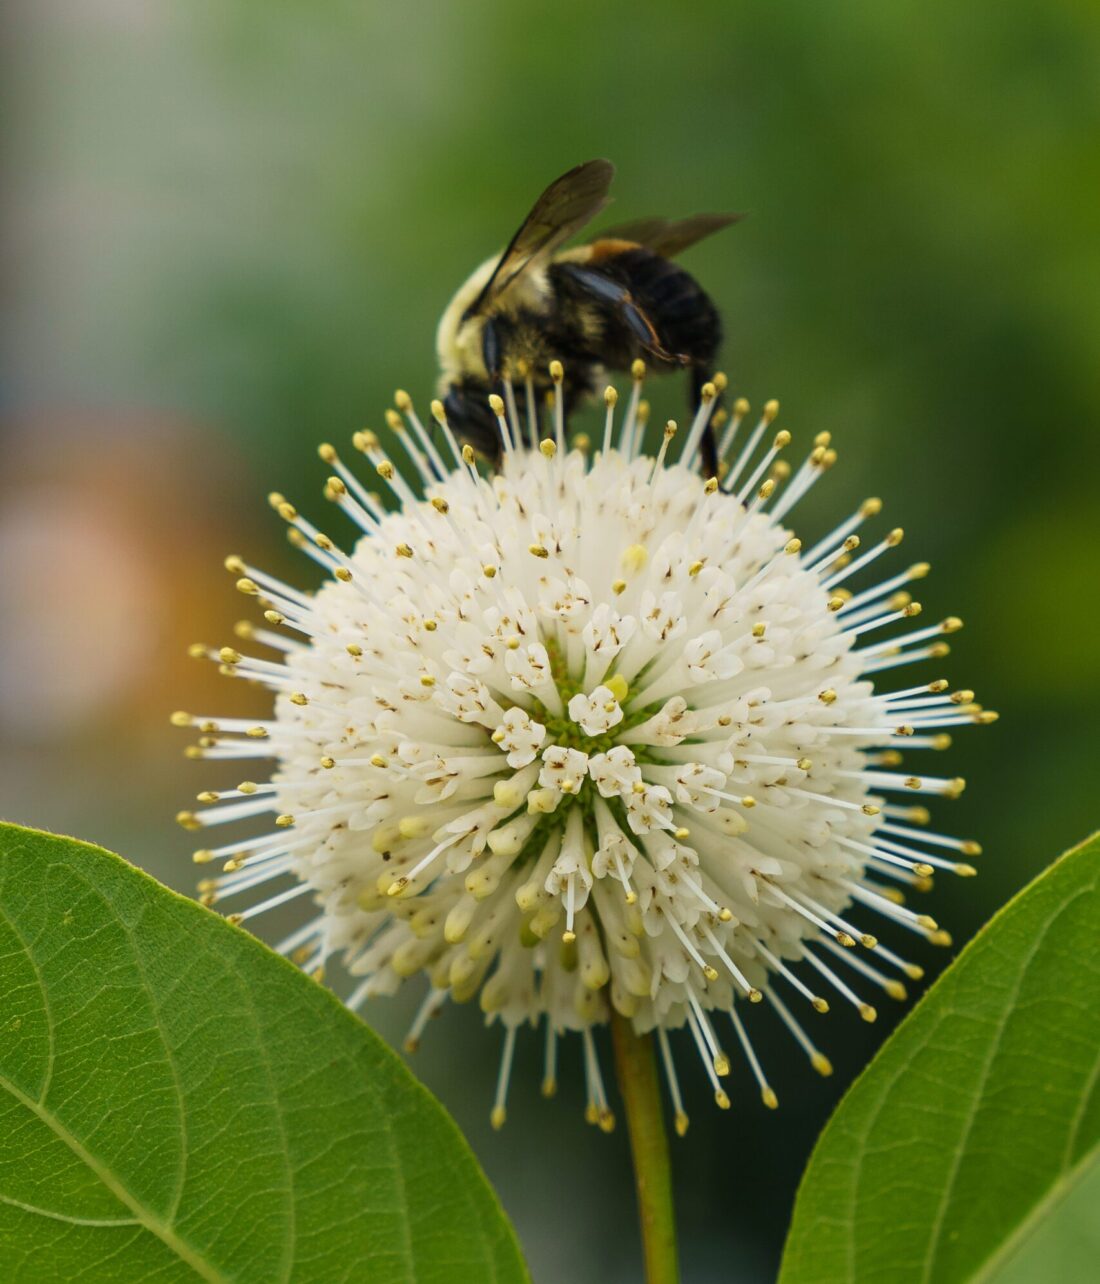
June 22nd – 28th Pollinators play a vital role in our ecosystems, food supply, and everyday lives. National Pollinator Week is a time to celebrate and protect them. Established in 2006 through a U.S. Senate resolution, National Pollinator Week grew…
May 18, 2026