February 12, 2026
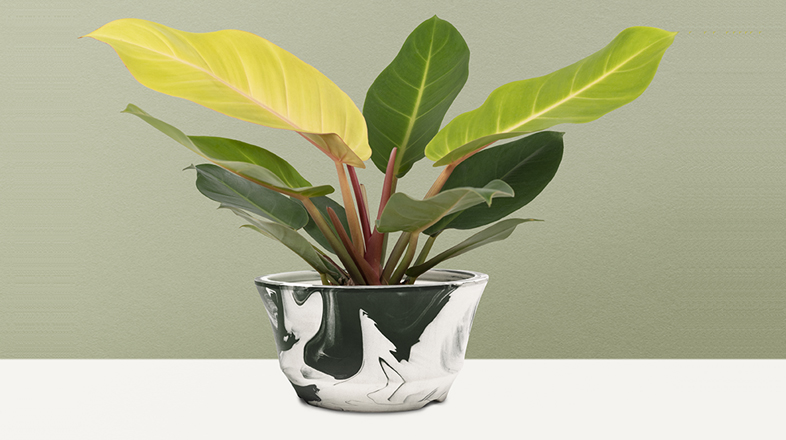
How to Save an Overwatered Plant
Overwatering might seem like a simple mistake, but it can cause serious damage to your plants. When plants get too much water, their roots are deprived of oxygen, which can lead to root rot and other issues. The good news? With quick action and some TLC, you can often save an overwatered plant before things go too far.
Let’s break down how to spot the signs of overwatering, what you should do about it, and how to prevent it from happening again.
Signs Your Plant is Overwatered
Unlike underwatering, where plants dry out and crisp up, overwatered plants show different symptoms. Here’s what to look for:
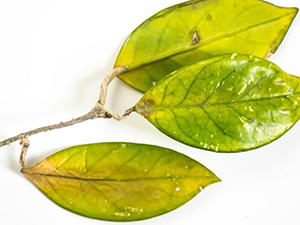
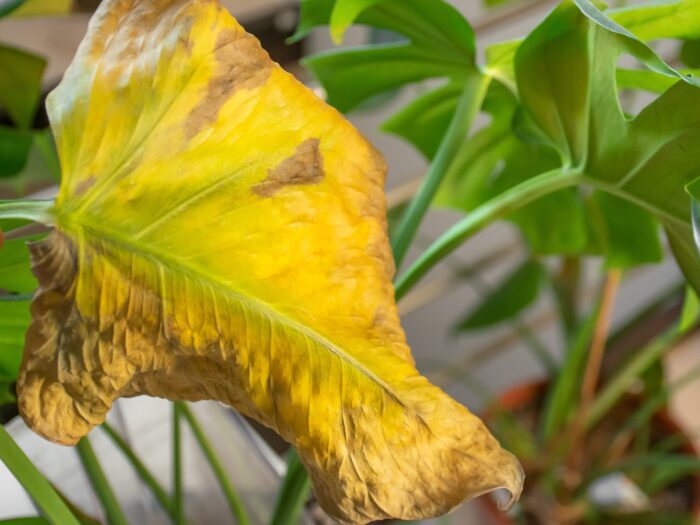
- Yellowing leaves: One of the most common signs. If the lower leaves are turning yellow and feel soft, it’s often a sign of too much water.
- Wilting, even in wet soil: It’s counterintuitive, but overwatered plants can look wilted. This happens because the roots are waterlogged and can’t take in oxygen or nutrients, causing the plant to wilt.
- Mushy stems or soft spots: When stems or the base of the plant feel soft or squishy, it’s a sign that rot has started to set in.
- Soggy or compacted soil: If the soil feels soggy days after watering or is compacted and heavy, it’s not draining properly, which leads to waterlogged roots.
- Foul-smelling soil: A bad, musty smell is a big warning sign that there’s bacteria or fungus growing in the soil due to excess moisture. Learn more about root rot and how to stop it here!
- Dropping leaves: If your plant is losing leaves, especially green ones, this can indicate that it’s trying to shed extra parts to reduce the strain on its roots.
If you’re seeing any of these signs, your plant is likely suffering from overwatering, and it’s time to take action!
Steps to Save an Overwatered Plant
If you’ve identified that overwatering is the problem, here’s how you can rescue your plant:
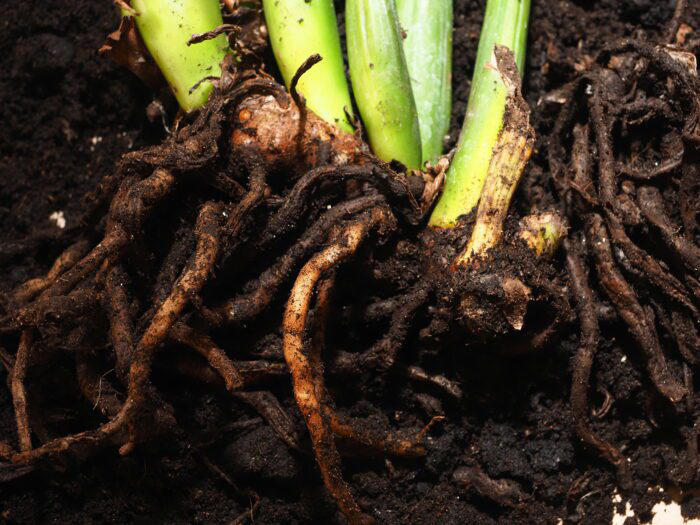
- Assess the Damage
First, gently remove the plant from its pot to inspect the roots. Be careful when handling the plant—especially if it’s already fragile. Healthy roots will be white or tan and firm. Rotten roots will be brown, black, mushy, and may give off a bad smell.
- Prune Damaged Roots and Leaves
- Trim away any rotten roots: Using clean scissors or pruning shears, cut away the mushy, discolored roots. Make sure to disinfect your tools before and after trimming to prevent the spread of bacteria or fungus.
- Remove damaged leaves: If the plant has yellow, wilted, or dead leaves, trim them off as well. This helps the plant focus its energy on new growth instead of trying to sustain damaged parts.
- Let the Plant Dry Out
Before repotting, give the roots some time to air out and dry. Lay the plant on a paper towel or clean surface and let it rest for a few hours. This will allow any remaining moisture to evaporate and prevent further rot.
- Repot in Fresh, Well-Draining Soil
Once the plant has had a chance to dry out, repot it in fresh, well-draining soil. Here are a few tips for success:
- Choose a pot with drainage holes: This is crucial to preventing future overwatering. If water can’t escape the bottom of the pot, it will sit at the bottom and suffocate the roots.
- Use a well-draining soil mix: Look for a mix that includes perlite, sand, or orchid bark to improve drainage and prevent the soil from becoming waterlogged. You can even mix in a little extra perlite to lighten the soil.
- Don’t pack the soil too tightly: When repotting, gently press the soil around the roots but don’t pack it down too much. Tightly compacted soil can restrict airflow and trap moisture.
- Water Sparingly
After repotting, resist the urge to immediately give your plant a big drink. Instead, wait a few days to let the roots settle and recover from the shock of overwatering and repotting. Once you start watering again, do it lightly, making sure to only water when the top inch of soil feels dry.
- Improve Air Circulation and Light
Moving your plant to a well-ventilated spot with bright, indirect light will help it dry out faster and give it the energy it needs to recover. However, avoid placing it in direct sunlight, as this can stress the plant further. Proper airflow helps the soil dry out between waterings and prevents fungal growth.
How to Prevent Overwatering in the Future
Now that you’ve saved your plant, let’s make sure it doesn’t end up waterlogged again. Here’s how to keep it healthy and thriving:
- Water Based on Soil Moisture, Not a Schedule – One of the most common causes of overwatering is sticking to a rigid watering schedule. Instead of watering automatically every few days, check the soil first. A good rule of thumb is to stick your finger 1–2 inches into the soil. If it feels dry, it’s time to water. If it still feels moist, wait a little longer.
- Use a Pot with Drainage Holes – Drainage holes are essential for healthy roots. Without them, excess water has nowhere to go, causing roots to sit in stagnant water and eventually rot. If your decorative pot does not have drainage holes, use it as a cover pot by placing a plastic nursery pot with drainage inside.
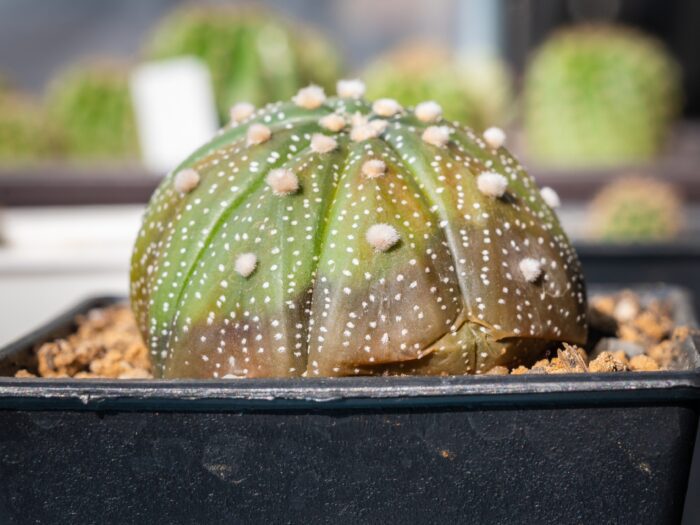
- Choose the Right Potting Mix – Different plants have different soil needs, so make sure you use the right soil for your plant. Most houseplants do best in a well-draining mix that contains ingredients like perlite, pumice, or bark chips to improve airflow and drainage. Succulents and cacti prefer sandy soil mixes, while many tropical plants grow best in peat-based mixes that retain some moisture without becoming waterlogged.
- Water Less in Winter – Most indoor plants slow down or go dormant during the cooler months, so they need less water than in spring and summer. Reduce winter watering and always check soil moisture before watering again.
- Use a Moisture Meter – If you’re unsure when to water, a moisture meter can help remove the guesswork. These tools measure moisture levels deeper in the soil, which is especially useful for larger pots where the surface may feel dry while the lower soil remains wet.
Overwatering can be tricky to spot at first, but with a little attention to your plant’s signals and some careful watering habits, you can prevent it from happening again. Remember, it’s easier to recover from underwatering than overwatering—so if you’re ever unsure, it’s always better to let the soil dry out a bit before watering again.
If your plant has been overwatered, don’t give up! With the right steps—drying out the roots, trimming the damaged parts, and repotting in fresh soil—your plant can make a full recovery.
Need repotting supplies or help choosing the right soil?
Visit us at any of our 7 locations! We’ve got everything you need to rescue overwatered plants, from moisture meters to fresh potting mix. Let us help you keep your plants thriving!
FAQ
What are the signs of an overwatered plant?
Common signs of an overwatered plant include yellowing leaves, wilting despite wet soil, drooping stems, mushy roots, and fungus gnats around the soil. The potting mix may also smell sour or stay wet for several days.
Can an overwatered plant be saved?
Yes, many overwatered plants can recover if the issue is addressed early. Letting the soil dry out, improving drainage, trimming damaged roots, and adjusting watering habits can help the plant bounce back.
How long does it take an overwatered plant to recover?
Recovery time depends on the severity of the damage and the type of plant. Mild cases may improve within a week or two, while plants with root damage can take several weeks to fully recover.
Should I repot an overwatered plant?
If the soil is staying soggy or the roots are beginning to rot, repotting is often the best solution. Use fresh, well-draining soil and a pot with drainage holes to help excess moisture escape more easily.
How do I prevent overwatering plants in the future?
Check soil moisture before watering instead of following a strict schedule. Make sure containers have drainage holes, use the right soil mix for the plant, and avoid letting water collect in saucers or decorative pots.